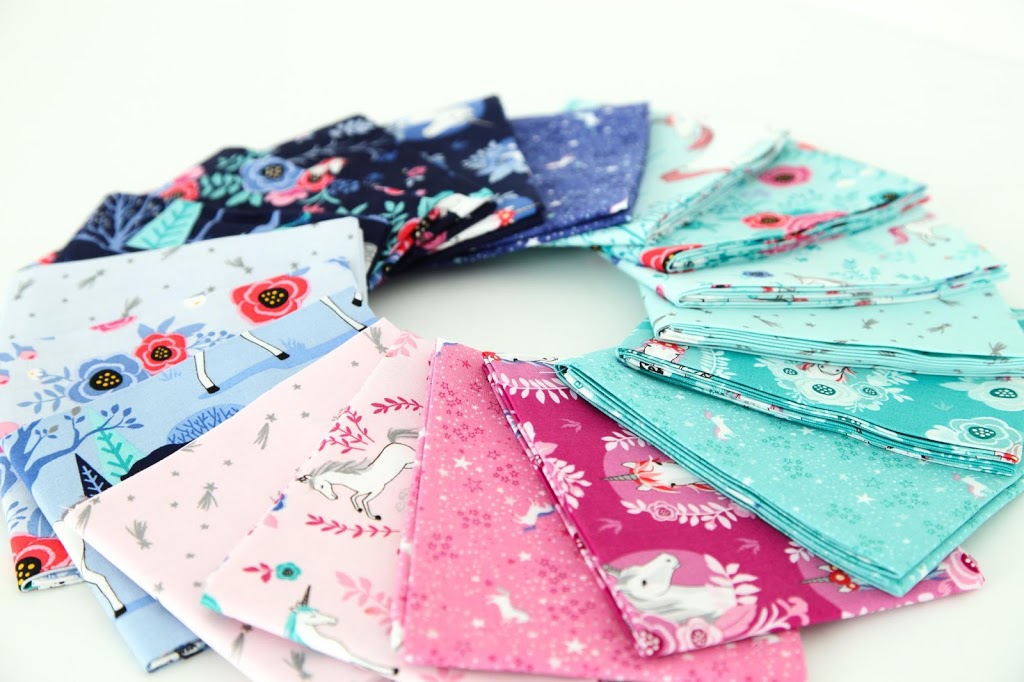
I knew my girls would die when they saw the new My Unicorn fabric by Riley Blake Designs, and boy, was I right! The silver sparkle, the unicorns, the castle- it’s all a little girls dream! And for me, the rich colors, the navy, the florals- it’s a gorgeous line! Perfect for sewing up a quilted wall organizer, and this tutorial will give you all the instructions you need to stitch one up for yourself!
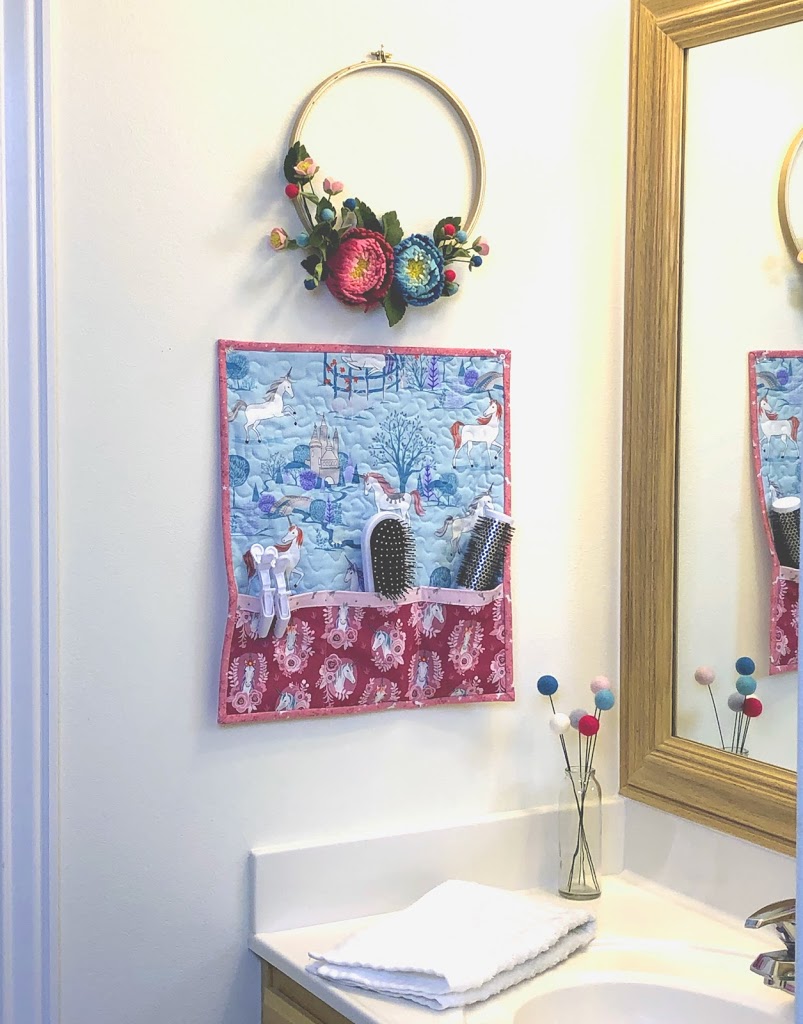
I decided to create a wall organizer for my daughter’s bathroom. Something she could use to hold her brushes and clips. This pattern could also easily be modified to hold art supplies, crafting tools or anything else you like to have handy and available. Plus, it allows you to show off a favorite print- or change it up and feature your favorite quilt block! Such a simple but versatile project!
Are you ready to sew up your own? Let’s get making!
The supplies are pretty simple:
- fabric for main body and pocket- fat quarters are plenty
- fabric for binding 1/4 yard or fat quarter is more than enough
- batting
- method of hanging- I am just using tacks to hang this one, but I recommend either using a dowel (create pockets on the back to hold it) or grommets and hooks.
- basting spray

Cutting:
- front fabric to 17″ X 19″
- backing fabric and batting to 18″ X 20″ (to give some room for quilting)
- pocket fabric 12″ X 16″
- trim for pocket 3″ X 16″ (optional)
- binding- 2 1/2″ strips to equal 72″ in length (minimum)

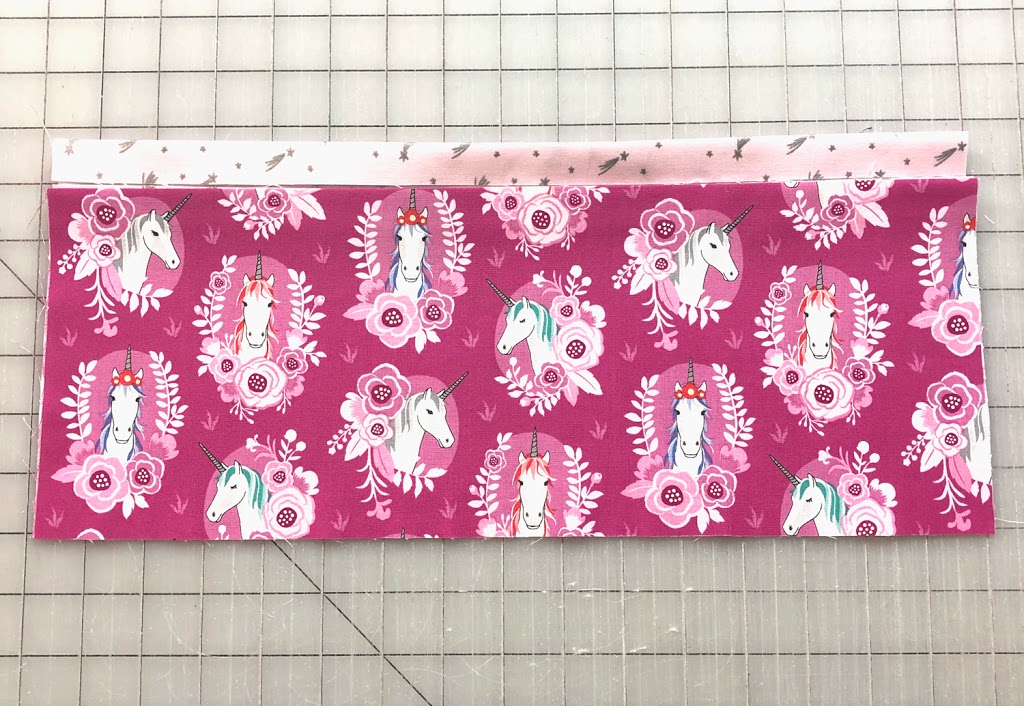
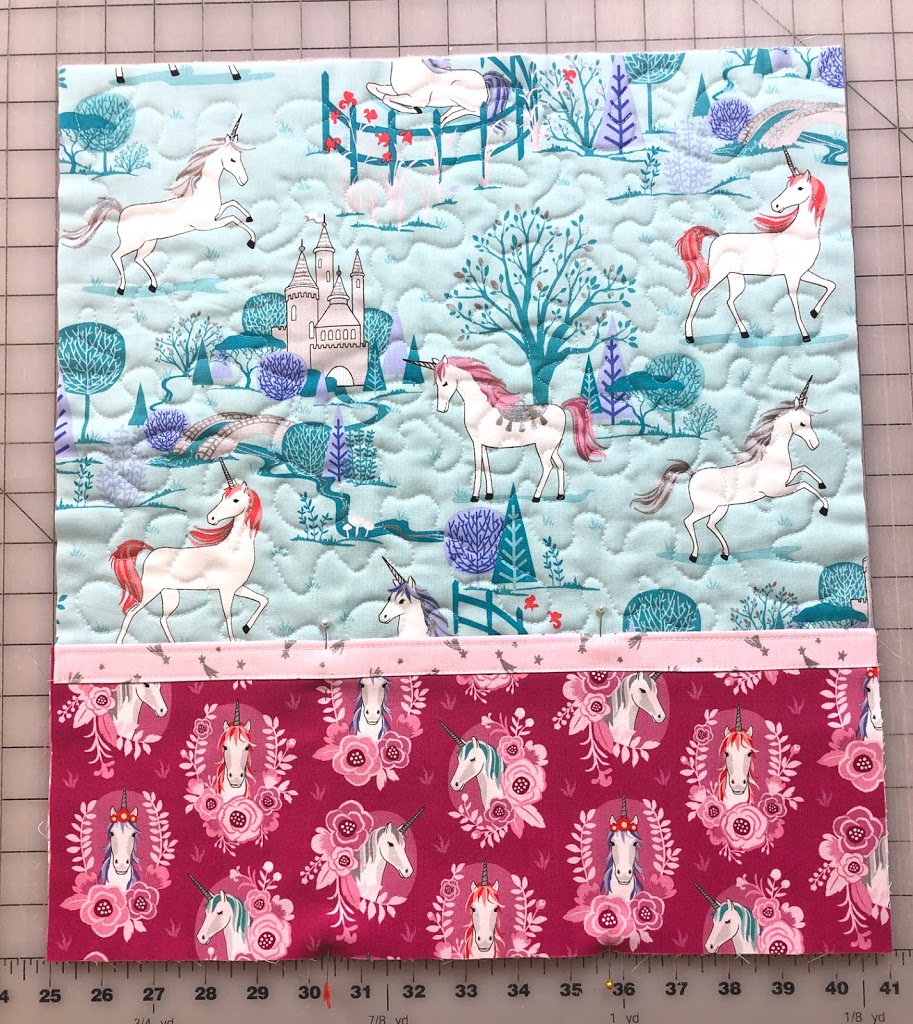
Prepare Pocket:
- Press the pocket piece in half to create a 6″ X 16″ strip
- Press the pocket trim piece in half to create a 1 1/2″ strip
- Open up the trim piece and bring the raw edges in to the fold, press
- Re-fold the initial crease to create a trim piece that is 3/4″ X 16″
Finish Pocket:
- Open up the trim piece and slide the pocket piece into it, line up the folded edge of the pocket piece with the center crease of the trim piece
- Fold the trim piece down over the pocket piece
- Stitch down the trim onto the pocket with an edge stitch on both sides of the trim piece.
- If eliminating the trim piece, simply sew two lines of top stitching down the folded edge of the pocket piece.
Prepare organizer:
- baste the front and back fabric onto the batting piece
- quilt as desired
- trim quilted piece to a 16″ X 18″ rectangle
- line up the pocket with the bottom edge of the quilted piece.
- Measure 5 1/4″ in from each side and draw a line (or mark with pins to guide you)
- Sew down on these lines to create the pockets
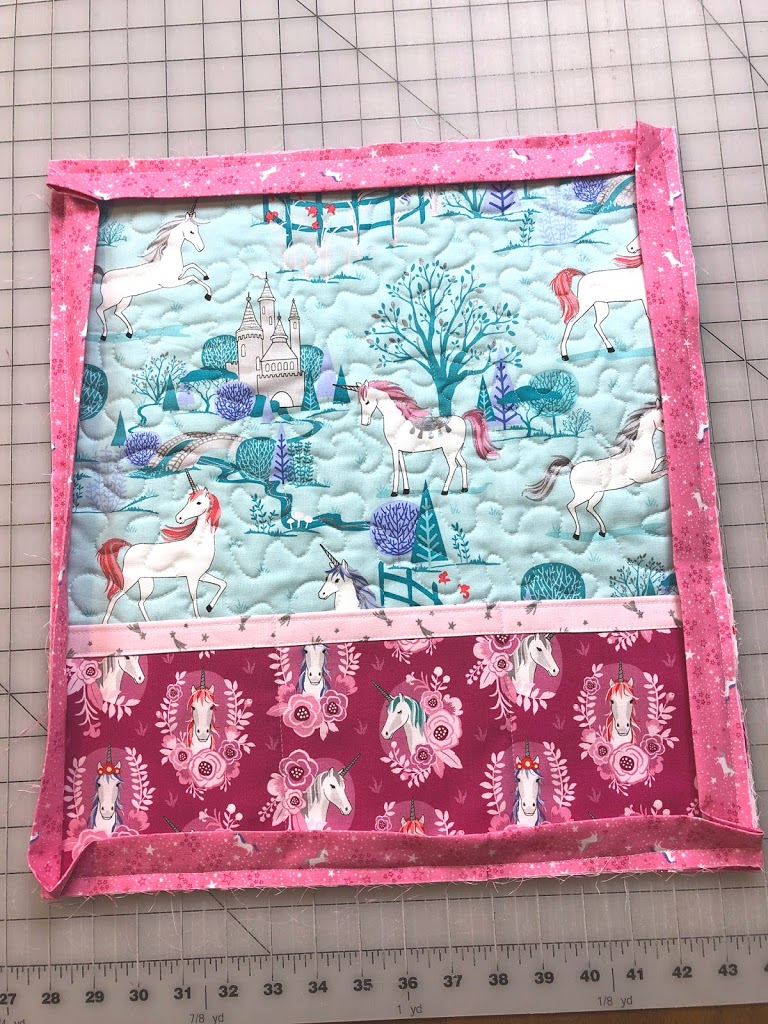
Add binding to your wall organizer- as you do so, if you are using a dowel to hang your organizer, add pockets to the corners or sew on a sleeve for the dowel onto the back.
If you are using grommets- add them by following package instructions once the binding is finished.
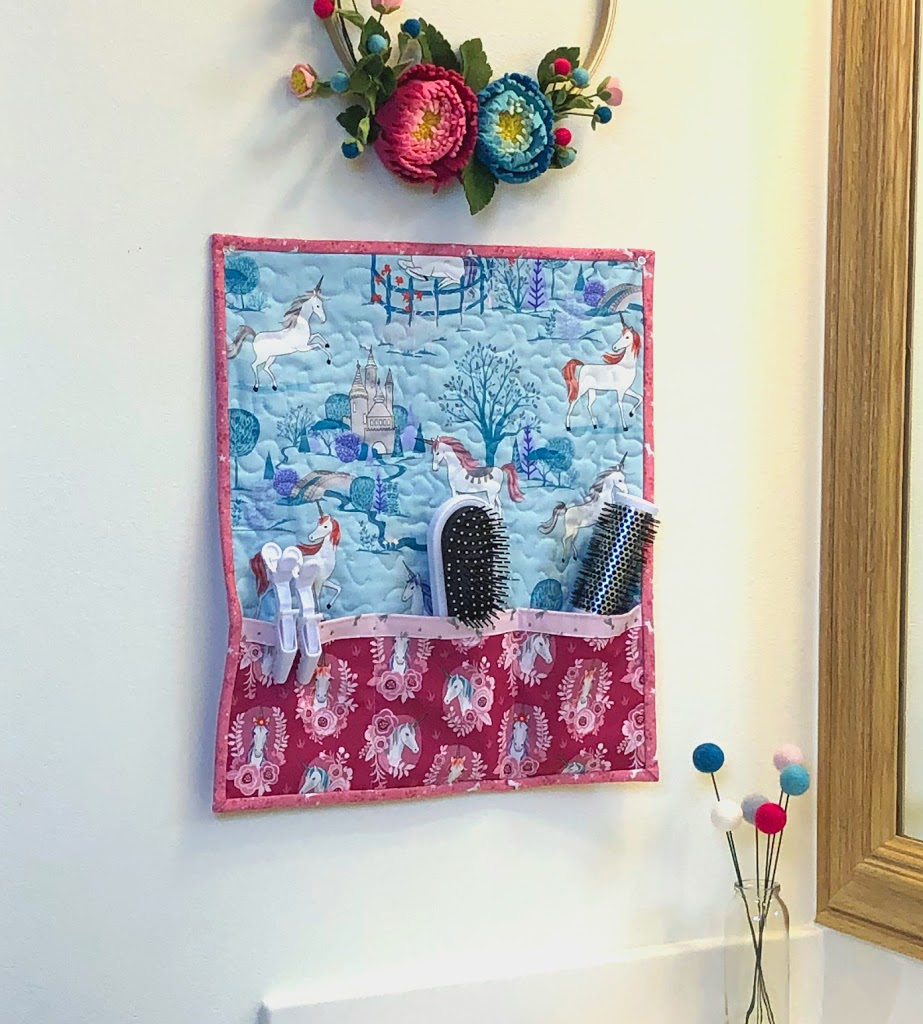
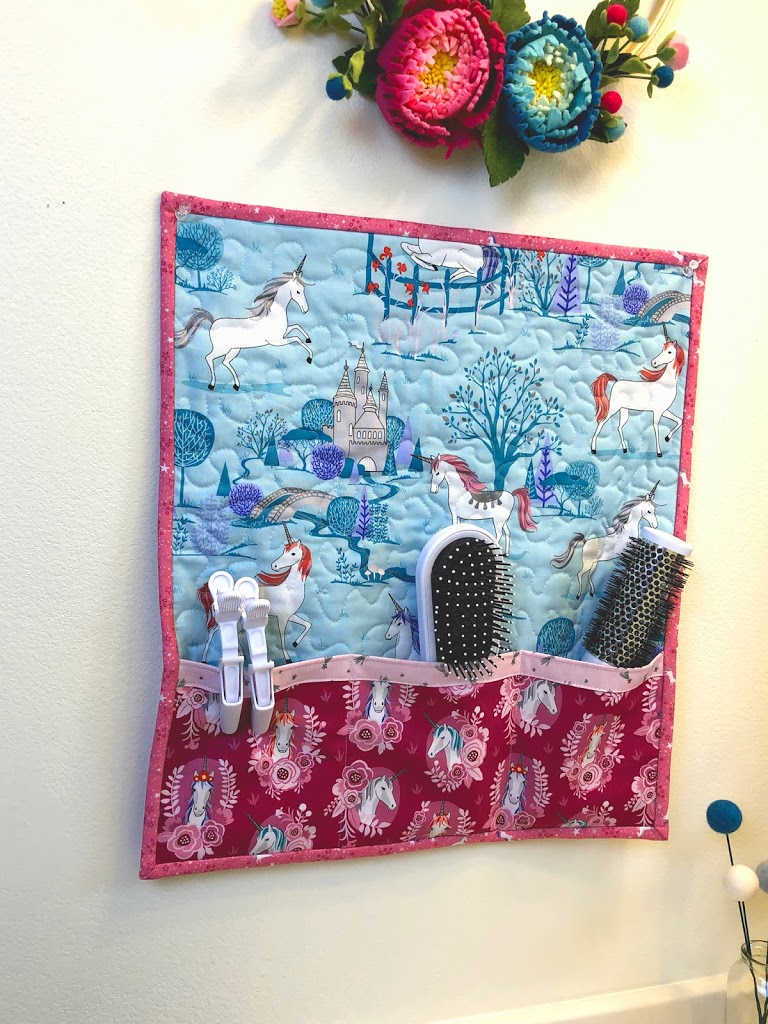
All that is left is to hang and enjoy your new organizer! Be mindful of how much use and what items you intend to store in your organizer when deciding how hang it. Also, feel free to modify the measurements as desired to meet the needs of what you are organizing. This is a quick and fun project that can add a splash of color and organization to any area in your home!
What will you use yours for?
Happy sewing!
xoxo,
Amy


Kristie
April 28, 2019 at 3:18 pmI have a daughter who could use one of these….she is constantly losing her hair brush. Thanks for sharing a simple solution.