This post first appeared on the Ribbon Retreat blog. I was given product to complete the project, but the ideas and opinions are my own.
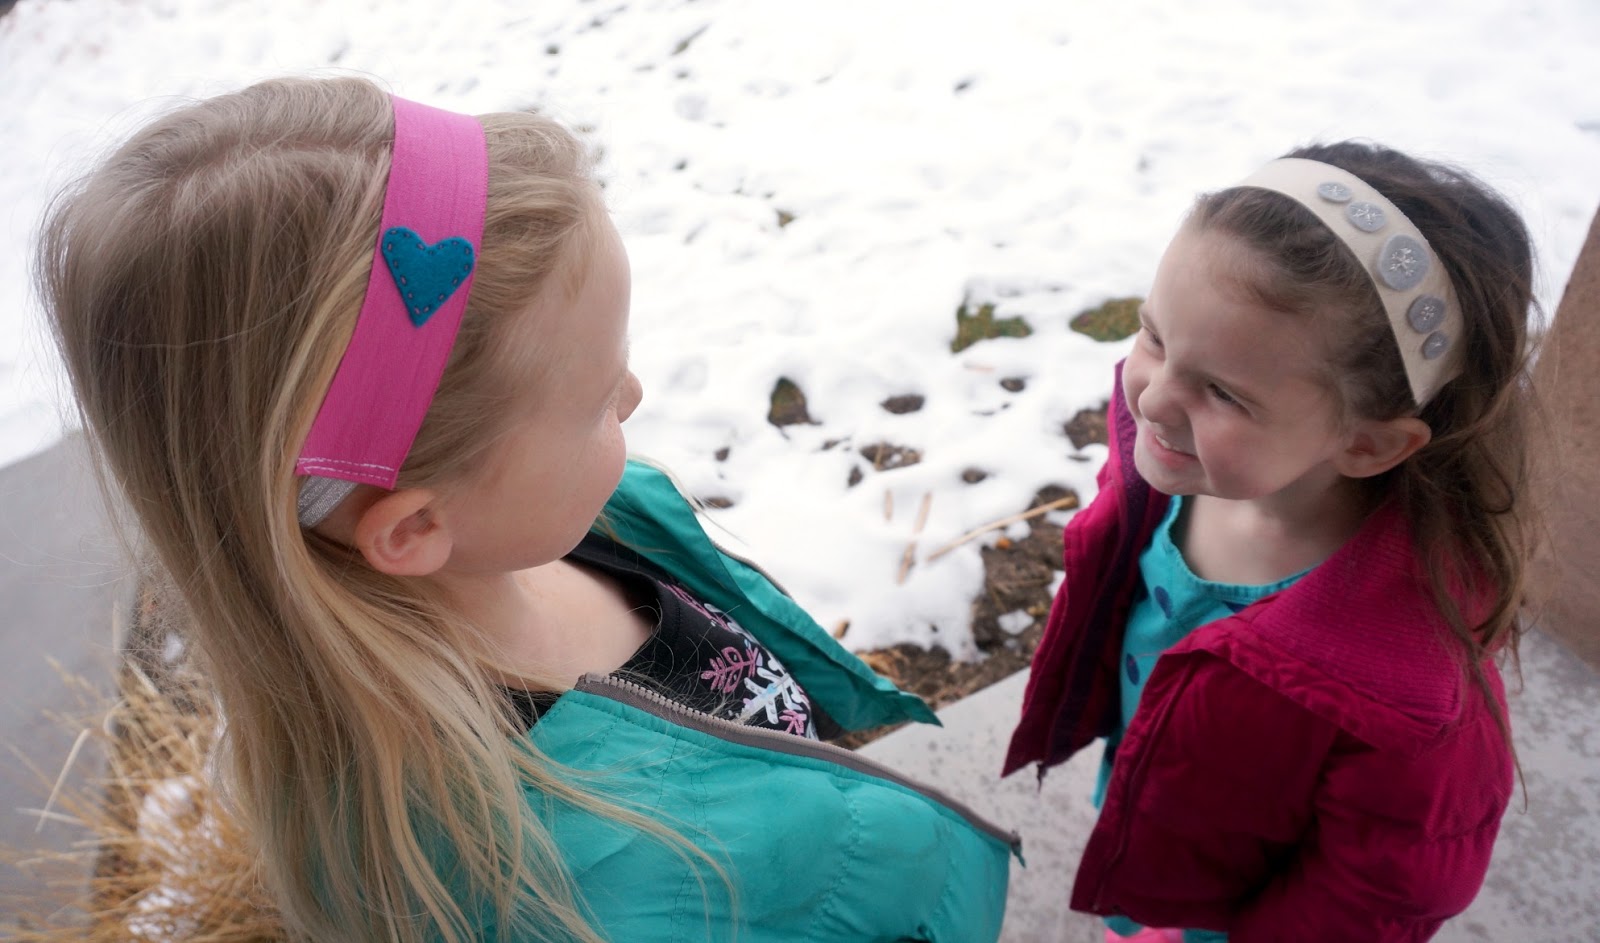
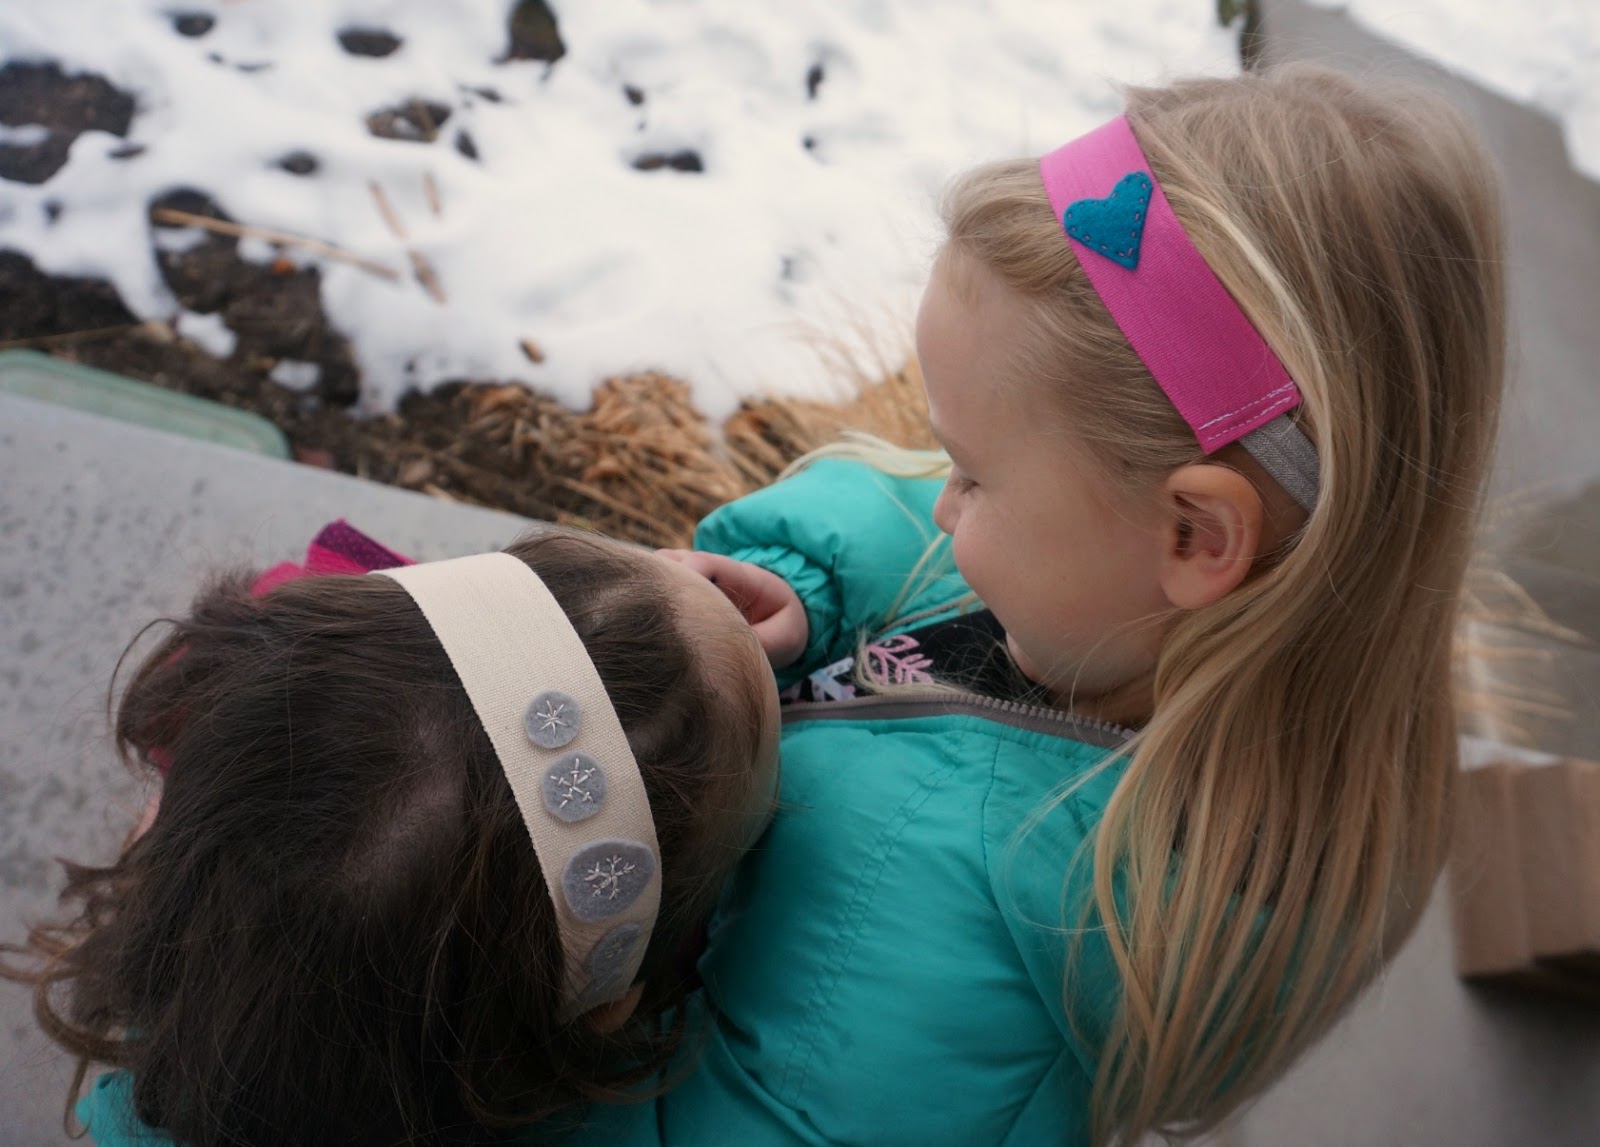
I love these simple headbands, they require few materials, are easy and quick to assemble and are easy enough, kids can make them. They would be a fantastic party activity, great for craft camps or just to make on a day when you need something creative and fun to do.
Ready to make one? Let’s do it:
Supplies-
- Twill Ribbon
- Fold over elastic
- Felt (optional)
- Embroidery floss and supplies
- Sewing machine
Directions-

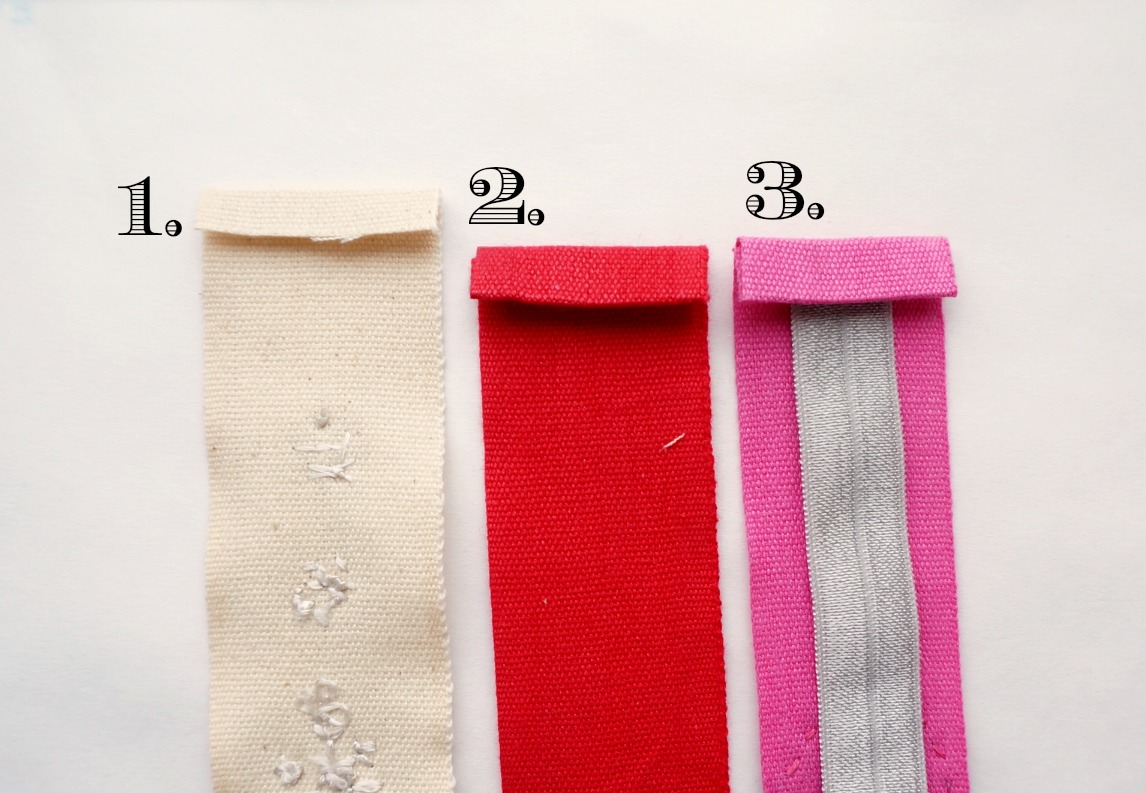
Now to finish the edges.
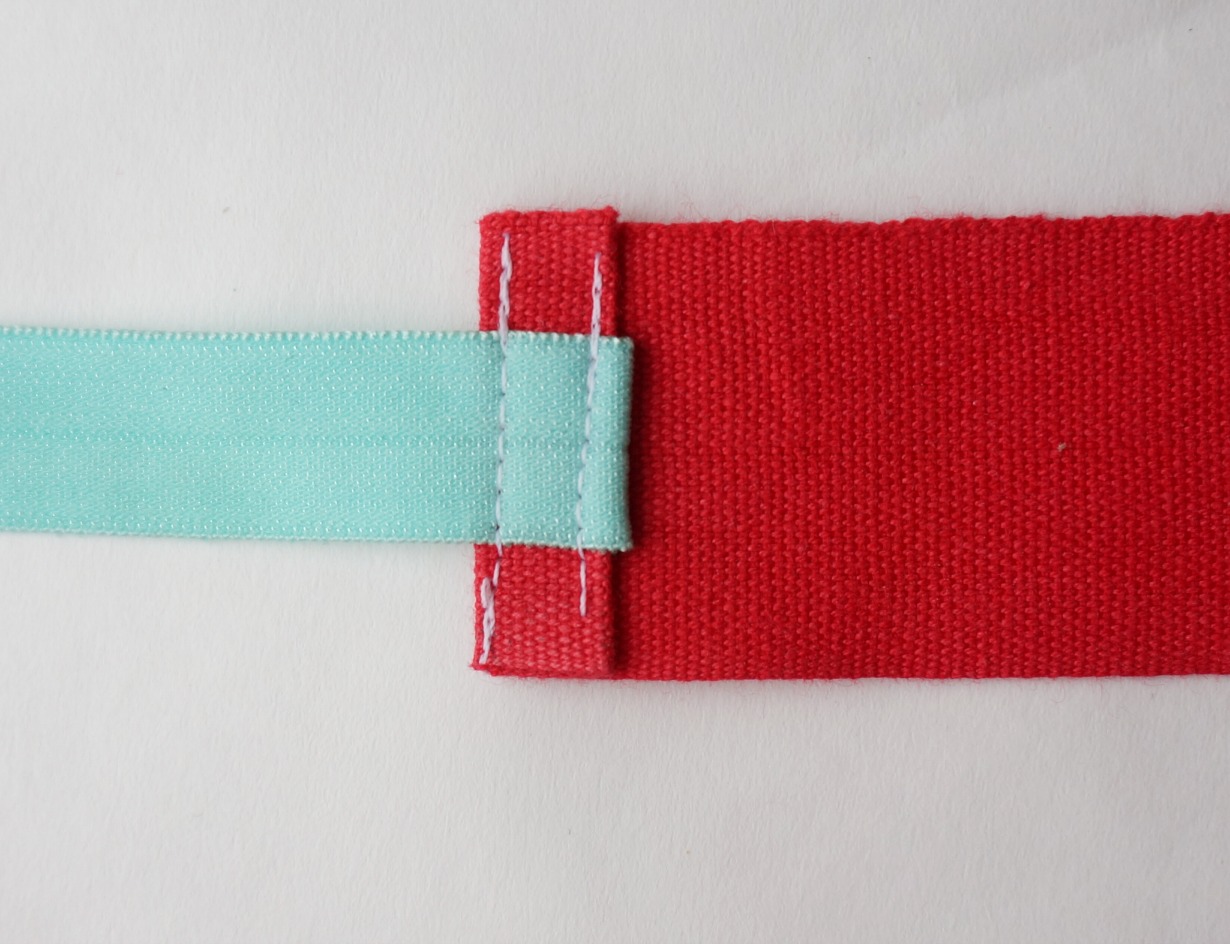
1. Fold over the end of the twill ribbon 1/4″ toward the WRONG side of the ribbon. Press.
2. Fold over the end of the ribbon another 1/4″ to hide the raw end, press.
3. Cut a length of elastic. For toddlers cut 6″, for older children 8″, for adults 10″. *note that these are approximate- if you want a more accurate measurement, measure the distance around the back of the wearers head from ear to ear. Tuck the elastic under the pressed edge with the shiny or RIGHT side facing up. (the wrong side of the elastic should be against the wrong side of the ribbon)