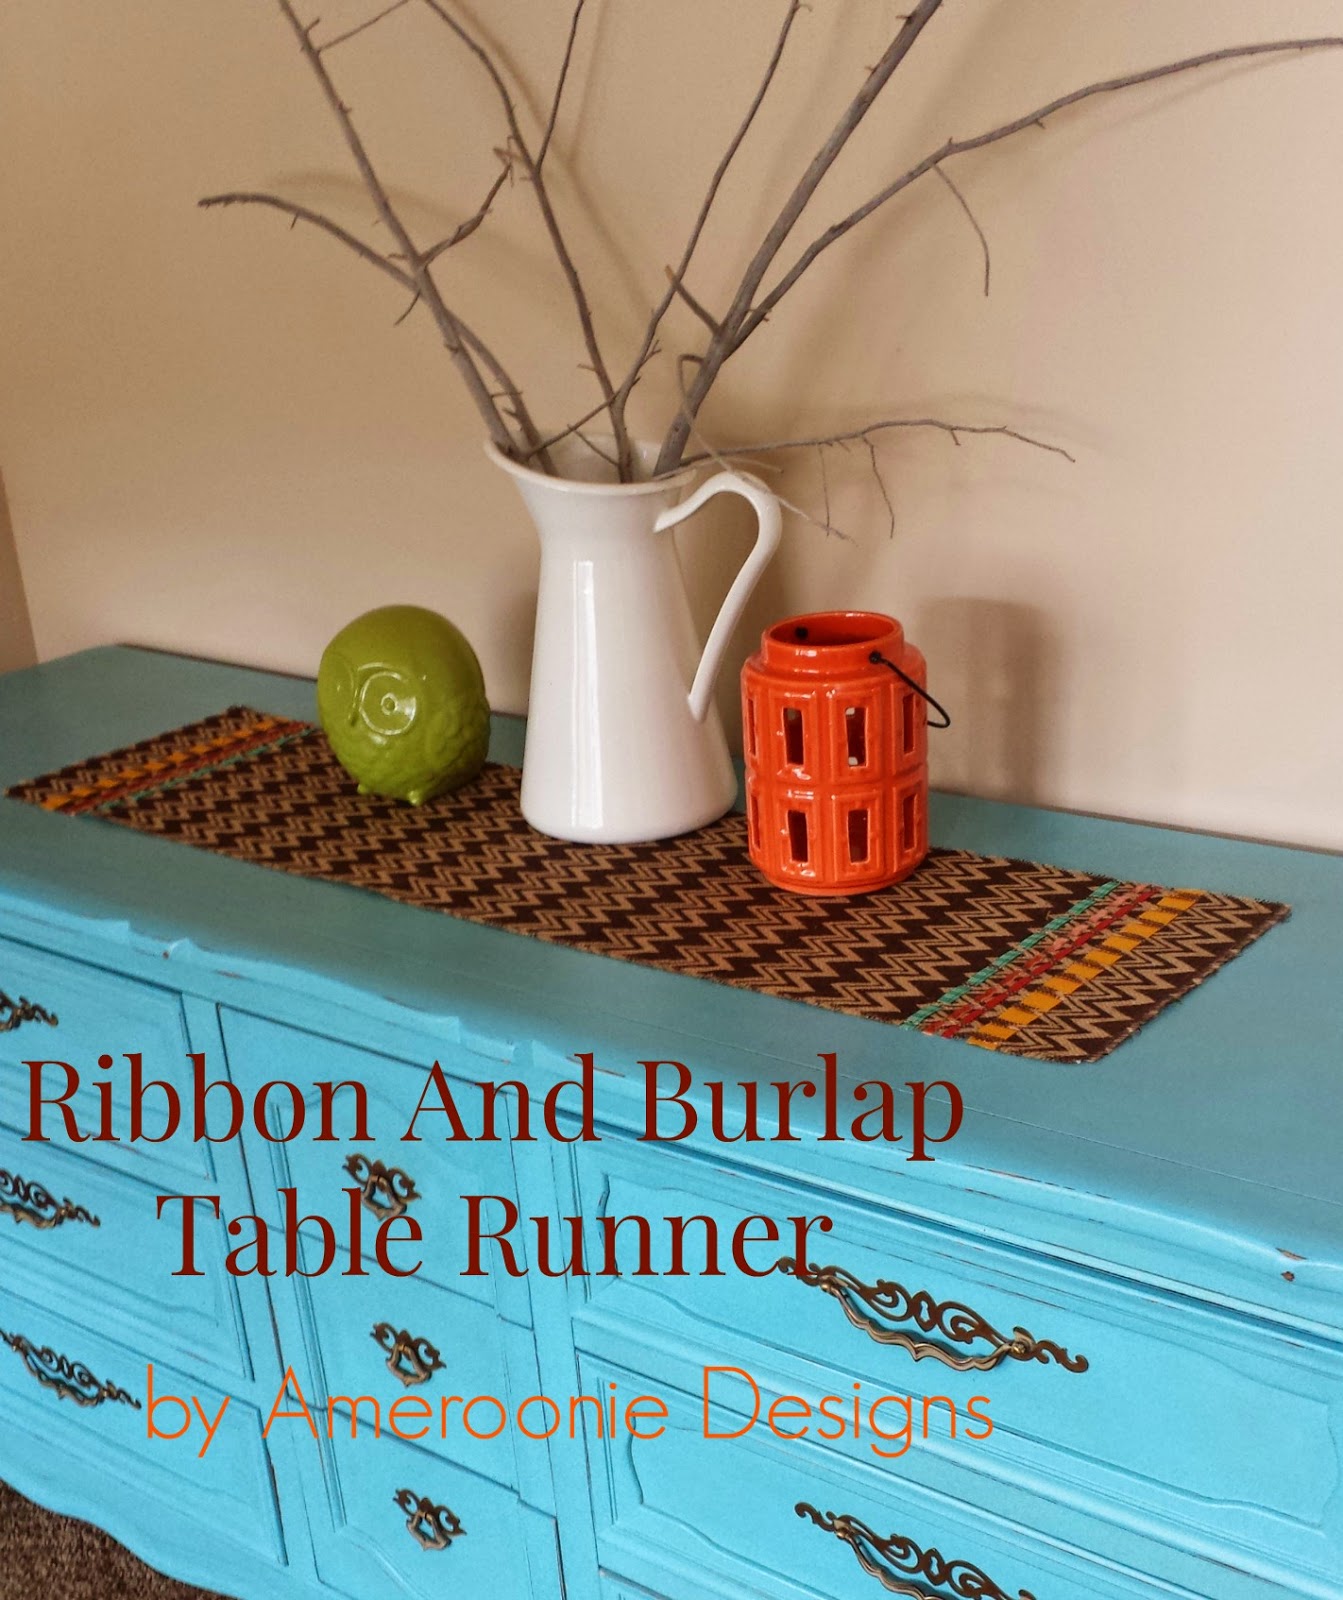
I know everyone is probably already decorated for Halloween, so you have time to pull this simple but festive runner together for your Thanksgiving celebrations, or just to tide you over on decorations until you’re ready to get Christmas going in your house. 🙂 And, if you’re like me and still don’t have Halloween decorations out, well, you can pretend this one is a Halloween decoration. I’m still trying to convince the kids.
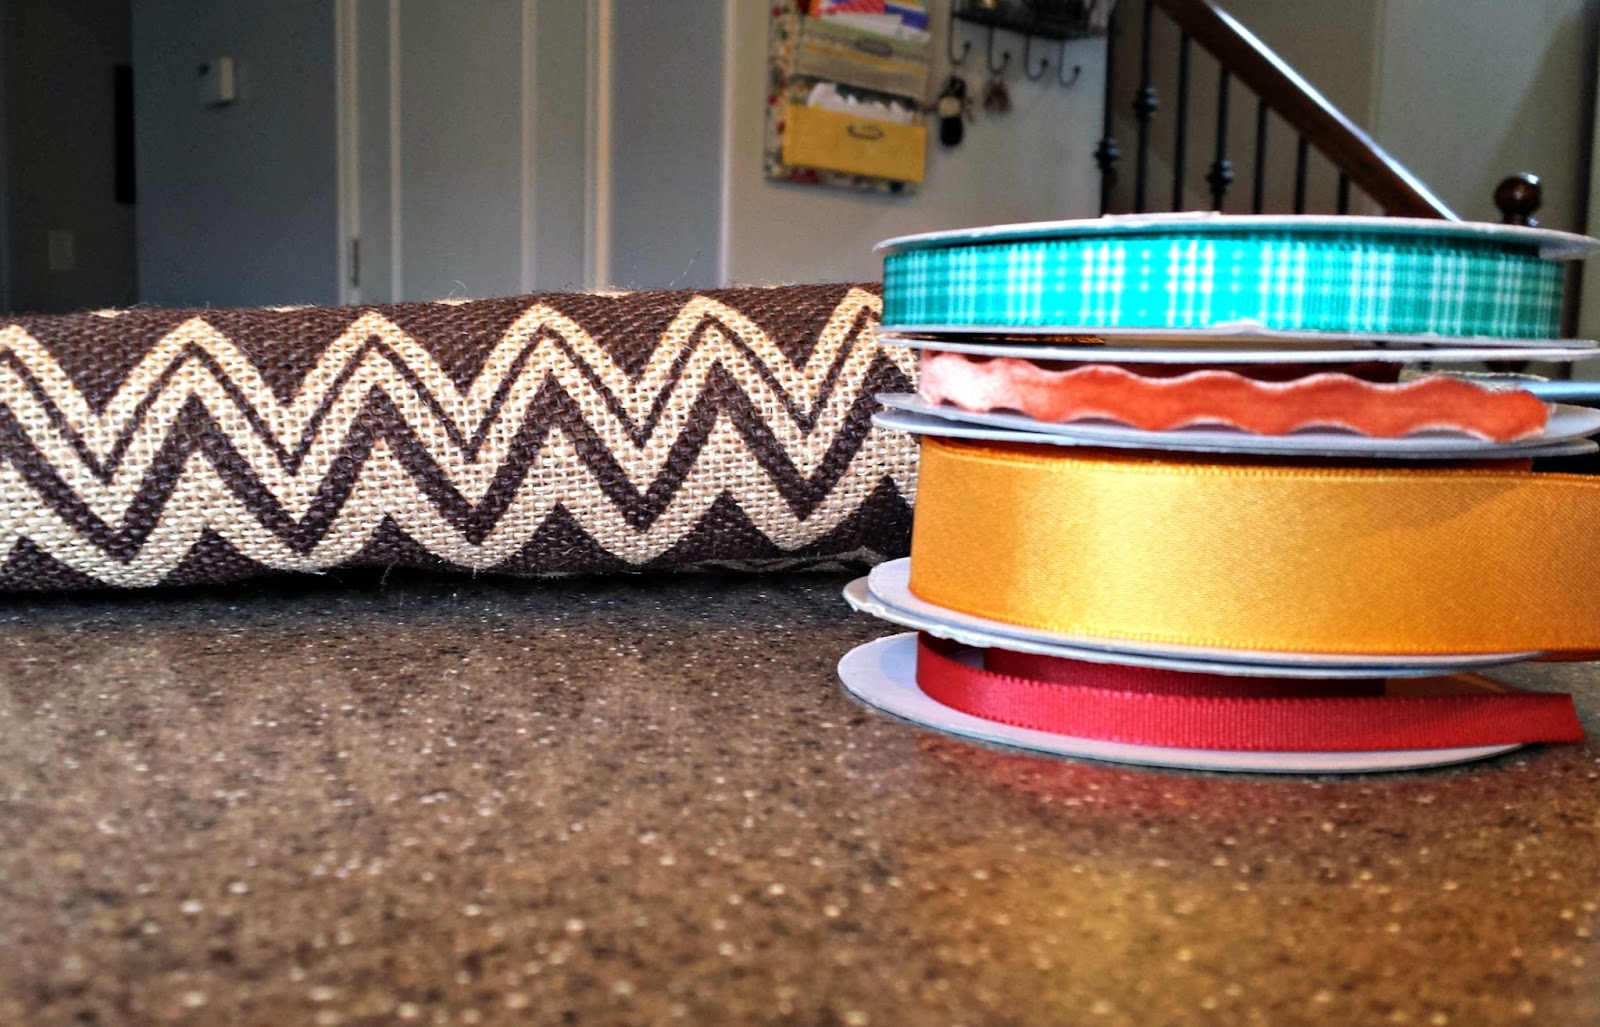
To get started you will need a piece of burlap and some ribbon. I purchased this printed burlap from Joann Fabric, but you can find it many places, even Walmart. You will want to purchase just a bit more burlap than you think you need so you will have room to trim the edges and account for fraying. I used a variety of ribbons, using different widths and types, but you can use whatever you want. The only other things you will need are scissors and a sewing machine (optional).
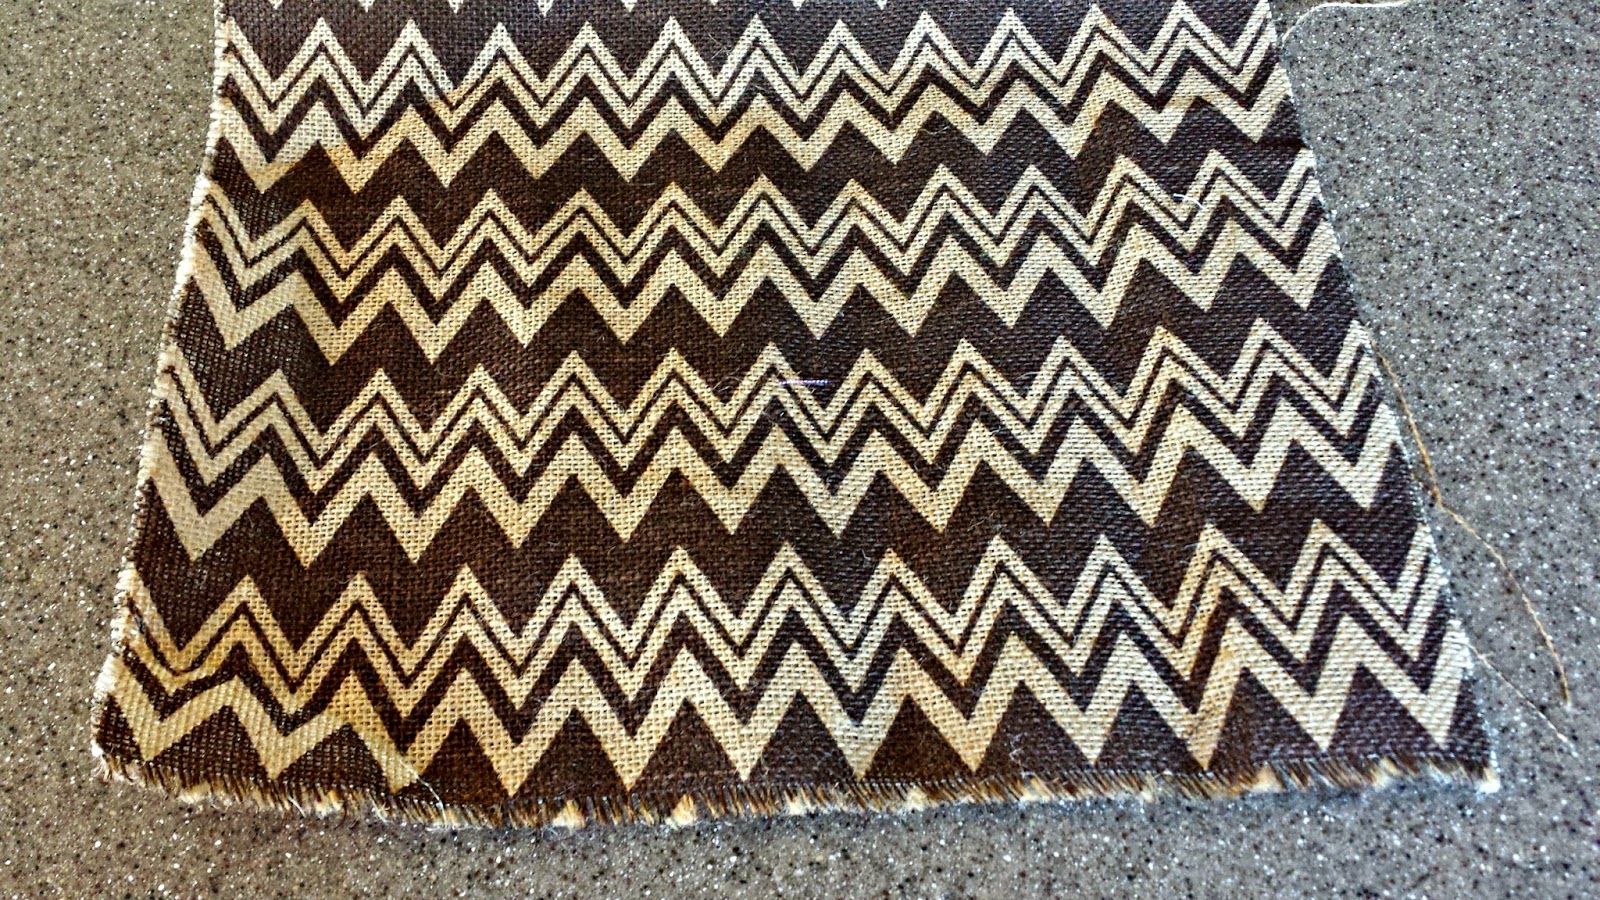
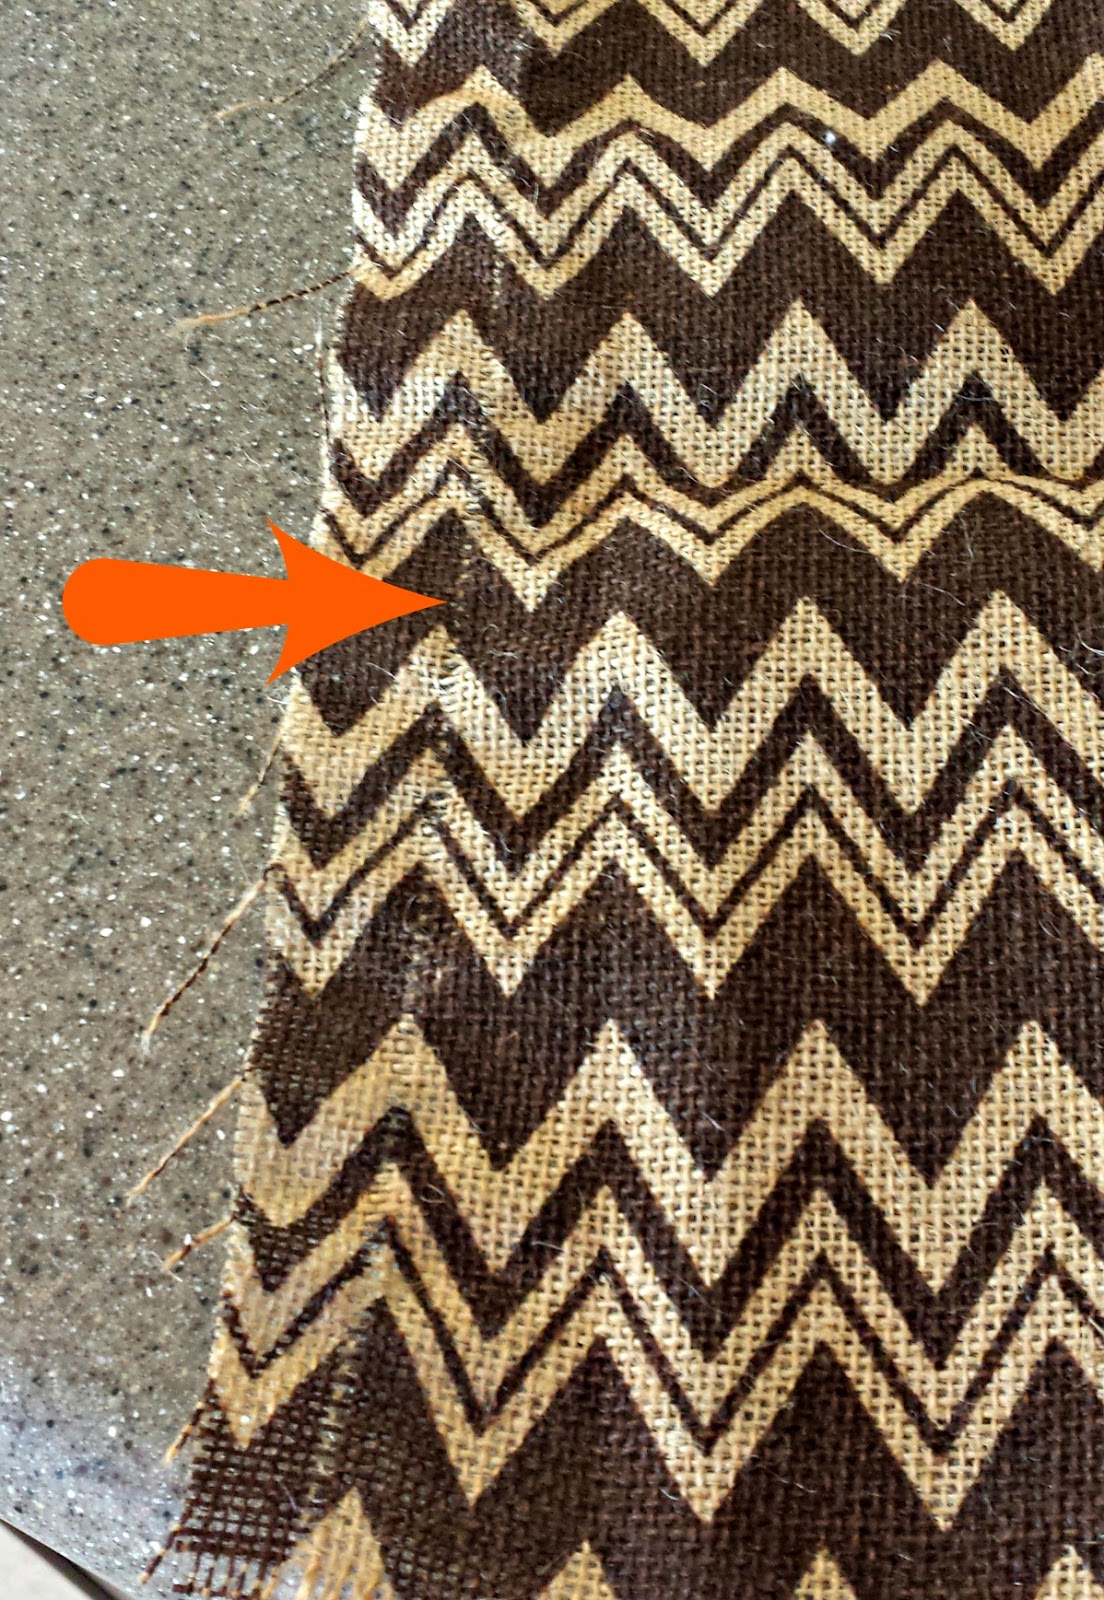
When you lay out your burlap you will probably notice that it is fraying and uneven on the cut side. In this picture you will note that the right side is the cut side. We want to make sure our runner is even and we also want to reduce the fraying and loose threads that are so common with burlap.
To do this, you are going to decide how wide you want your piece of burlap. (again, add just a bit extra because it will still fray just a bit in the next steps) At the determined width, you are going to select one strand of fiber and begin to pull on it. The burlap piece will begin to gather. You will gently continue to pull this fiber, sliding the rest of the fabric down and loosening the gathers until you have removed the entire piece. If the fiber breaks, just track down the end of it that is still in the fabric and use a pin or other pointy tool to weave it out of the fabric until you have a piece large enough to pull again.
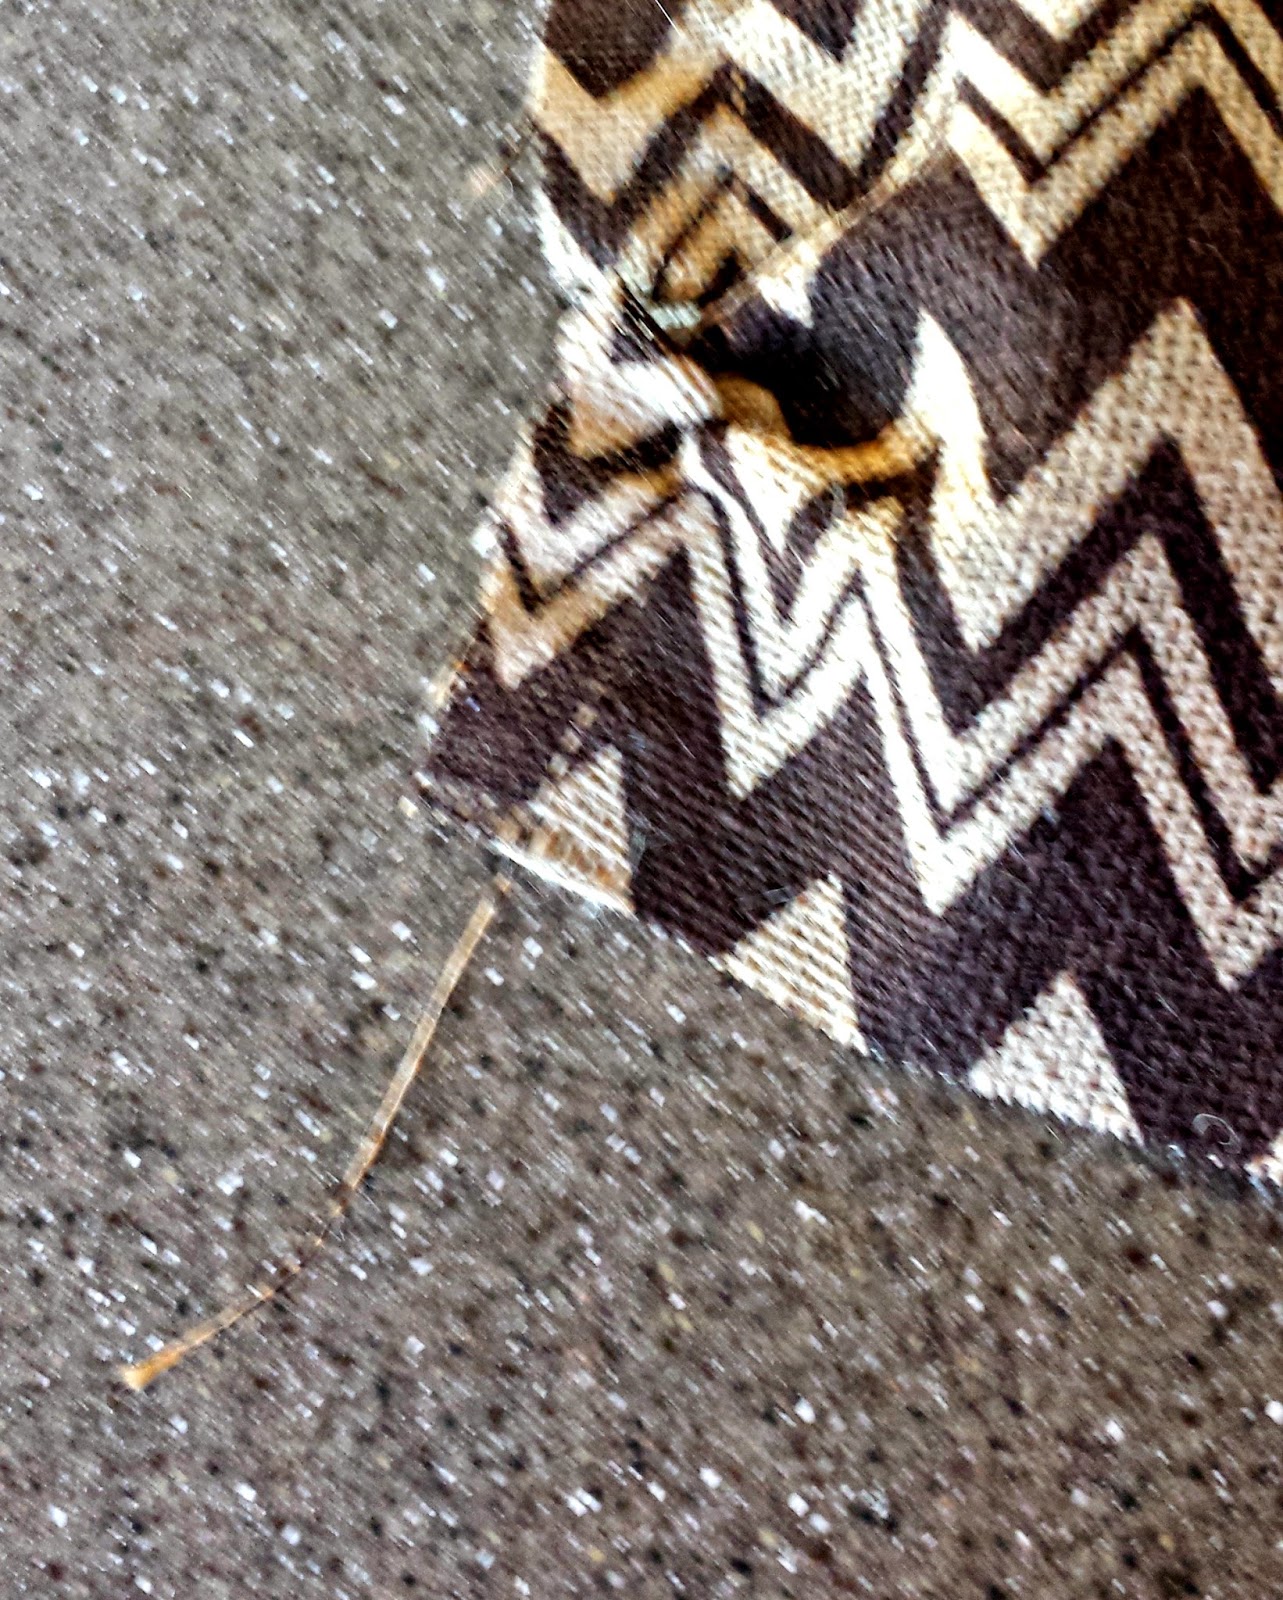
When you are finished, you will have a channel in the fabric that looks like this. You will take your scissors and cut along this line. Repeat for any other sides of your runner that need to be squared up.
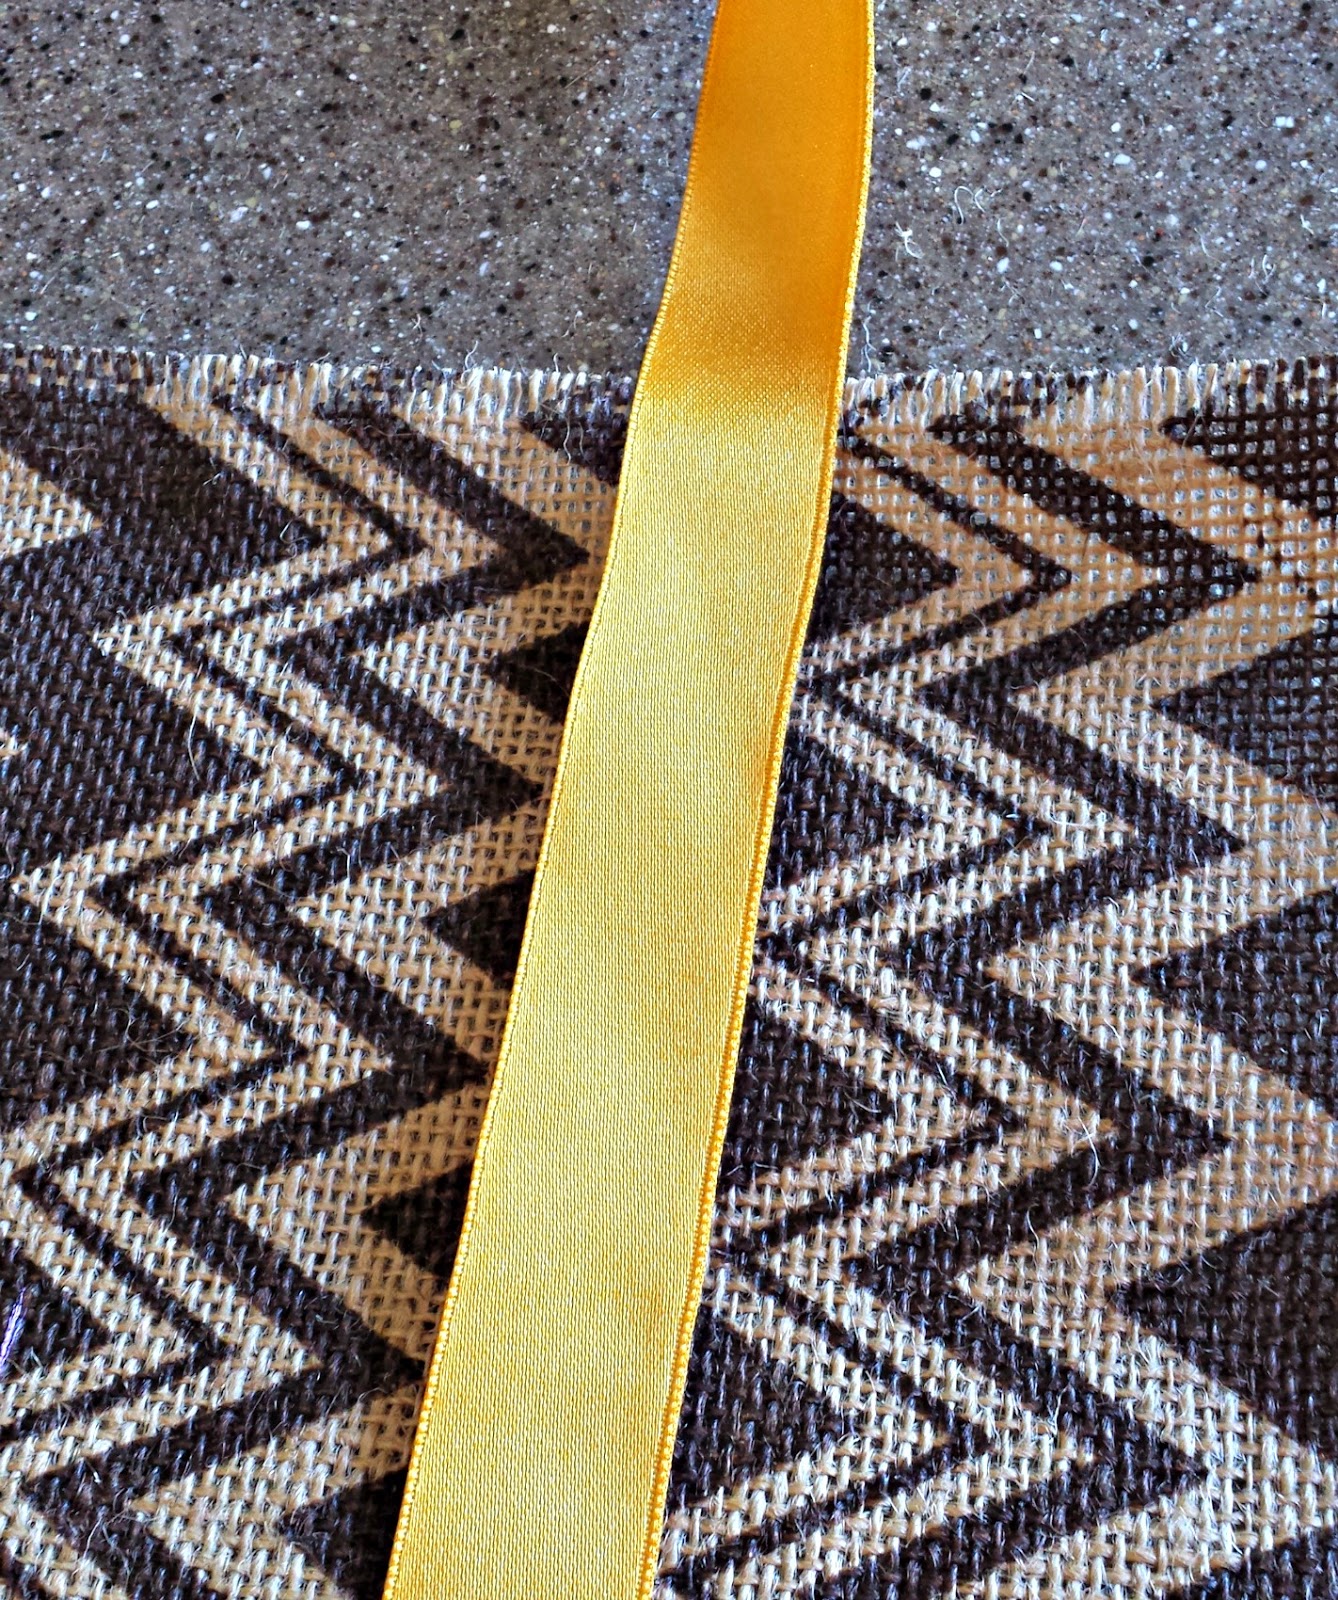
Now we are ready to add some color and interest to our runner with ribbon. Decide where you want your first ribbon to be on the runner and lay it across the burlap fabric. Pull a fiber on either side of your ribbon, this will create the beginning and ending marks for your channel. Pull all the fibers between the beginning and ending marks.
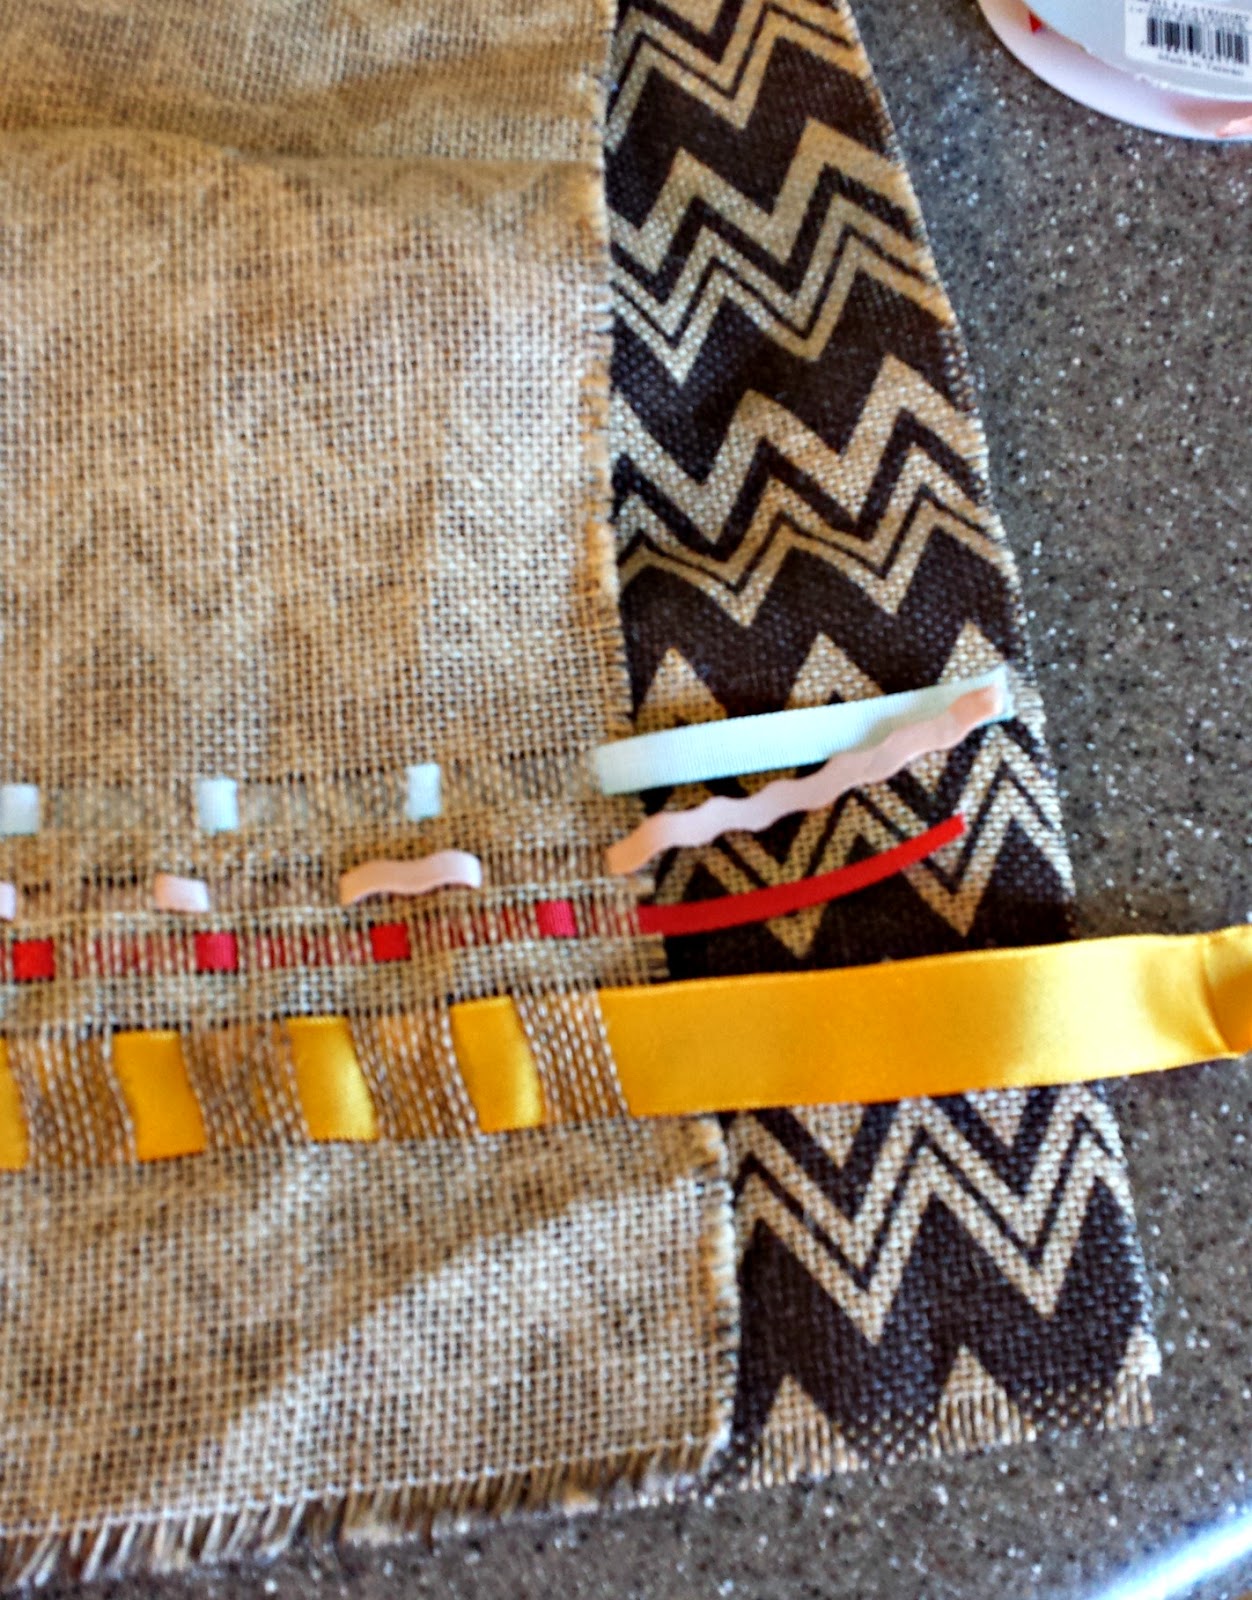
Weave your ribbon through the fibers in the channel. You can choose how many fibers remain on top of the ribbon and how many go underneath. I adjust the numbers for each ribbon, but if you want a more uniform look, you can keep it the same for all of them. Once you have all the ribbons in place on one side, start on the second. To determine where the first ribbon goes, you can either count how many fibers from the end the ribbon starts and count up on the second side, or you can fold over the runner as I did and get a close estimate and just go from there. This runner is meant to be casual so I’m not too worried about precision, but if you are making a more formal runner, you may want to actually count or measure this part. Add your remaining ribbons.
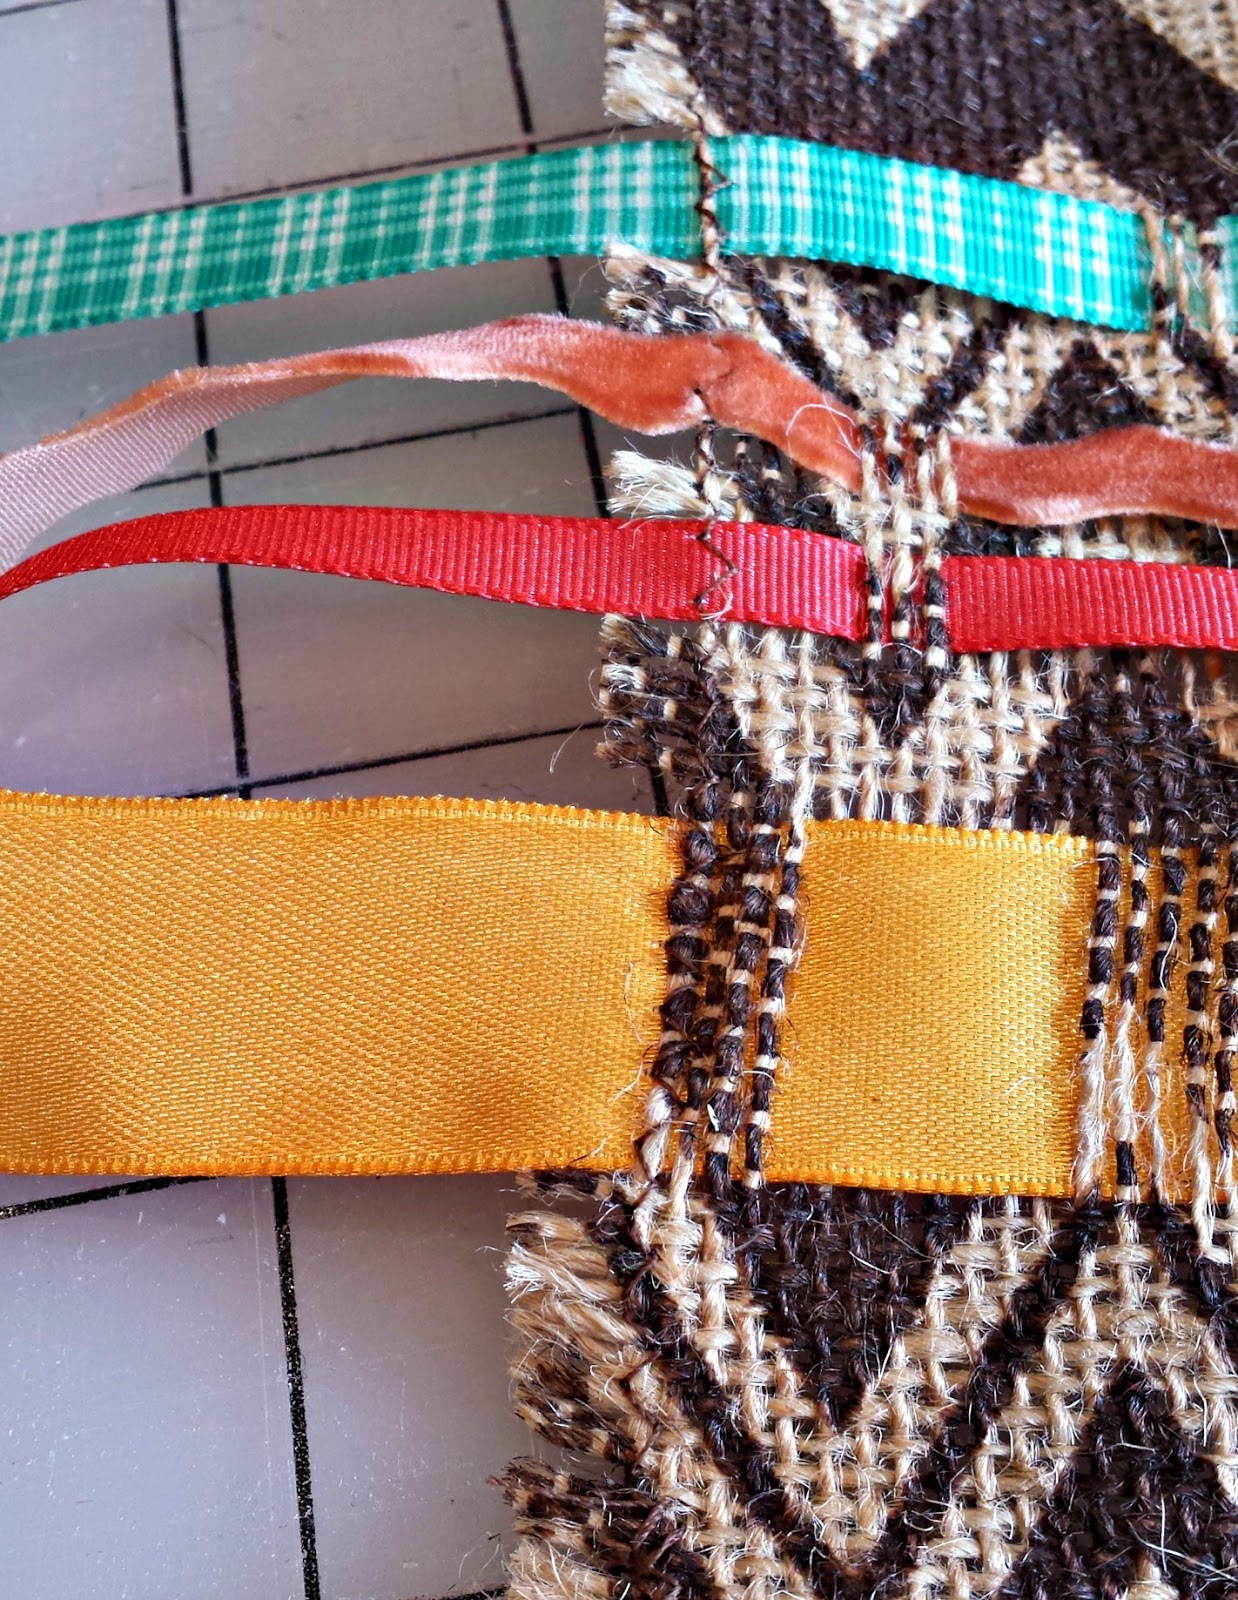
As you are adding your ribbons, you may inadvertently pull a few fibers from the edge of your piece. This is why we added a bit of extra width, so we would end up with the size runner we wanted. In order to keep this from continuing to happen, I like to take my runner and sew a zig zag stitch all the way around the runner to hold the ribbons and fibers in place. Then I trim the edges of the runner so they are even. If you want a frayed edge to your runner, pull the fibers you want before you do this final step, as it locks the fibers and makes them much more difficult to fray.
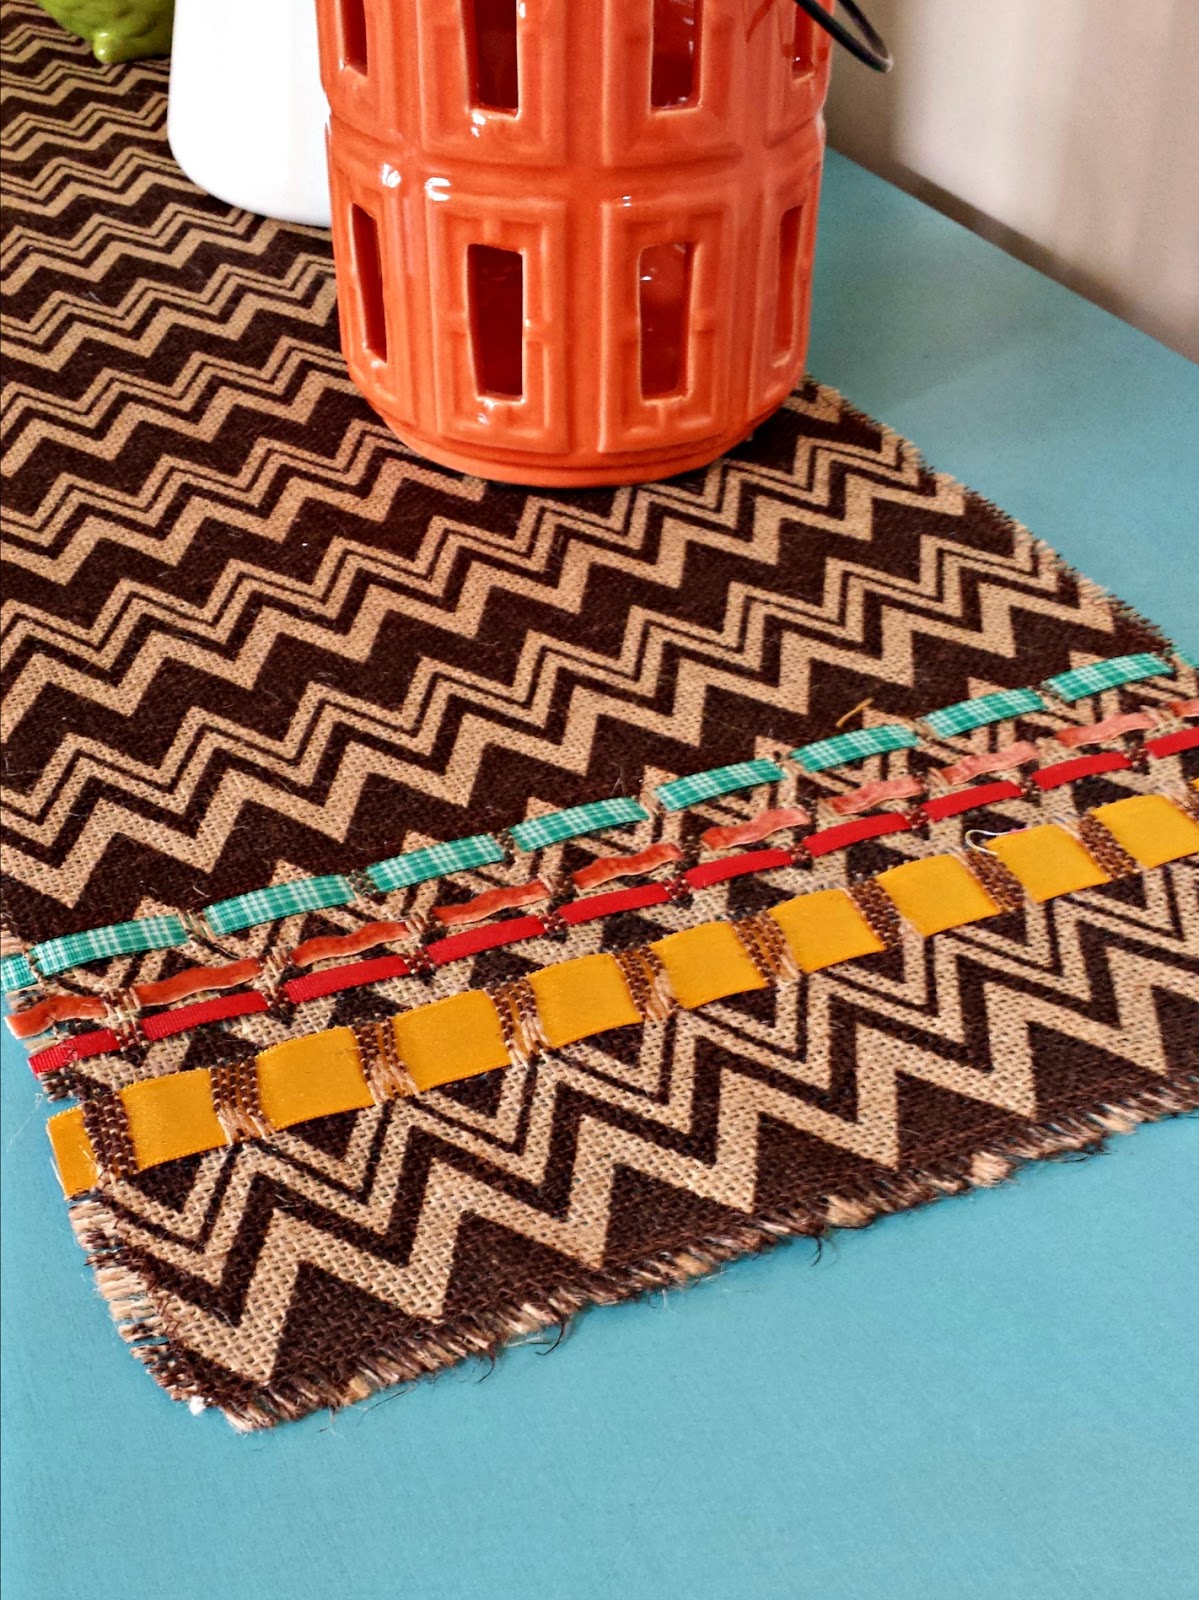
In this runner, I left just a bit of the edges frayed and trimmed the rest off. Now, you can sit back and enjoy your runner.
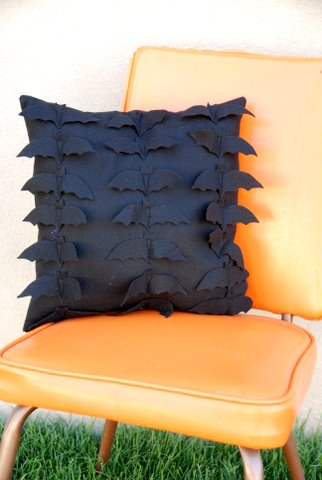
And for more fall inspired goodies, you can check out my Batty Felt Pillow here.
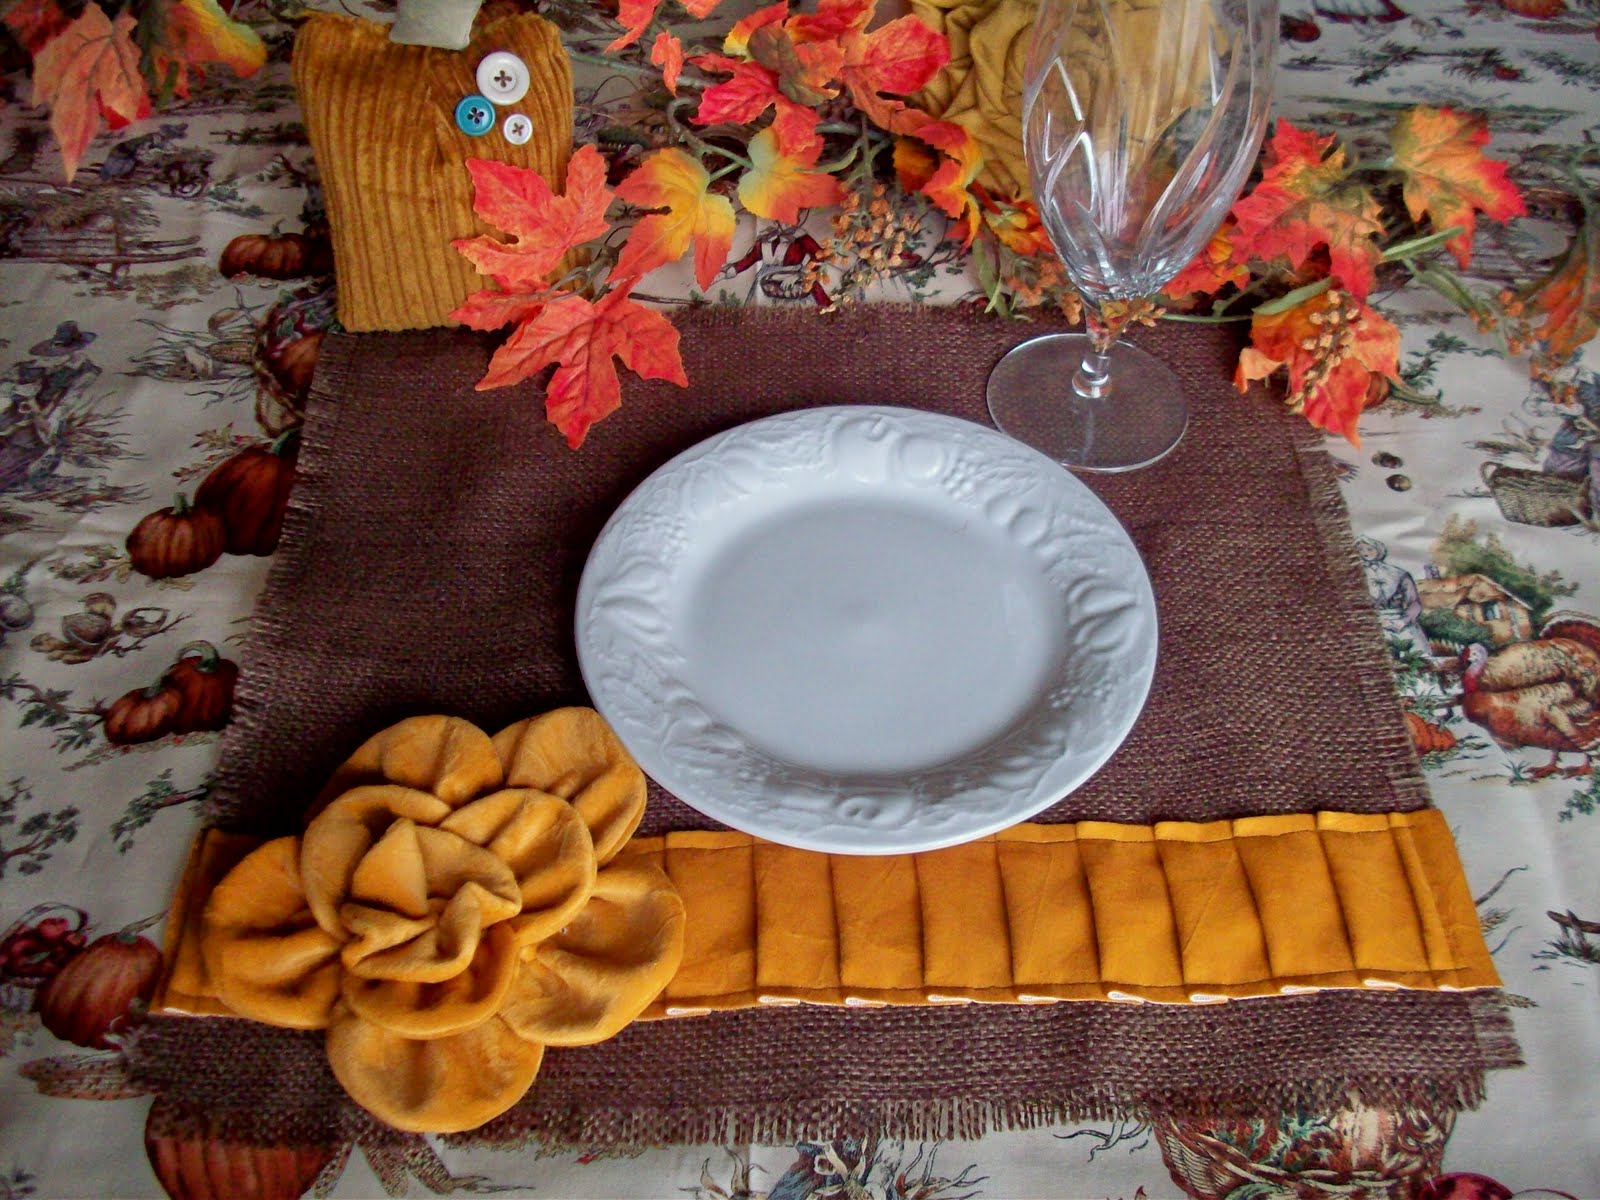
And if you’re really loving burlap, I have a fun place mat tutorial here.


Carol
October 3, 2014 at 7:23 pmThis is really a cool idea, Amy! I don't really know why I haven't thought of doing that before, because I always do the pulling of fibers to get the burlap straight. Anyway, I'm so glad you were smart to think of this — it adds so much even to the geographic print on the burlap!