I am so excited to share this project with you today! I have been working on it forever, so it’s nice to finally let it see the light of day. 🙂
*Disclaimer, this project is being considered for prizes in the Cricut Design Space Star contest. I was given a Cricut Explore as part of my participation in this contest. All opinions and ideas are my own.
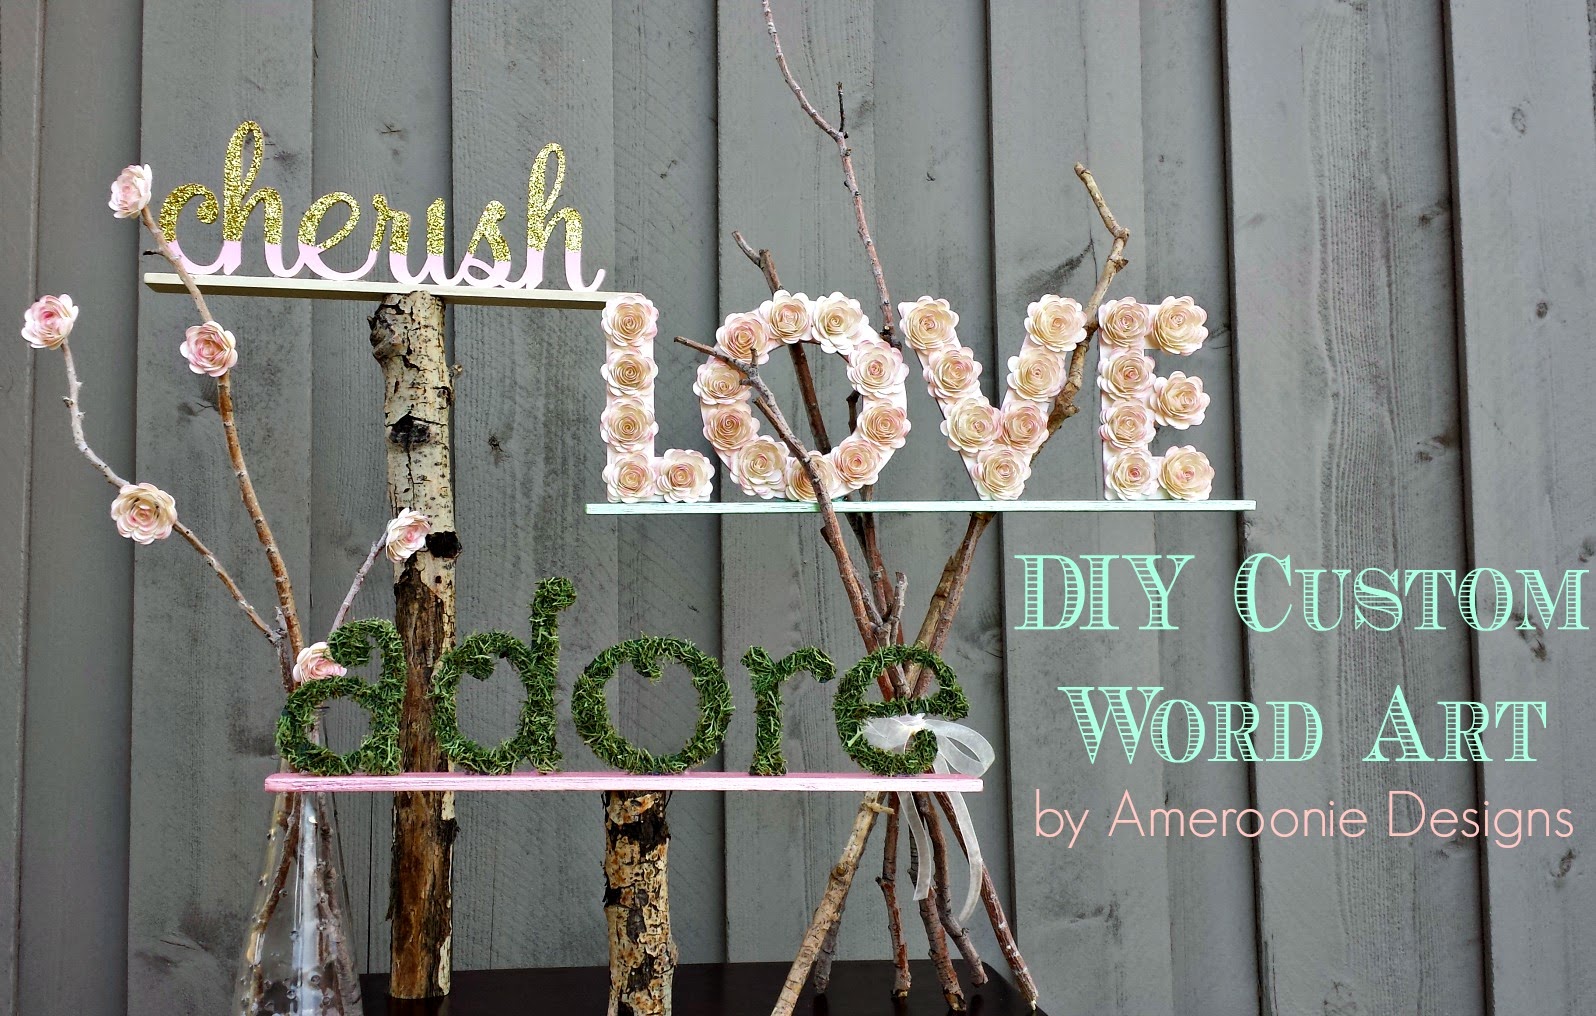
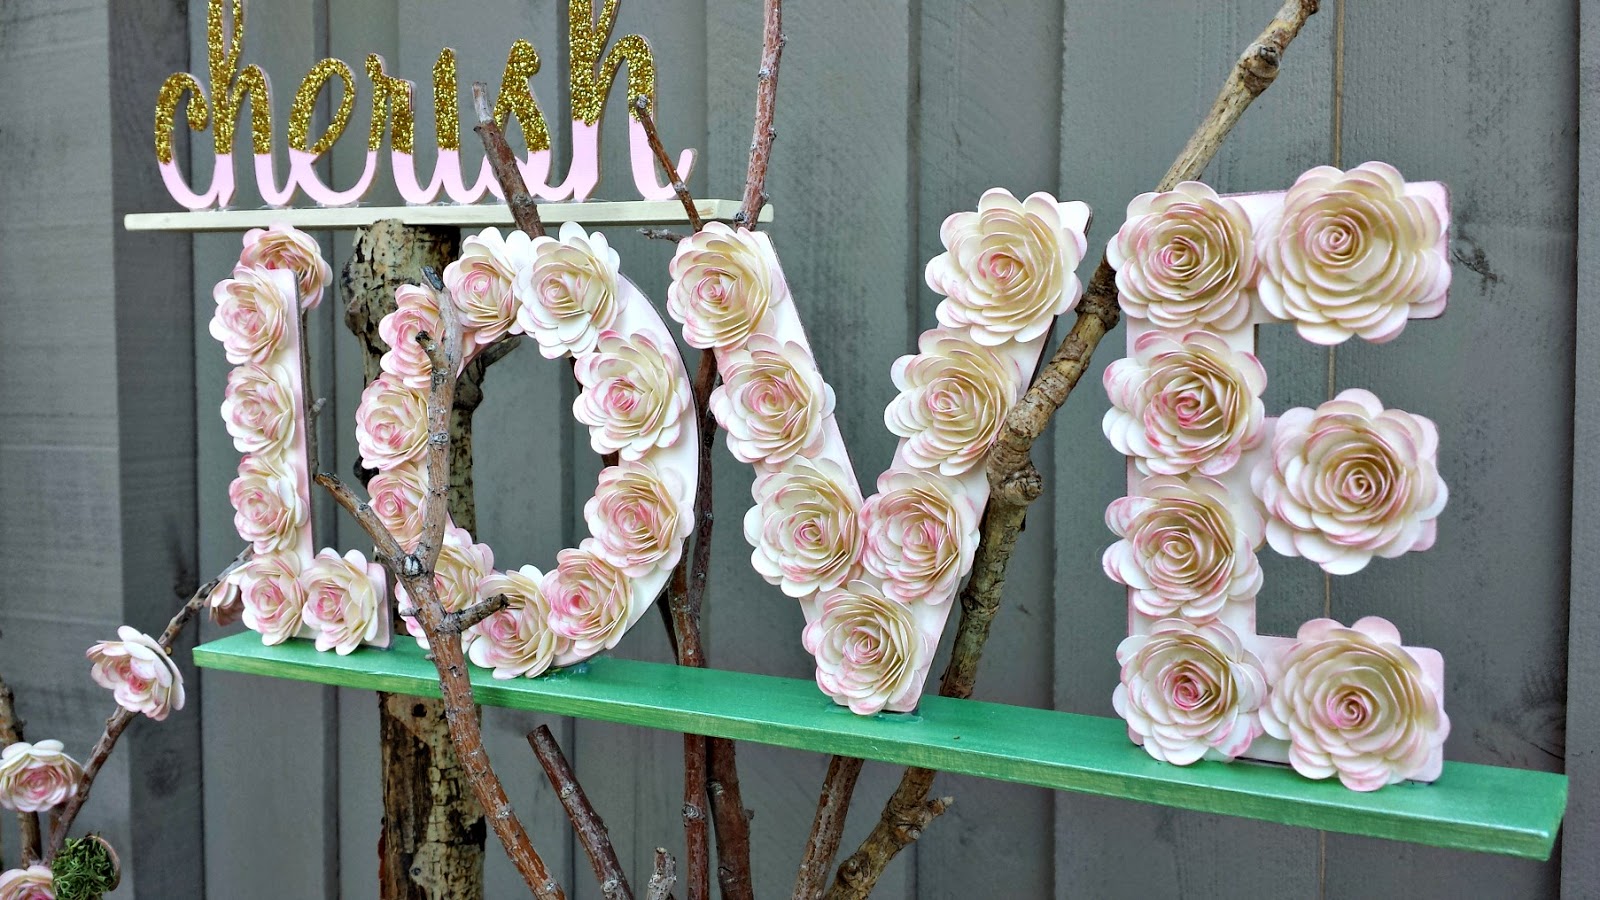
The theme for the Design Space Star contest is Weddings/ Celebrations. Our team decided on a Woodland/ Floral theme with a focus on the colors of blush and mint. I created these custom word art pieces. I think they would be perfect on the display of engagement photos at a wedding, or perhaps by the guest sign in book? The great thing about this project, is that you can completely customize the words and fonts you use so this project could apply to anything- birthdays, parties, holidays or just every day home decor.
DIY Custom Word Art Tutorial
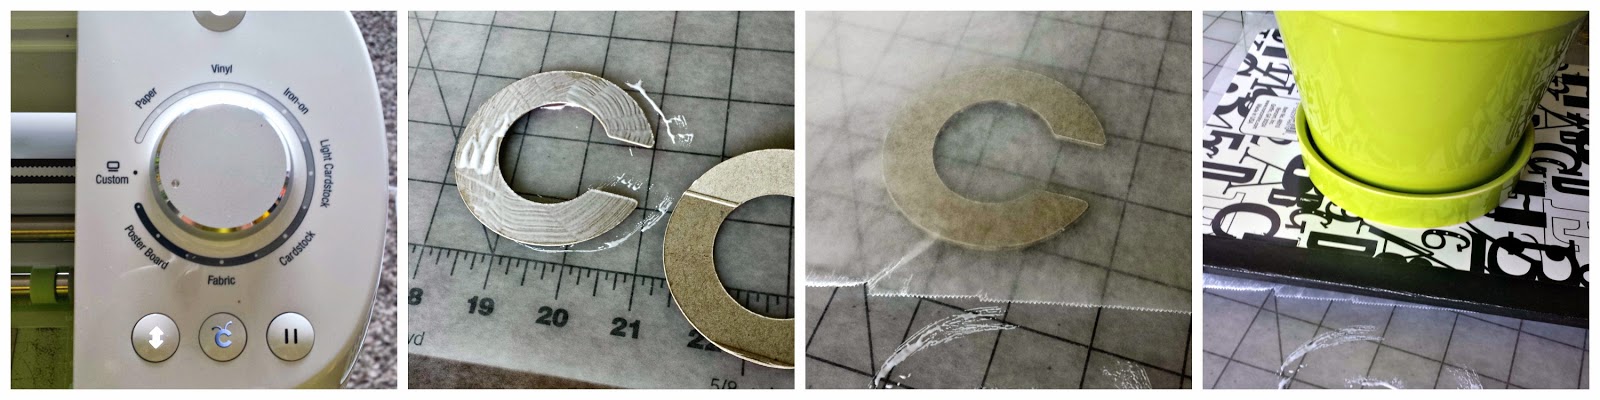
The first thing we need to do is create our base letters. I used CEREAL boxes to do this. Now, you could probably purchase chipboard to do this, but I would guess you would want the deep cut blade, which I didn’t have at the time, and I really didn’t want to spend money, so recycling to the rescue.
Once you have cut off the front and back of the cereal box, you will need to select your font and letter size. You can find the fonts and sizes for the art I created here: Cherish, Love, Adore.
When you go to cut out the letters the Cricut will ask you to select the material, you can see from the first picture that I put the dial on the mark just past Poster Board. This will double cut the letters and I found it worked perfectly. You will want to cut out three sets of letters from the cereal boxes.
Once your letters are cut I used mod podge to glue them together. You can also use hot glue or any other kind of glue really. I wanted mine really sturdy and thick so I opted for mod podge. My biggest tip with mod podge is to use wax paper on your work surface, especially when you leave the letters to dry. The glue won’t stick to the wax paper and you don’t have to worry about tearing your letters. So, put a thin, even coat of glue on your first letter. Place the second letter on top. Repeat for the third letter. Cover with a second piece of wax paper, place a book and/or other flat heavy object on top to help the letters dry flat and stick all the layers together as it dries. Do this for all your letters. Once your letters are dry, you can decorate them however you want.
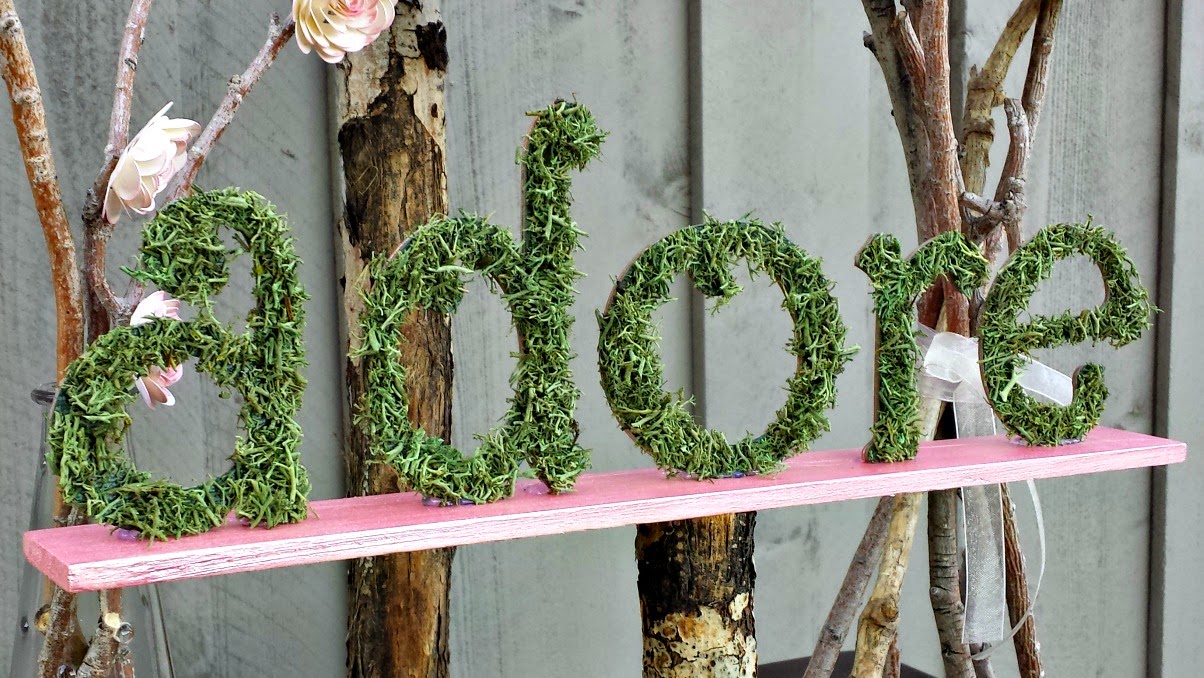
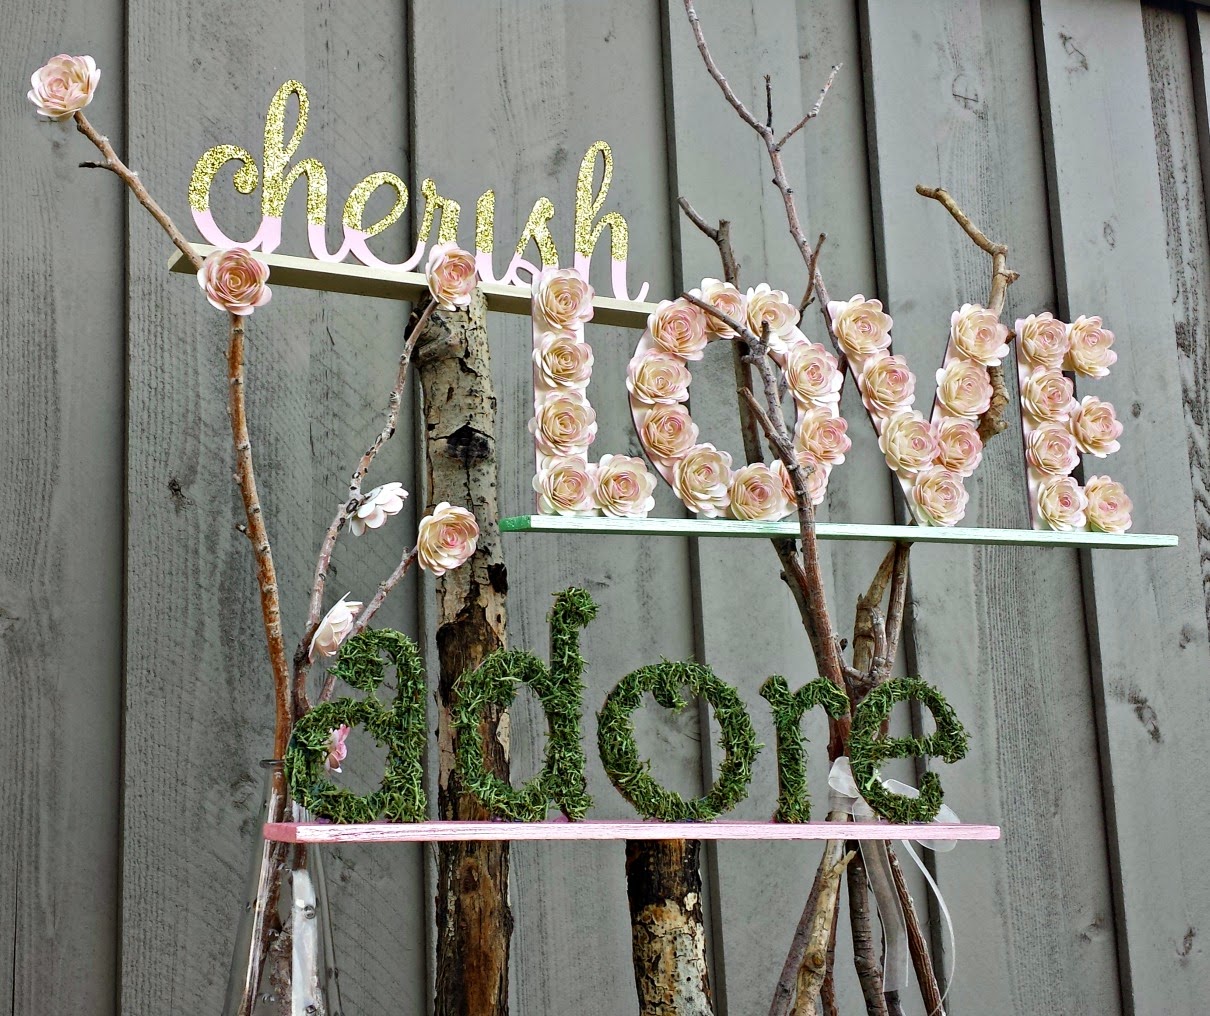
I chose to cover one word with moss. I used reindeer moss I found at the dollar store. I cut the pieces of moss up finely with scissors so that the pieces were small enough to allow the detail of the letters to show. I put the moss in a shallow plastic box. I cut out a set of letters from some green paper that closely matched the moss, just in case there were some holes once the moss was applied and trimmed. I used mod podge to glue the paper to the letter.
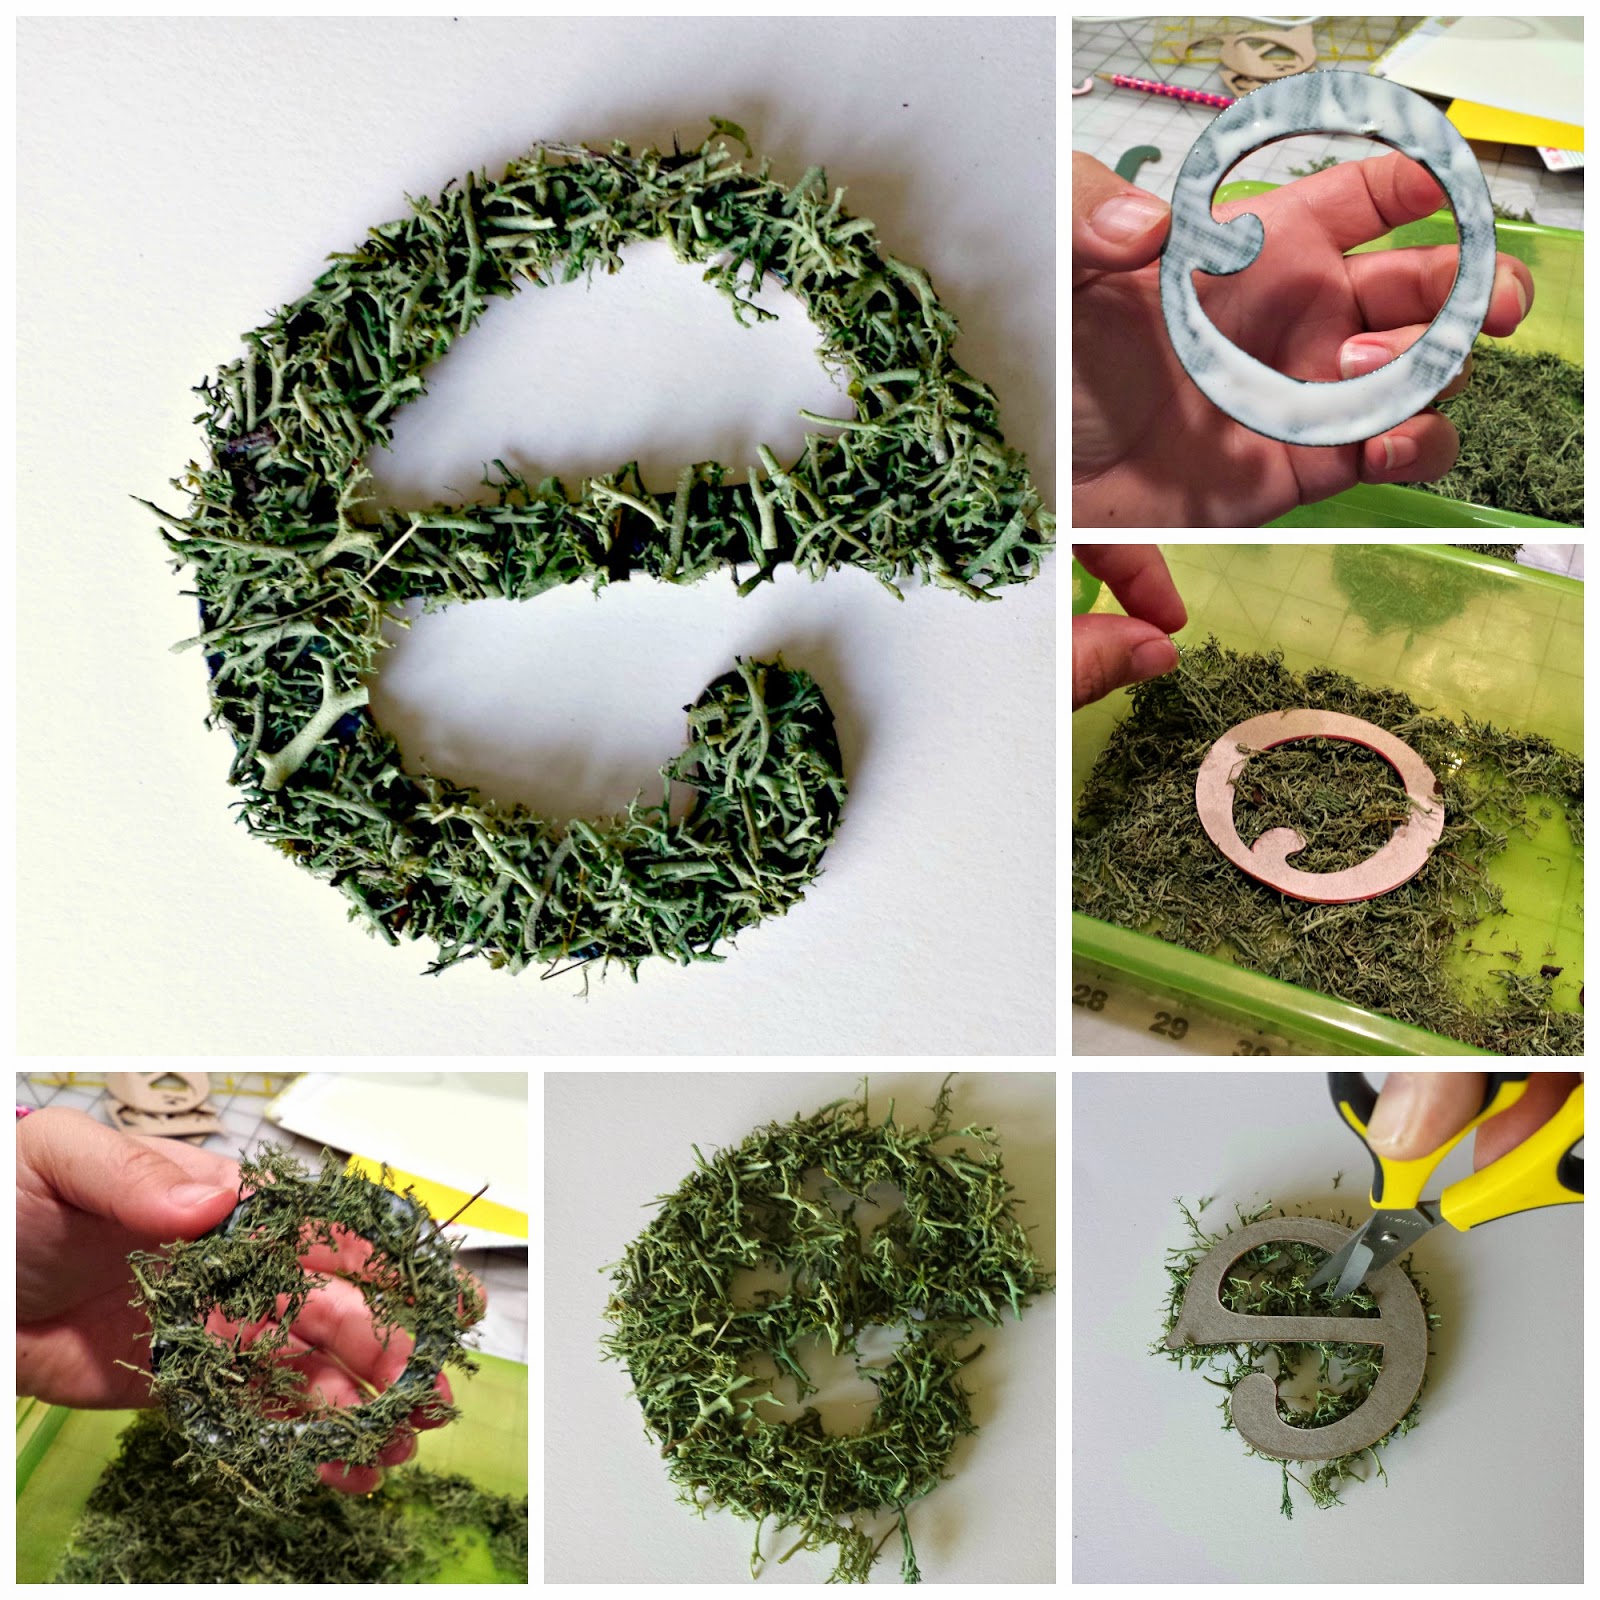
Once the letter was ready I took my first letter, put a thick layer of mod podge on it and then placed it face/glue side down in the moss, press gently. When I pulled the letter out, I found a couple spots that still had glue exposed. I used my hands to pick up some moss and pressed it into those spots. Then I set aside the letter to dry overnight. When I came back, the letter wasn’t very recognizable, so I turned it over and took some short, sharp scissors and cut around the edges. I tried to keep the scissors perpendicular to the letter and it trimmed up nicely.
For the LOVE letters I wanted to add dimension and lots of texture. I decided to use a small rolled flower. You can find the cricut file here. Again I prepped the letters by cutting out a set of letters in the color of paper (cream in this case) that I was using for the flowers and glued it to the letters.
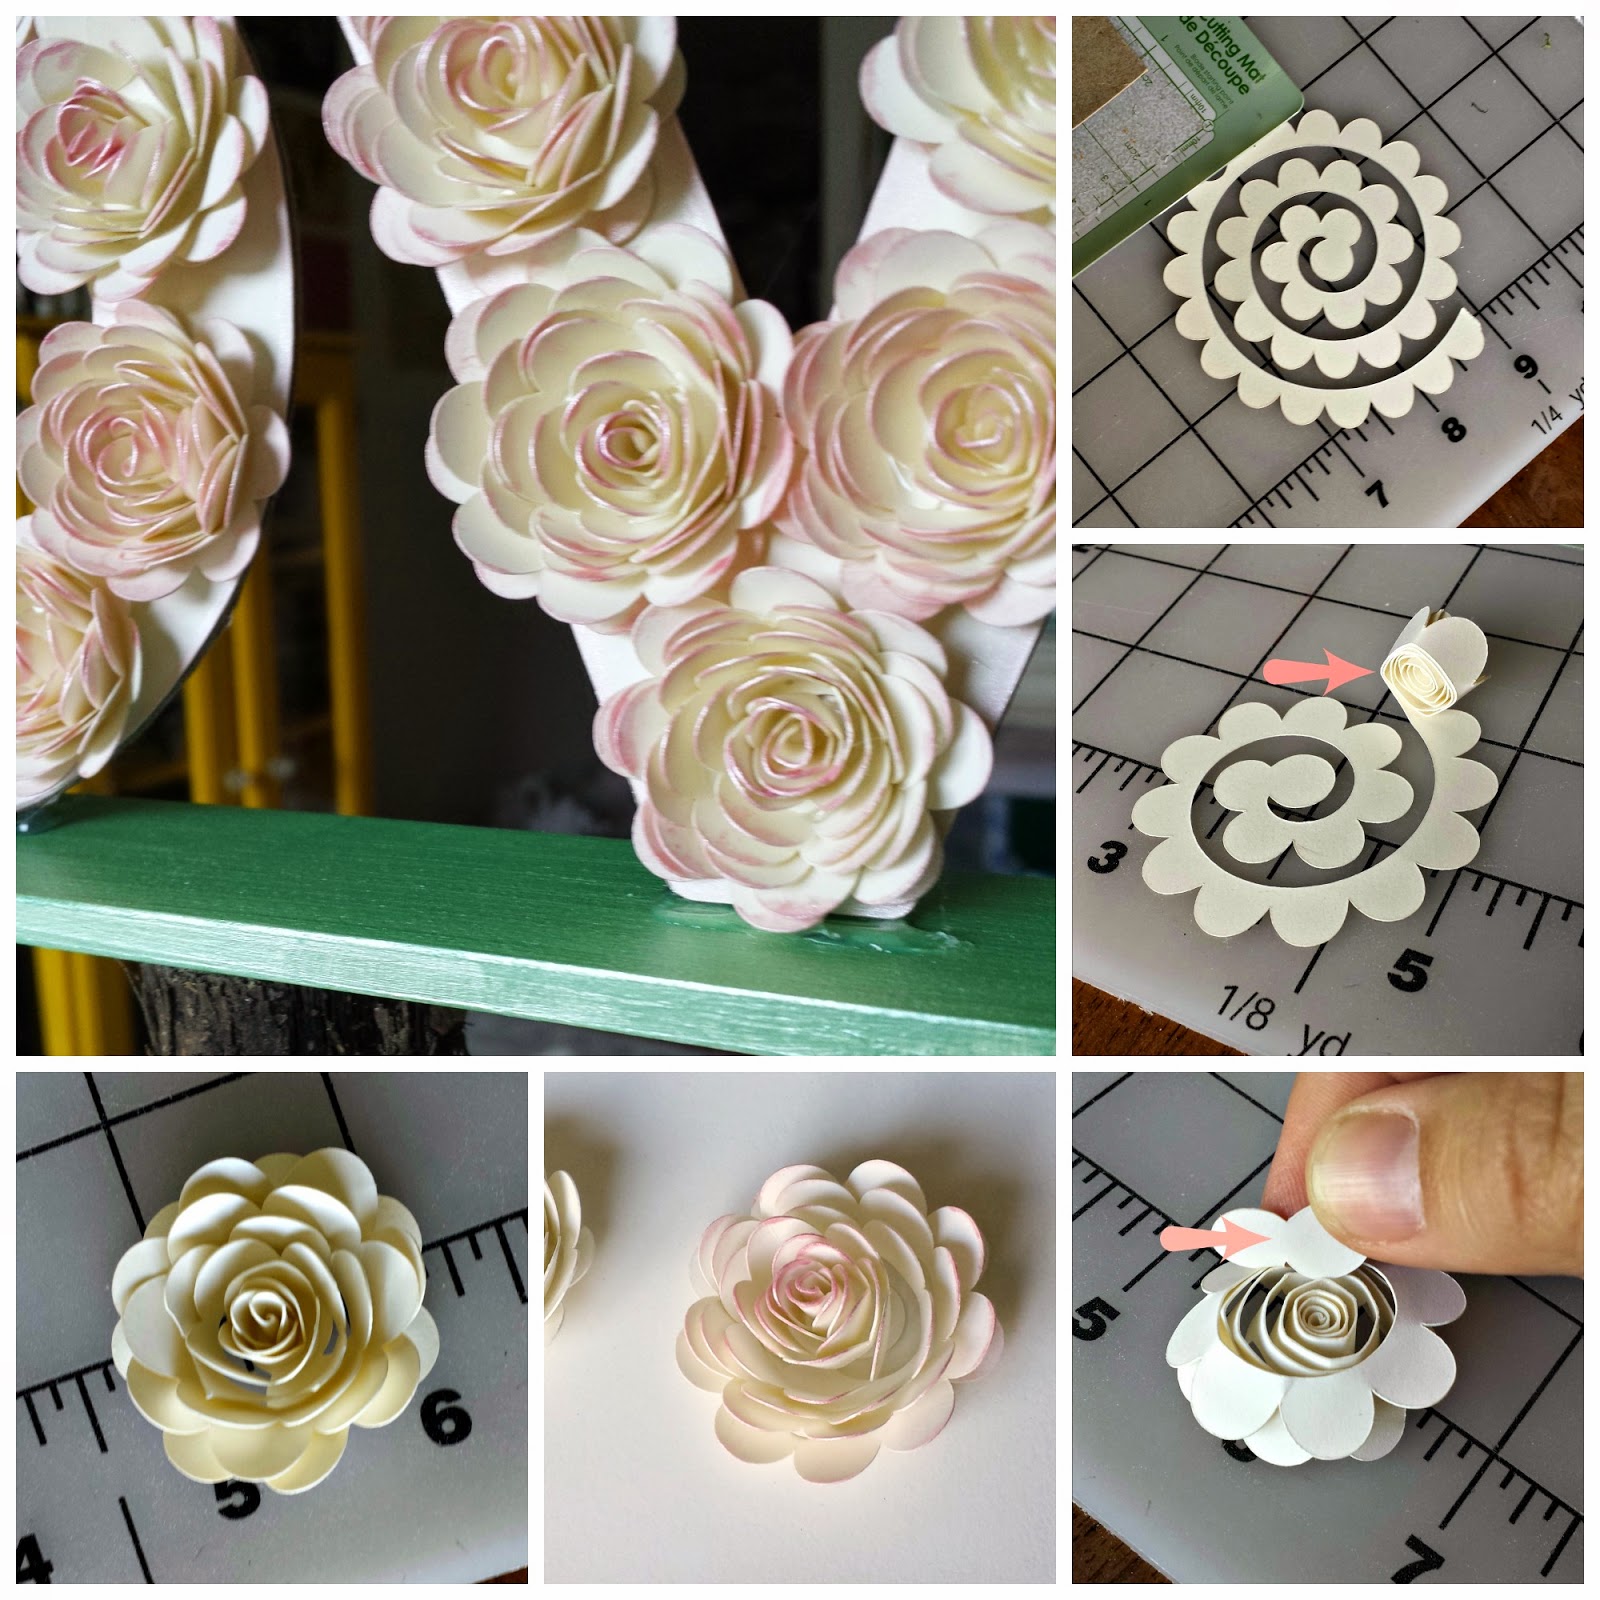
Once you have your flower spiral cut, you simply start rolling at the outer edge. Try to keep the bottom, or straight edge, of the flower even. Once it’s all the way rolled, I released the flower to let it relax a bit. I took some of my blush colored paint and added it to the center and edges of the petals. While you have the paint out, use your brush to add a bit to the edges of your letters also. After the paint dried, I put a bit of hot glue on the flat center part of the flower and pressed it to the bottom of the flower. *tip: on some of my flowers, I re-rolled them so they would be tighter. Hold the flower rolled with one hand while you add the glue so it doesn’t get too relaxed. Be careful, the glue is hot. 😉 Once all my flowers were glued, I positioned them on my letters how I wanted then glued them down.
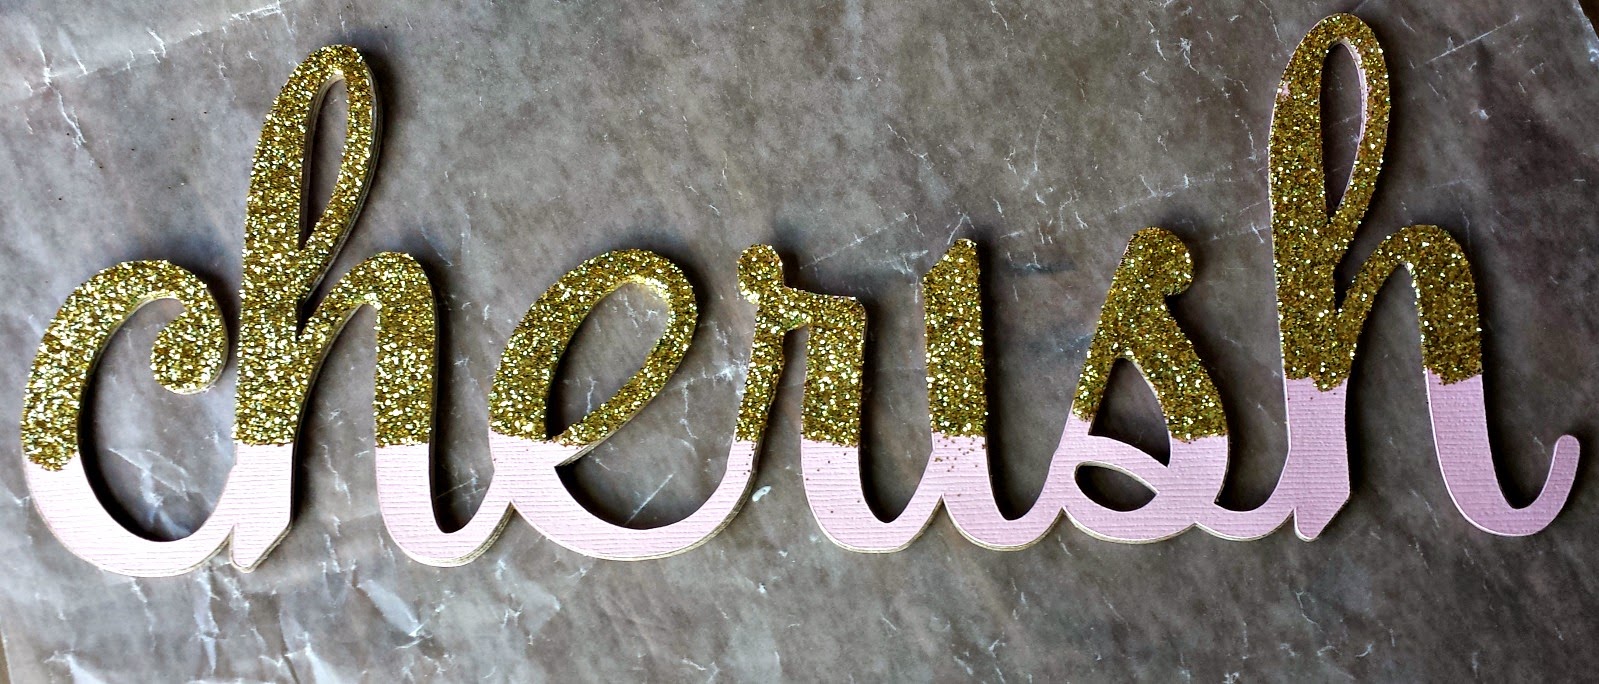
For my last letter set, I merged the letters so it was all one word. To do this, add text to your file in Cricut Design Space and then decrease the spacing between the letters in the Edit window until the letters are touching, then select them all and use the Weld option. This will keep the letters straight on the bottom. I cut the word out of blush paper and glued it to the word. The last step was to put glue on the top half of the word and add glitter. Pretty simple.
Now that our words are ready, lets’s make art!
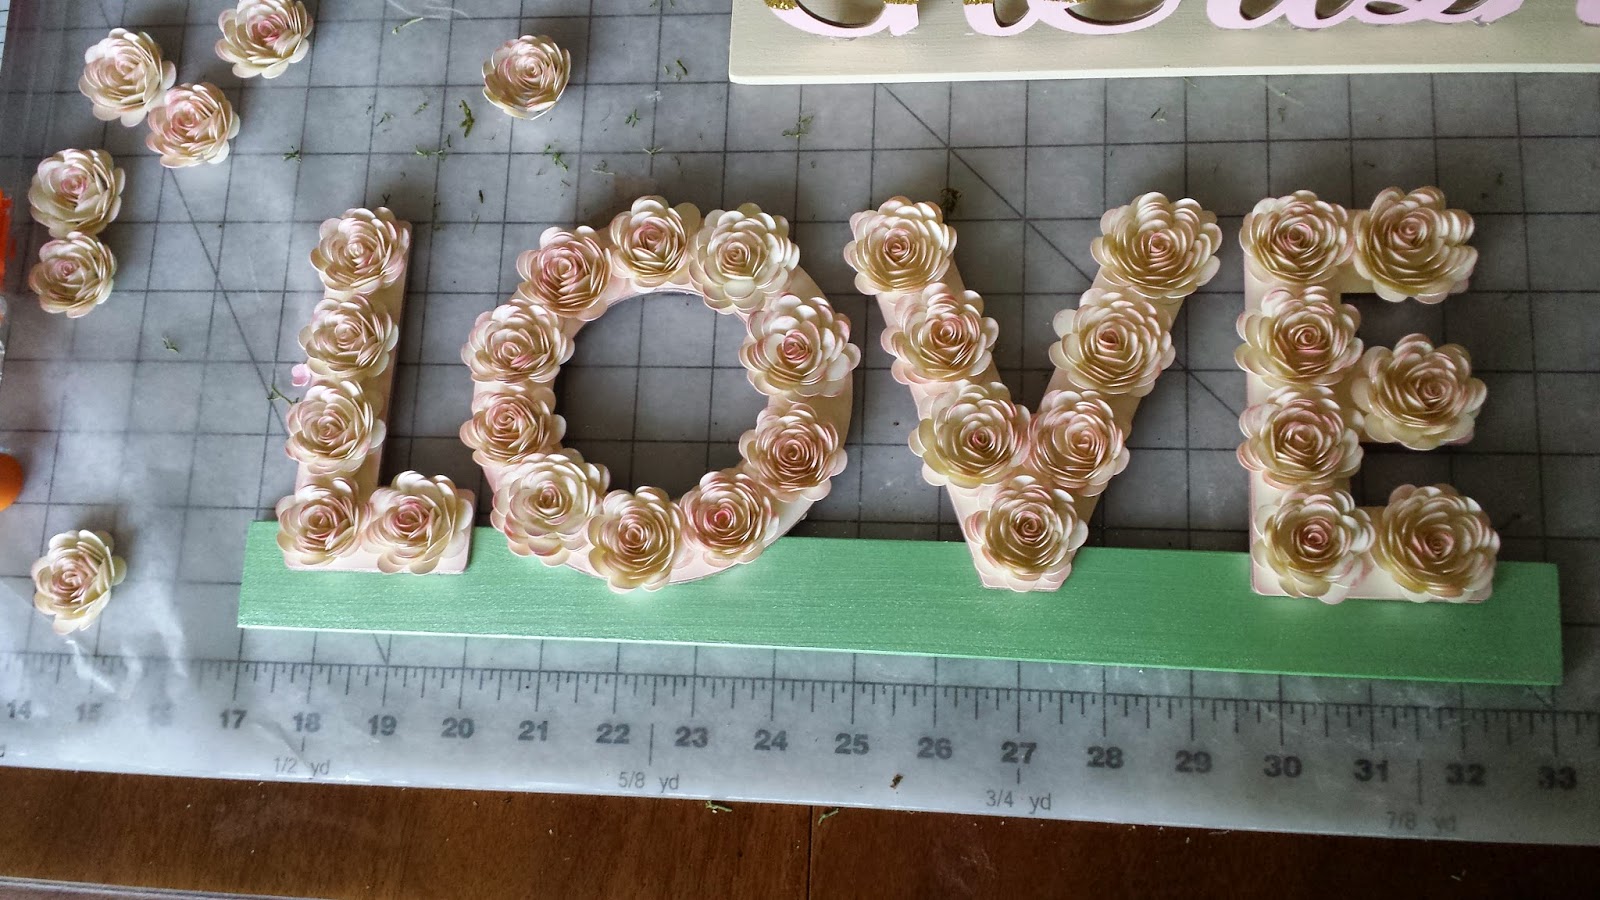
For the base of my word art, I used 5 gallon paint stir sticks. I’m all about cost effective on this one. 🙂 I cut my sticks to 16, 14 and 12 inches, sanded and then painted them. When dry, lay the letters on top of the base so you know how to space them. Then, I like to run some hot glue on the base where the letter will be resting and place the letter into the glue, holding it perpendicular (straight up and down) to the base while it cools and hardens. If you need more glue for stability, I add more to the back. *tip: I have found it works better to put the glue on the base and not the letter, it just goes up the sides of the letters a bit better.
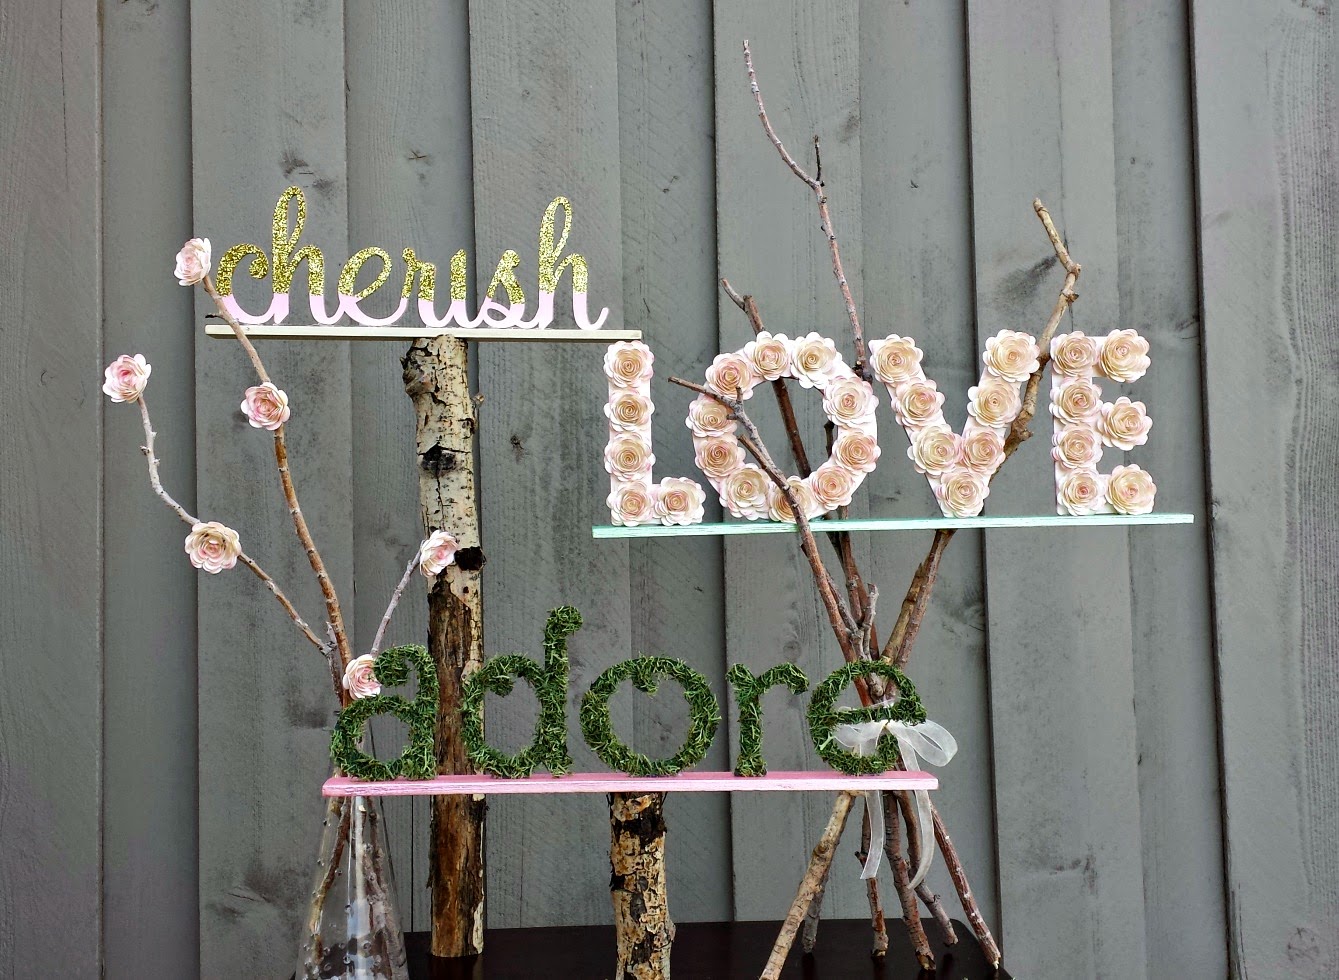
I originally thought to use wooden candlesticks for the bases of these, but as I was thinking about how to make them more “woodsy” I came up with the idea to use branches and sticks instead. Luckily my sister had the perfect branch in her back yard that was already falling out of her tree and we just gathered a handful of sticks from the ground. The base for the word LOVE was really just trial and error, I tied the sticks together and just moved them around until it created a sort of tri-pod that I just wedged the letters into. Then I cut the branches to the sizes I needed for the look I wanted with the other two words. I used a couple of left over sticks and flowers to add an accent to the other side.
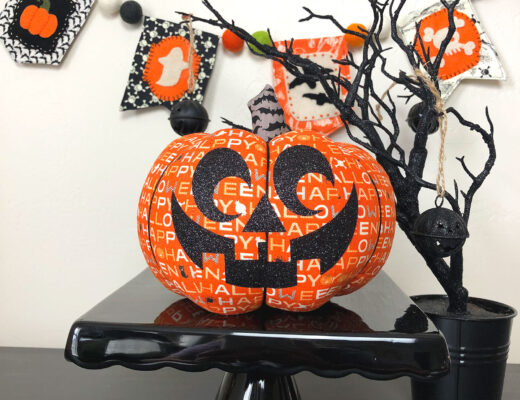
I already have plans for more of these fun words, look for some Halloween inspired word art next week! What words would you like to make?
xoxo,
Amy
And finally, I just want to let you know about a new contest Cricut has going on:
Enter the Cricut-I Made It! Contest
Because It’s Time to Make It Big
It’s time your creativity pays off so you can really make it. Cricut has just announced the second phase of the Cricut – I Made It! contest and this time they’re awarding one winner their own Make it Now™ project line to be sold in Cricut Design Space™!
To help create your line, Cricut will fly you to their headquarters in Salt Lake City to work side-by-side with their design team. Then you and a guest will enjoy an all-expense paid stay at the Grand America Hotel – a luxury resort in Salt Lake City, home to the best skiing in the world.
The winner will be featured on Cricut.com and every time a Cricut user purchases your project, you’ll earn money. Cha-ching! Cricut will even help with your publicity.
Cricut is upping the fame game even more…camera, lights, action….
Cricut has partnered with the The Design Network – a premier online design channel – to showcase the Cricut- I Made It! winner this fall. You’ll get a spotlight feature on a network dedicated to celebrating great designers and their creative star power.
Cricut’s judges, including DIY Diva Alison Deyette and two creative directors from Cricut, will pick 50 finalists from the best project entries based on creativity, use of materials and technique. Who will pick the ultimate winner? You, the public, will vote online in October.
To enter the Cricut – I Made It! contest, all you need is a photo of an original project. You can upload up to five photos (which can be five individual projects or multiple photos of one project).
You have until September 30th to enter. What are you waiting for? It’s time you Made It big! Head to cricut.com to enter today.


seven thirty three
September 20, 2014 at 11:27 pmThis is so lovely!
Gwen @ Gwenny Penny
September 23, 2014 at 1:59 amGorgeous, Amy! You did an amazing job. I love the texture!
Debra Lovell
January 28, 2015 at 10:54 pmGreat Inspiration… This is gorgeous…Love your Style!