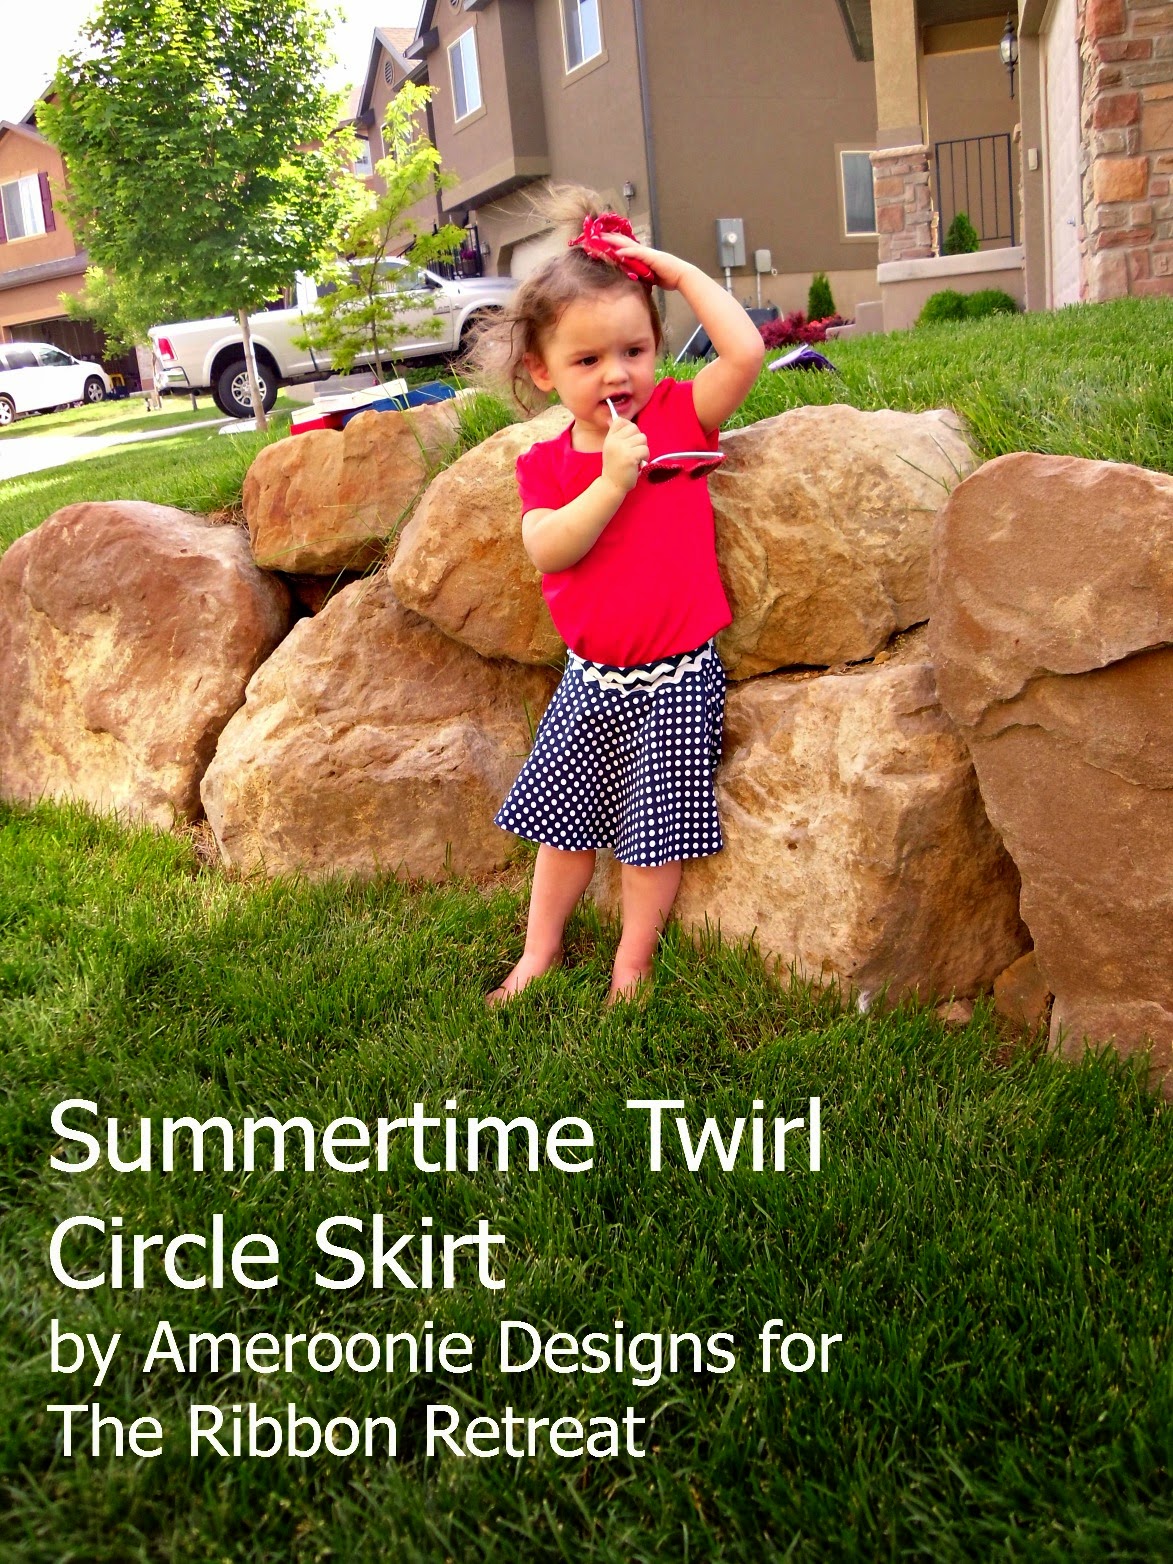
To me the Fourth of July just screams heat. Outside at parades, picnics, barbeques, carnivals. Right in the middle of summer, Hot, Hot, HOT! When I was trying to think of what I would make for The Ribbon Retreat blog this time, I immediately thought of this light and breezy knit from Riley Blake Designs.
Then I thought, what am I going to make with this amazingly soft fabric? And it came to me, or more truthfully, after I made a pair of shorts my darling 5 year old told me she hates shorts and wanted a skirt instead. And THAT’s when it hit me, A SKIRT! 😉 Not just any skirt, but a full circle skirt with a soft yoga waistband. Simple to make, easy to wear and absolutely perfect for twirling.
Lets make a bunch, shall we?
Summertime Twirl Circle Skirt Tutorial
Materials:
Knit fabric- depending on the size of the skirt you will need 1/2 to 1 yard
contrasting knit fabric for waistband if desired- you will need a scant amount, 1/4 yard will do
sewing machine and tools
Measurements:
waist- all the way around
distance from the waist to the knee
Calculations:
1. We need to figure out the radius of the circle we’re going to cut out of the middle of the skirt. To do this we are going to take the waist measurement and divide it by 6.28 (2 X pi)
in my example my daughter’s waist measured 18″, 18/6.28= 2.87
It’s kind of hard to find that on a ruler, so I rounded to 2 7/8″
2. The second calculation is simple addition. Add the radius you just found to the distance from the waist to the knee.
my example: 2 7/8″ + 8″= 10 7/8″
(the amount of fabric you will need will be twice this number- – in this case 22″, However, I only had a 1/2 yard cut, so instead of making a full circle, I made two half circles)
Drawing our circle:
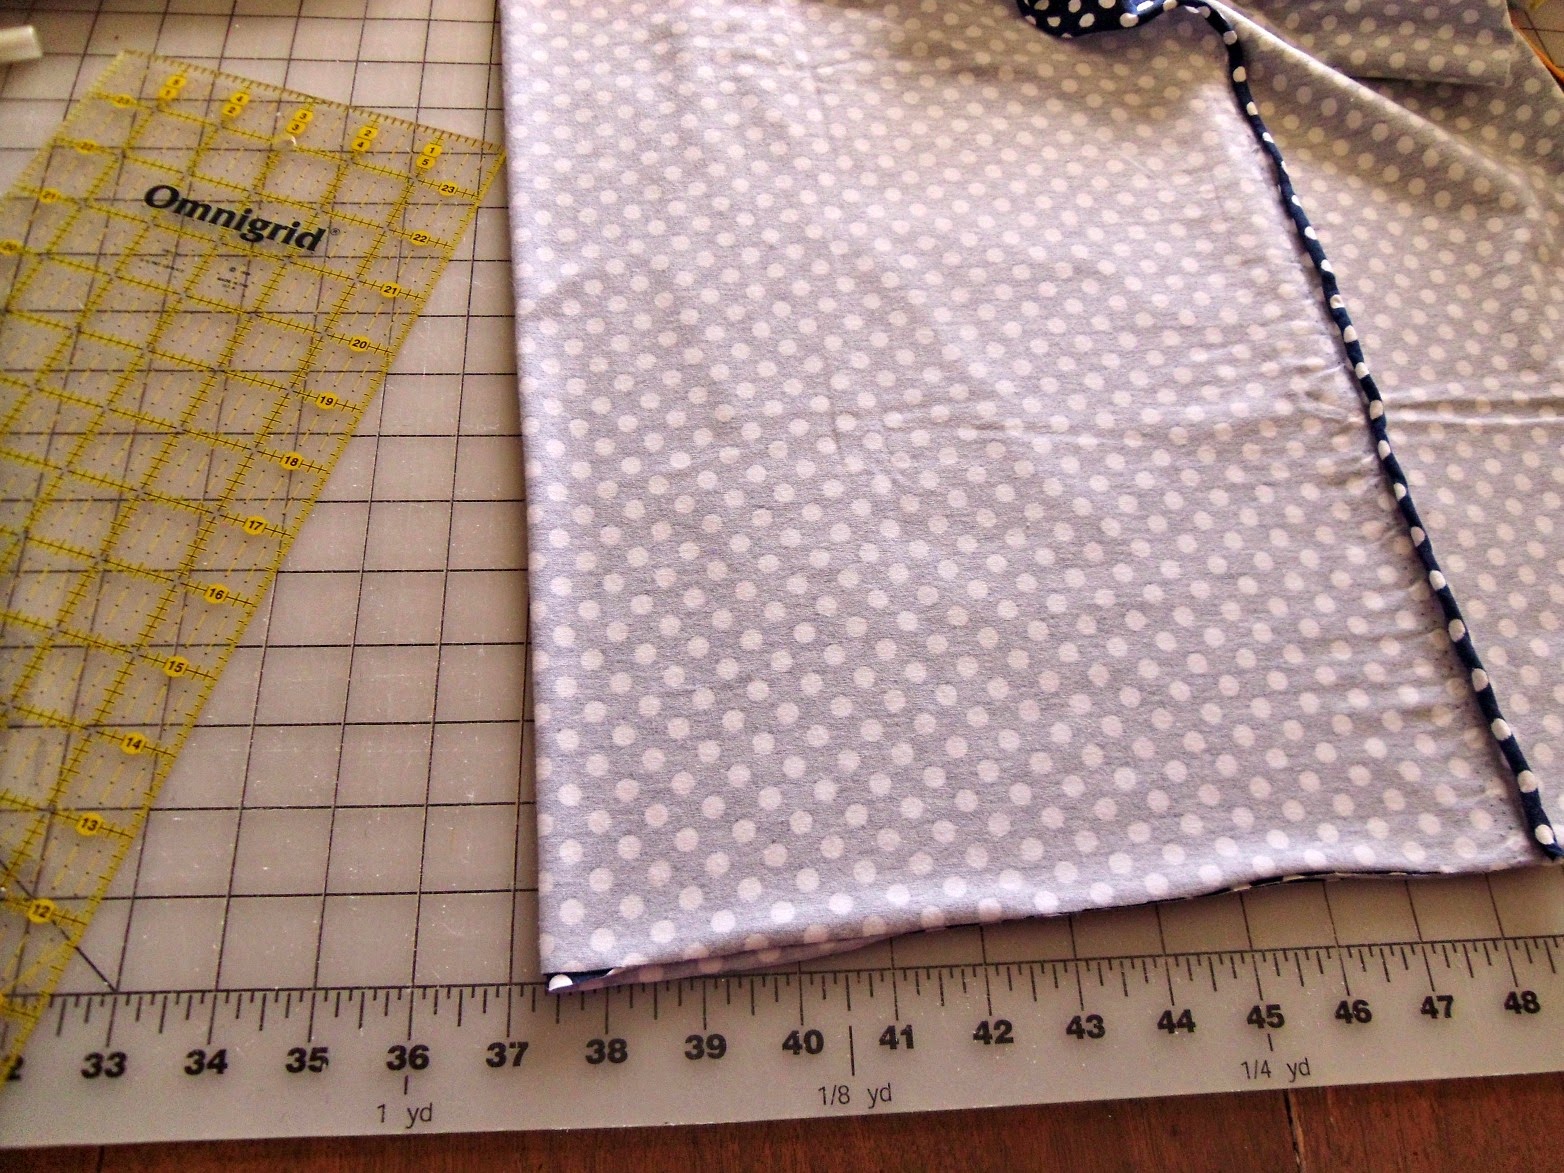
Take your fabric and fold it in quarters. *in my case, I’m making two half circles and sewing them together- so I only folded it in half
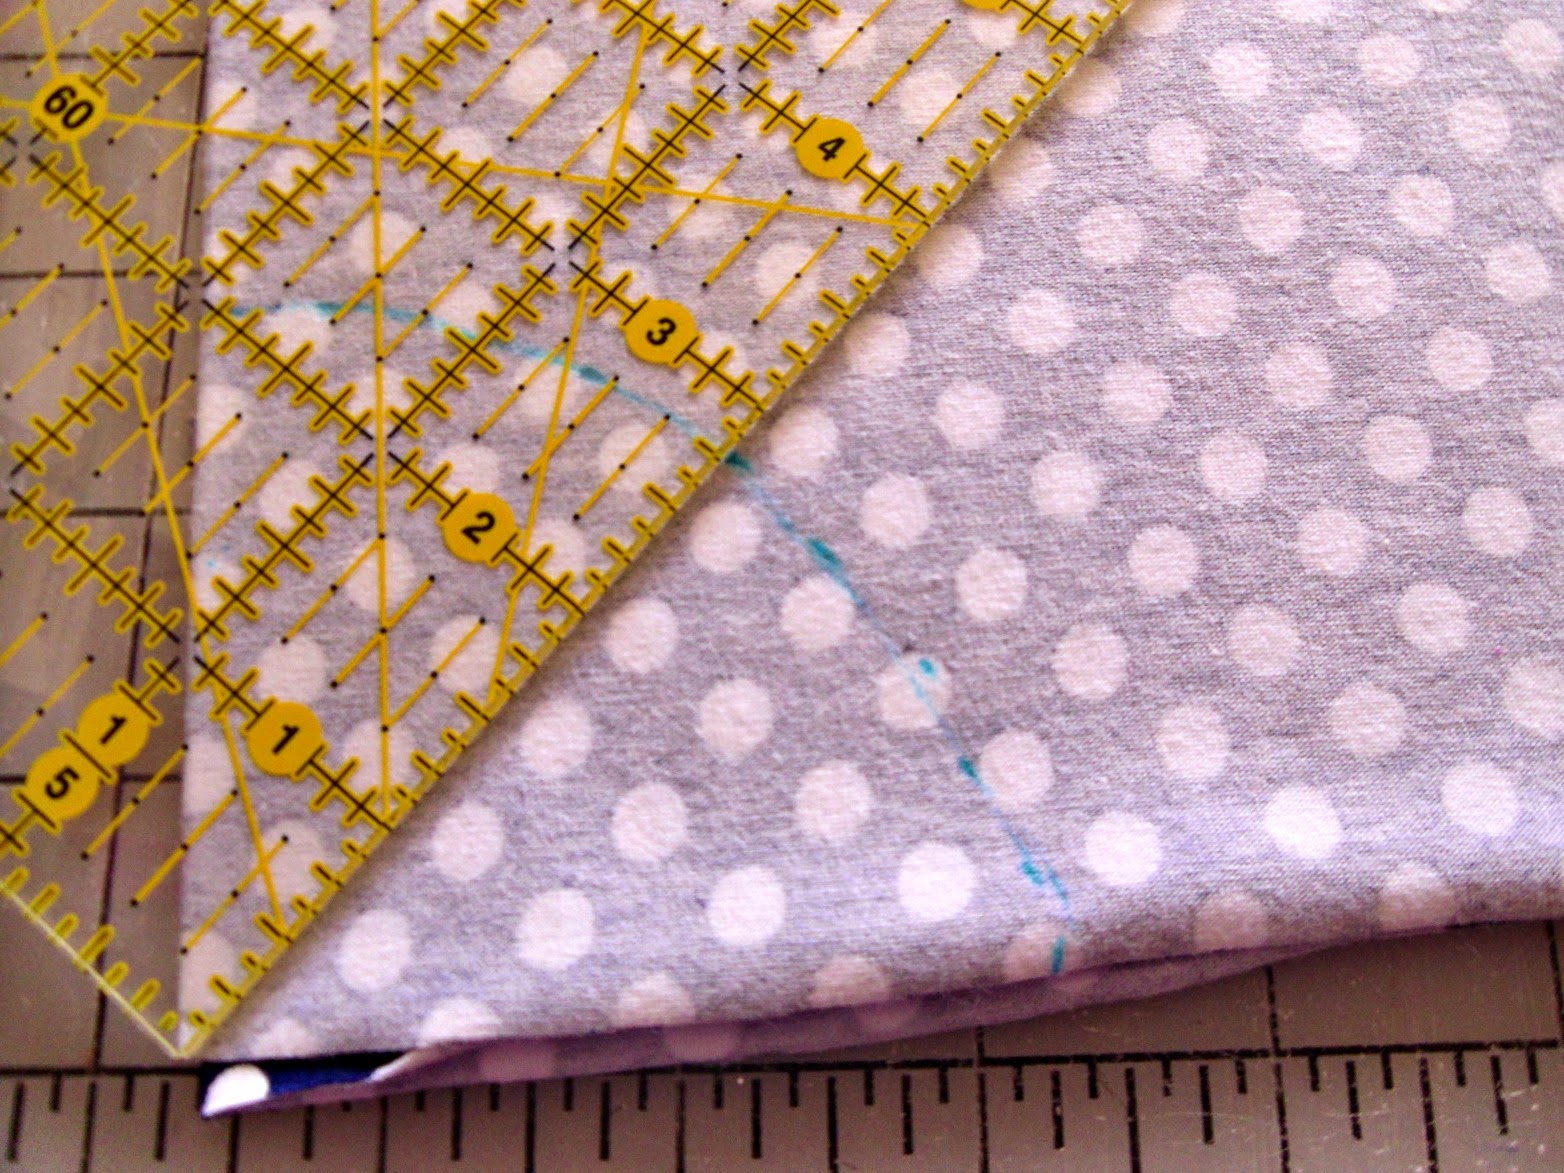
From the fully folded corner (if you’re making a full circle, or just the folded edge if you’re making half circles) you will start making marks at the distance of the radius, and the radius plus length. Repeat at close intervals from one edge of the fabric to the other, then fill in the space between the marks to make two 1/4 circles- one using the radius and another at the radius plus length.
Cut along the lines.
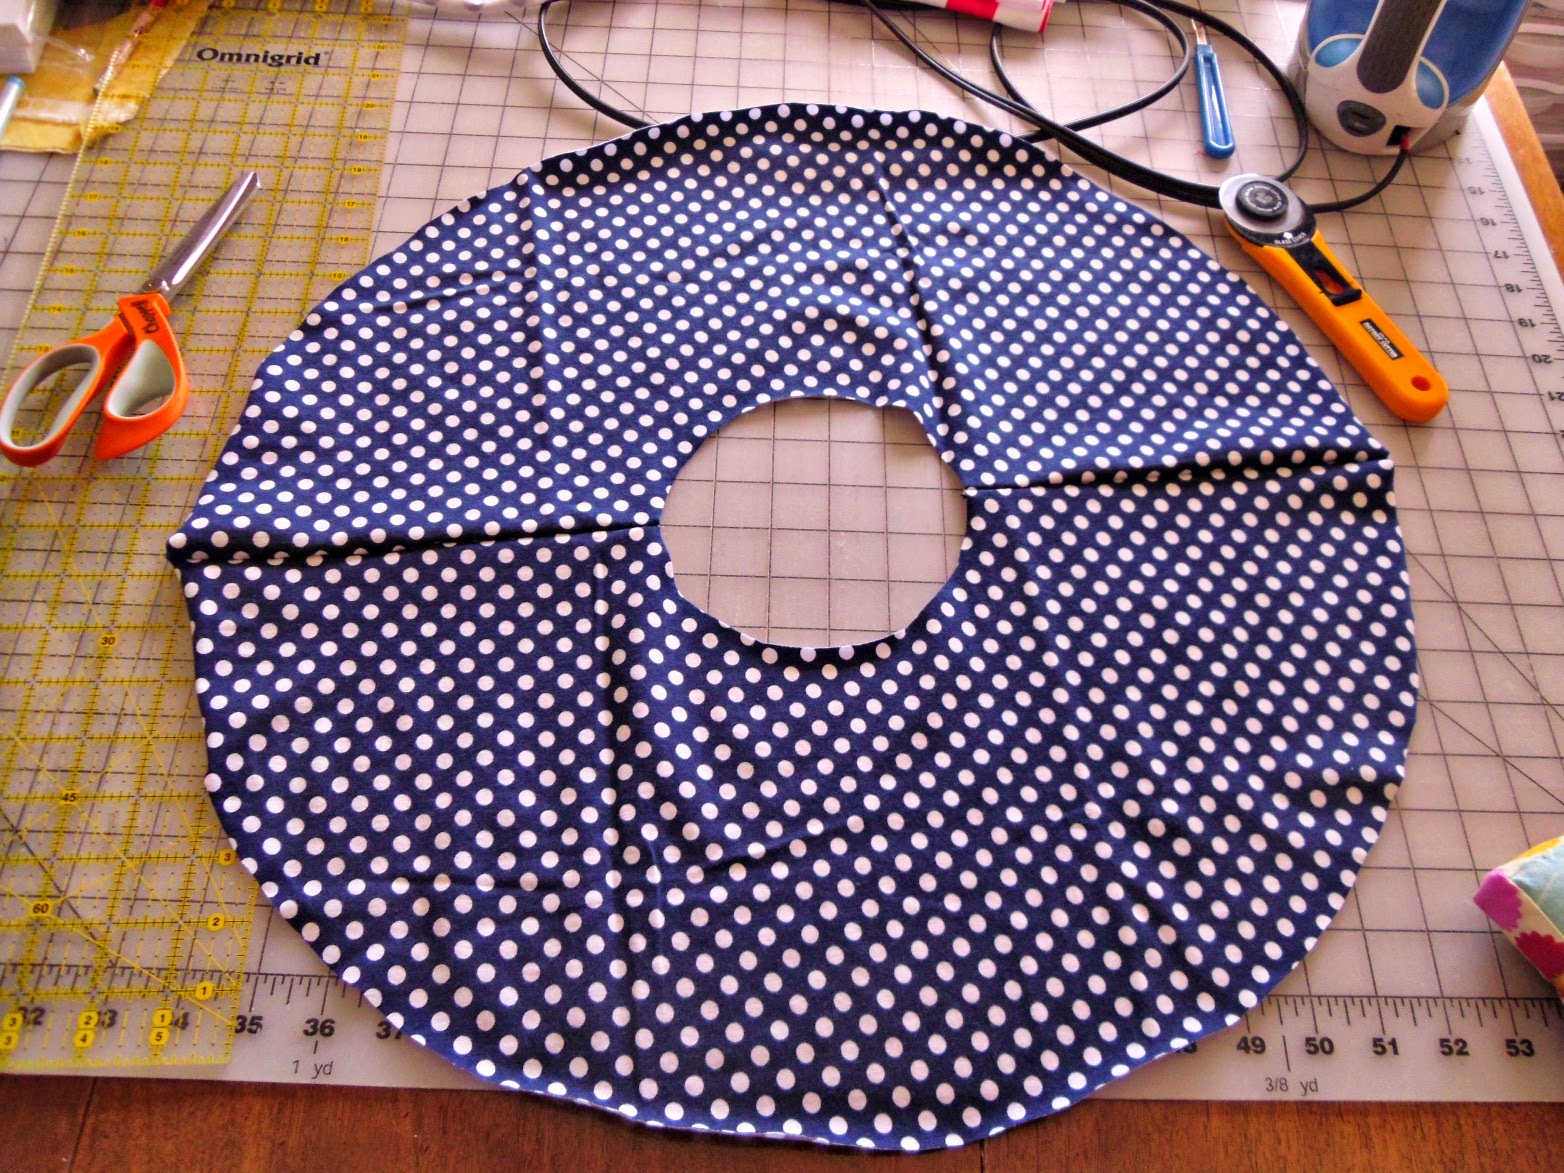
Now you have your circle. (If you made half circles, you will sew the two edges together to create a full circle)
Cut out the waistband:
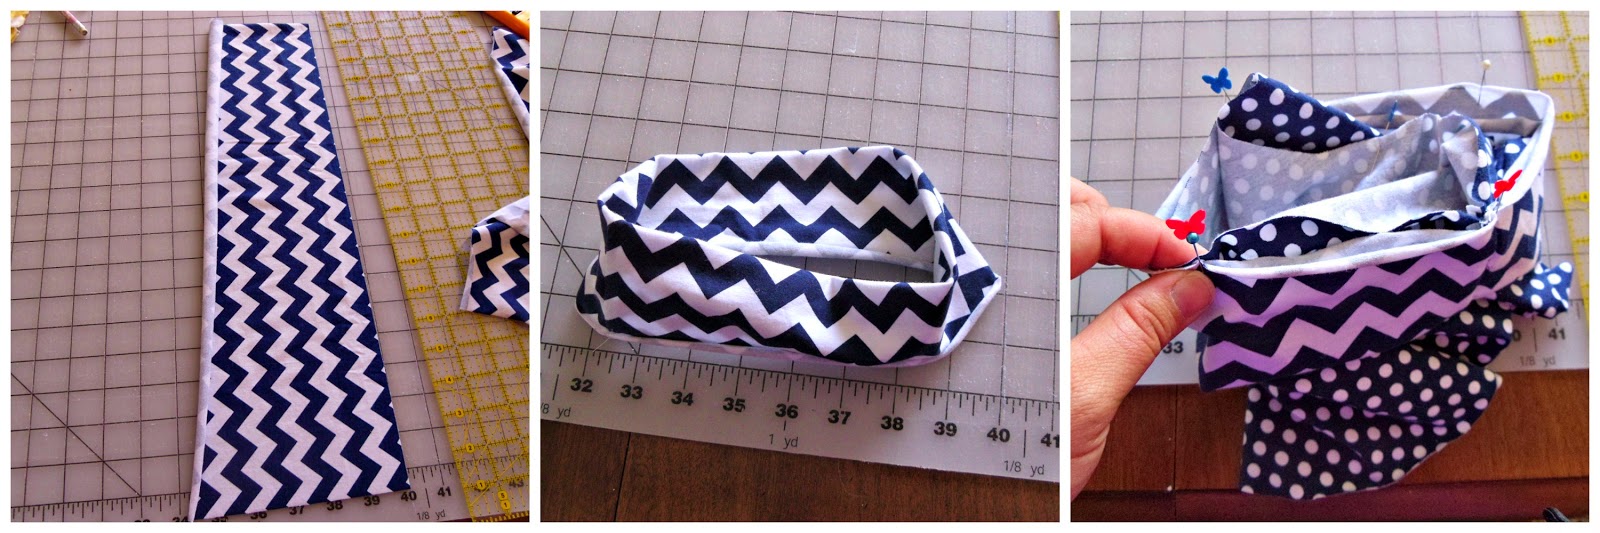
Cut out the waistband fabric. For a 2T size, I made the waist band 6″ wide. You will want to make it bigger for a larger skirt. The waistband will be folded in half to create the band, and then folded in half again when worn, so the finished waistband height will be 1/4th the width of the initial piece you cut out.
So, for the 2T skirt: 6″ X 18″ (the measurement of the waist)
Sew the two short ends of the waistband together.
*an important note about the stitch to use. Knit has some stretch to it, this is why we are using it for the waistband as well. In order to keep our stitches from breaking as it stretches we need to use a stitch that has some give. A zig zag stitch will work, but if you have a machine with a double overlock stitch, it will give you a better edge on your stitch line.
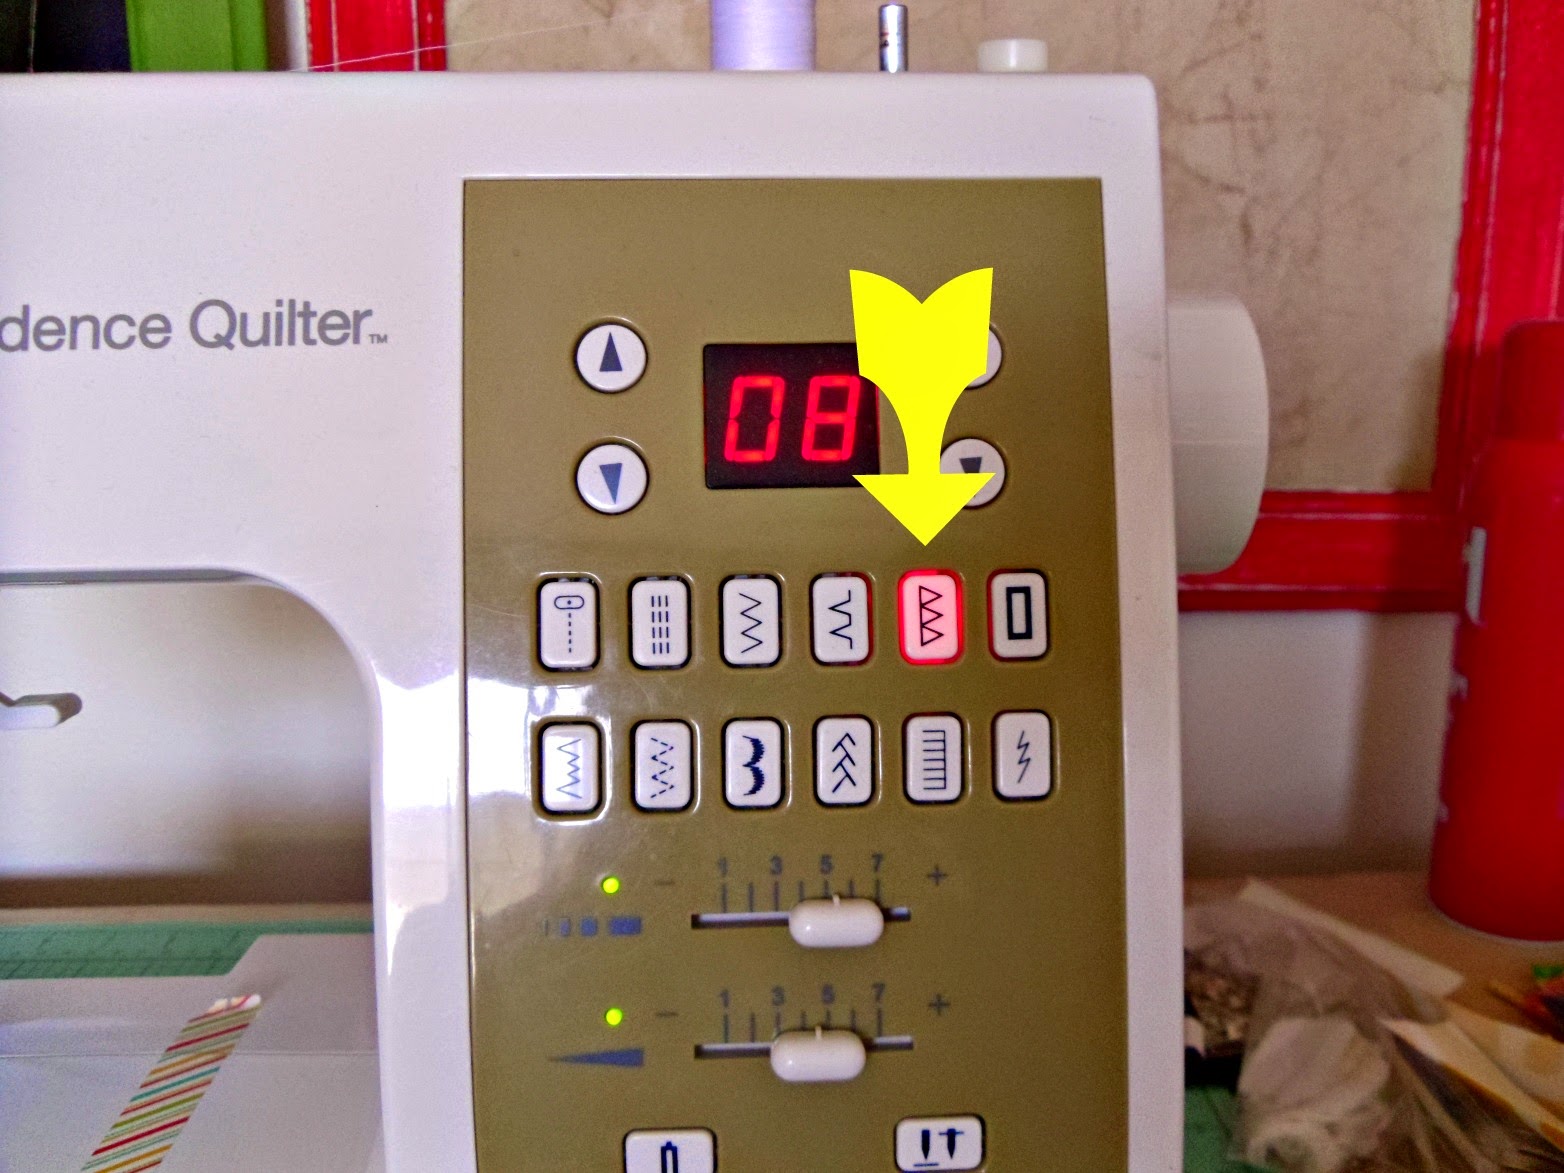
The arrow is pointing to the symbol for the double overlock stitch on my machine.
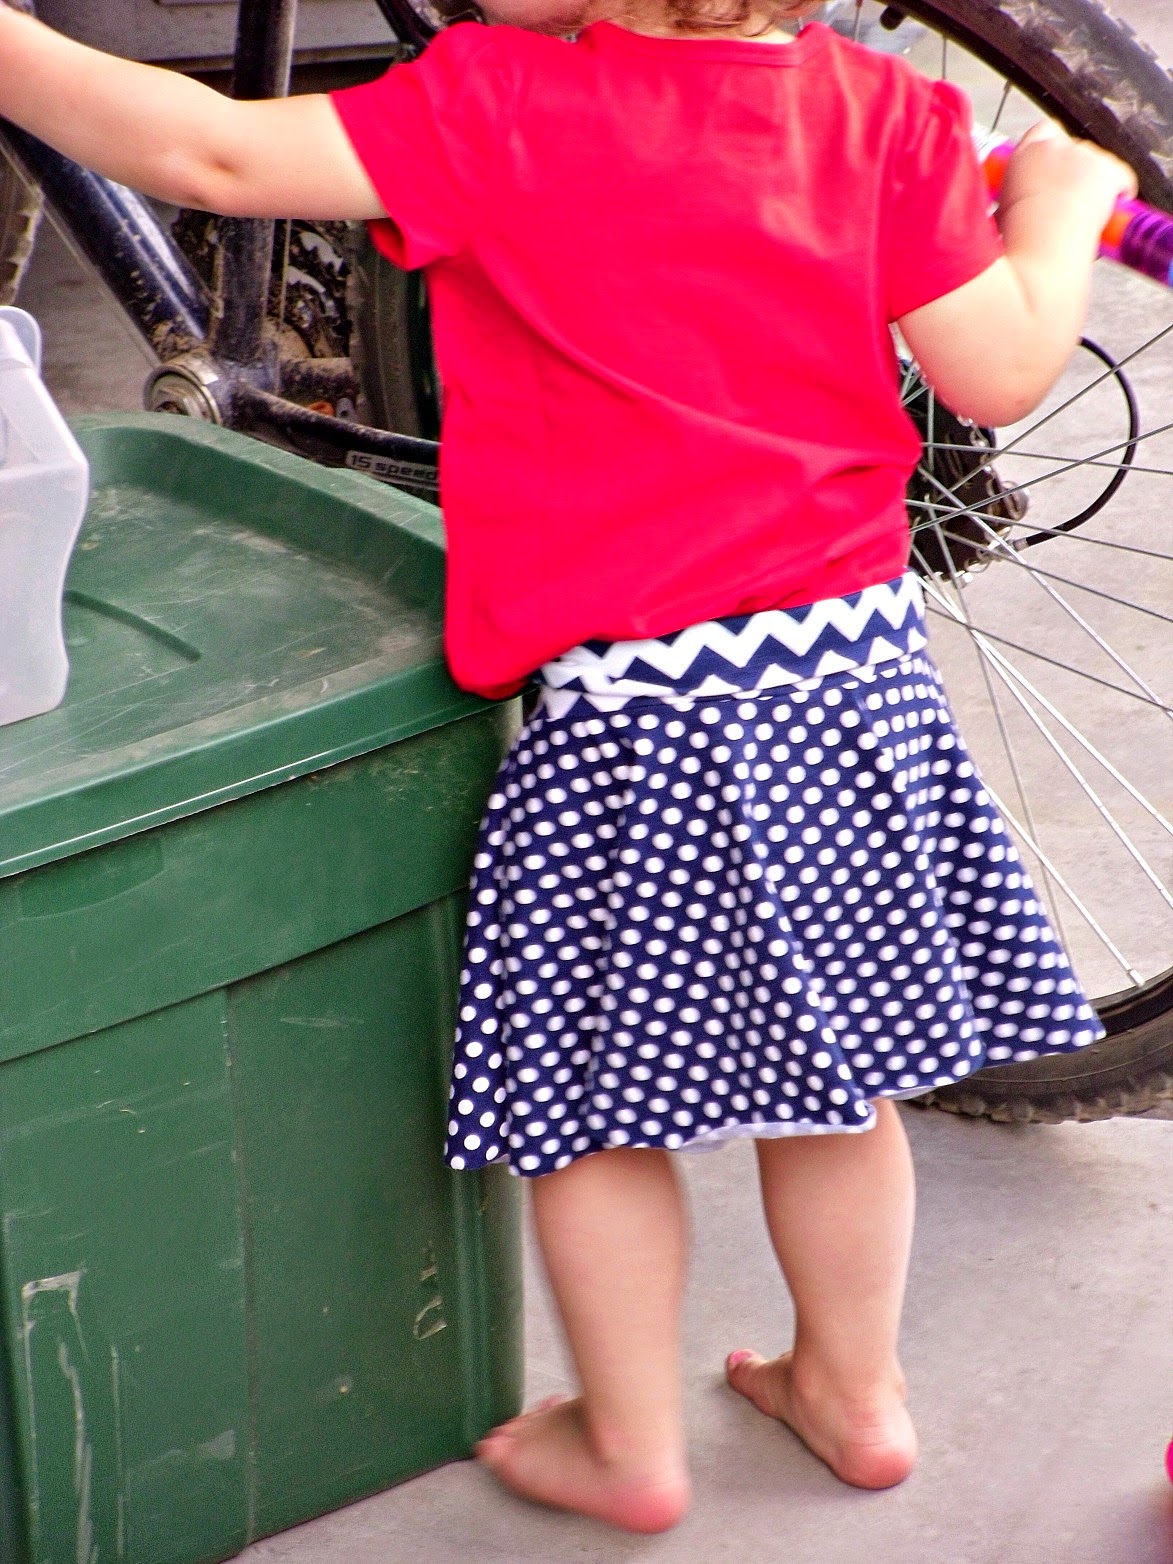
Mark your waistband and the inside of the skirt at the quarter points. Fold the waistband in half, wrong sides together, put the skirt inside the waistband with right side out, matching up the quarter marks. There might be a bit of difference in the two lengths, extra fabric on the skirt for example, this is okay, just make small gathers as it’s being sewn together.
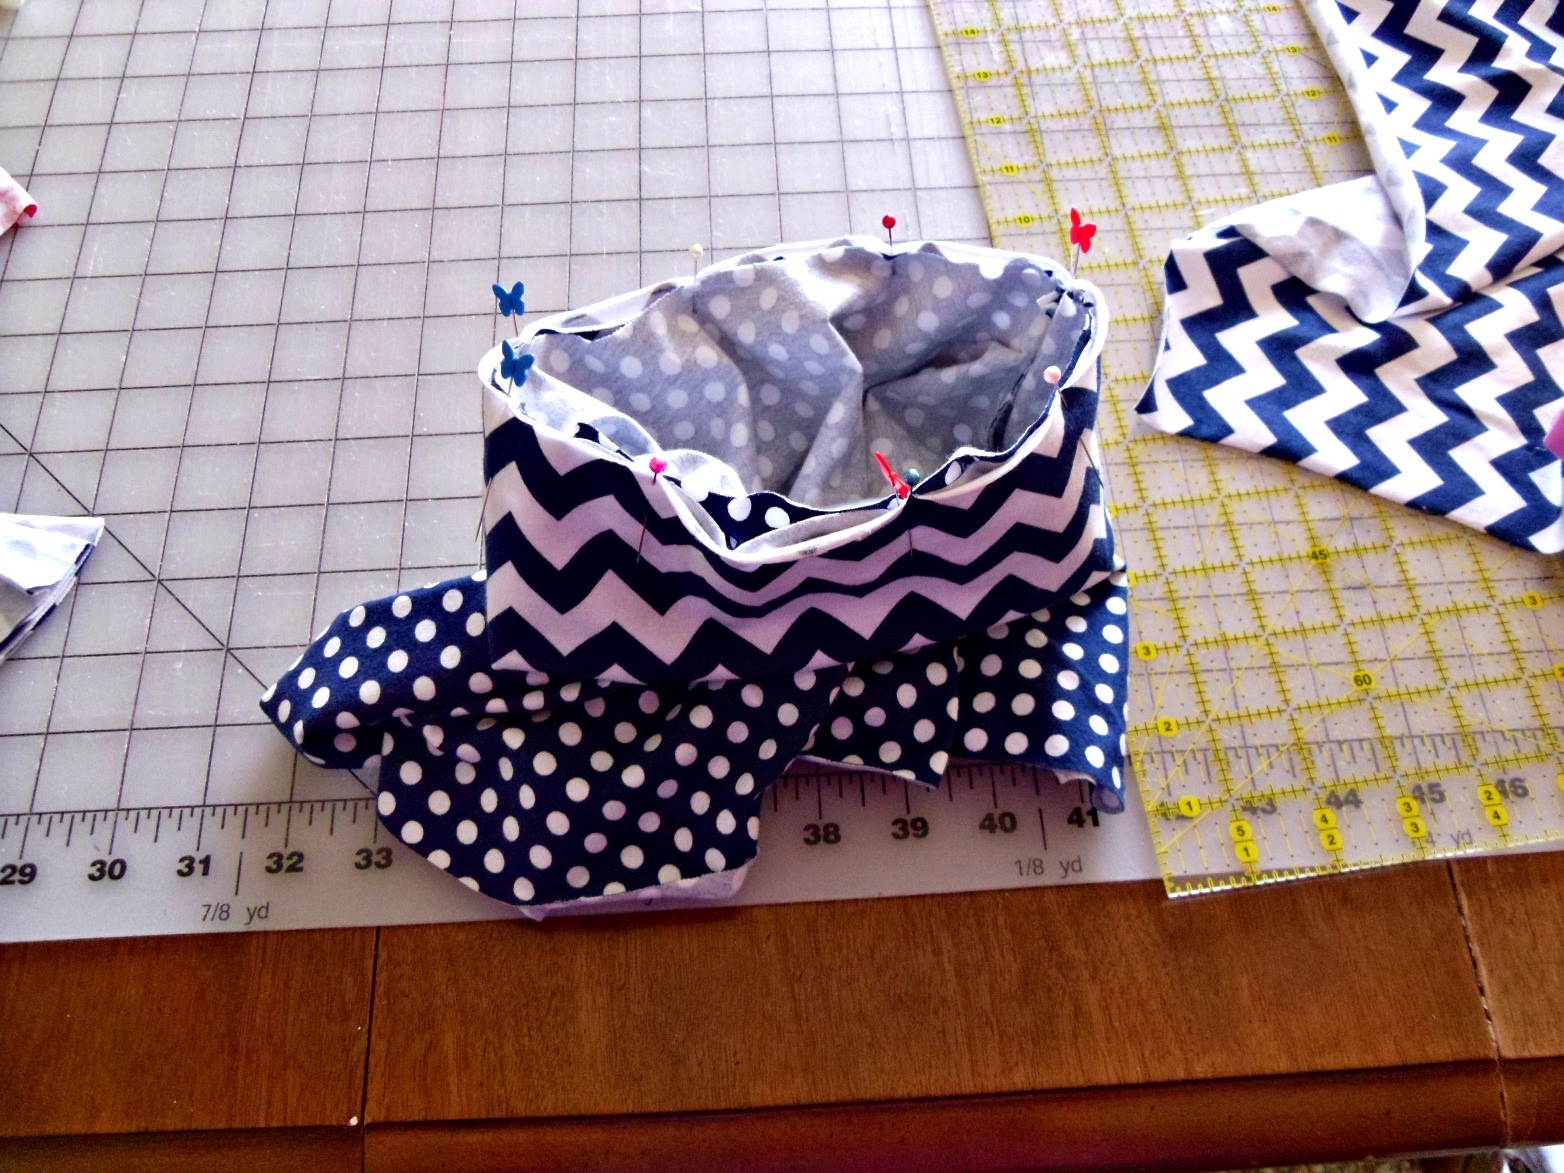
The trickiest part of this skirt is that the fabric has a tendency to roll, so make sure you pin around the whole skirt keeping the edges all lined up.
The last thing you have to do is sew around the entire waist of the skirt.

Trim your threads and you’re done. The great thing about knit is that it doesn’t fray, so you don’t have to finish the hem of the skirt unless you want to.
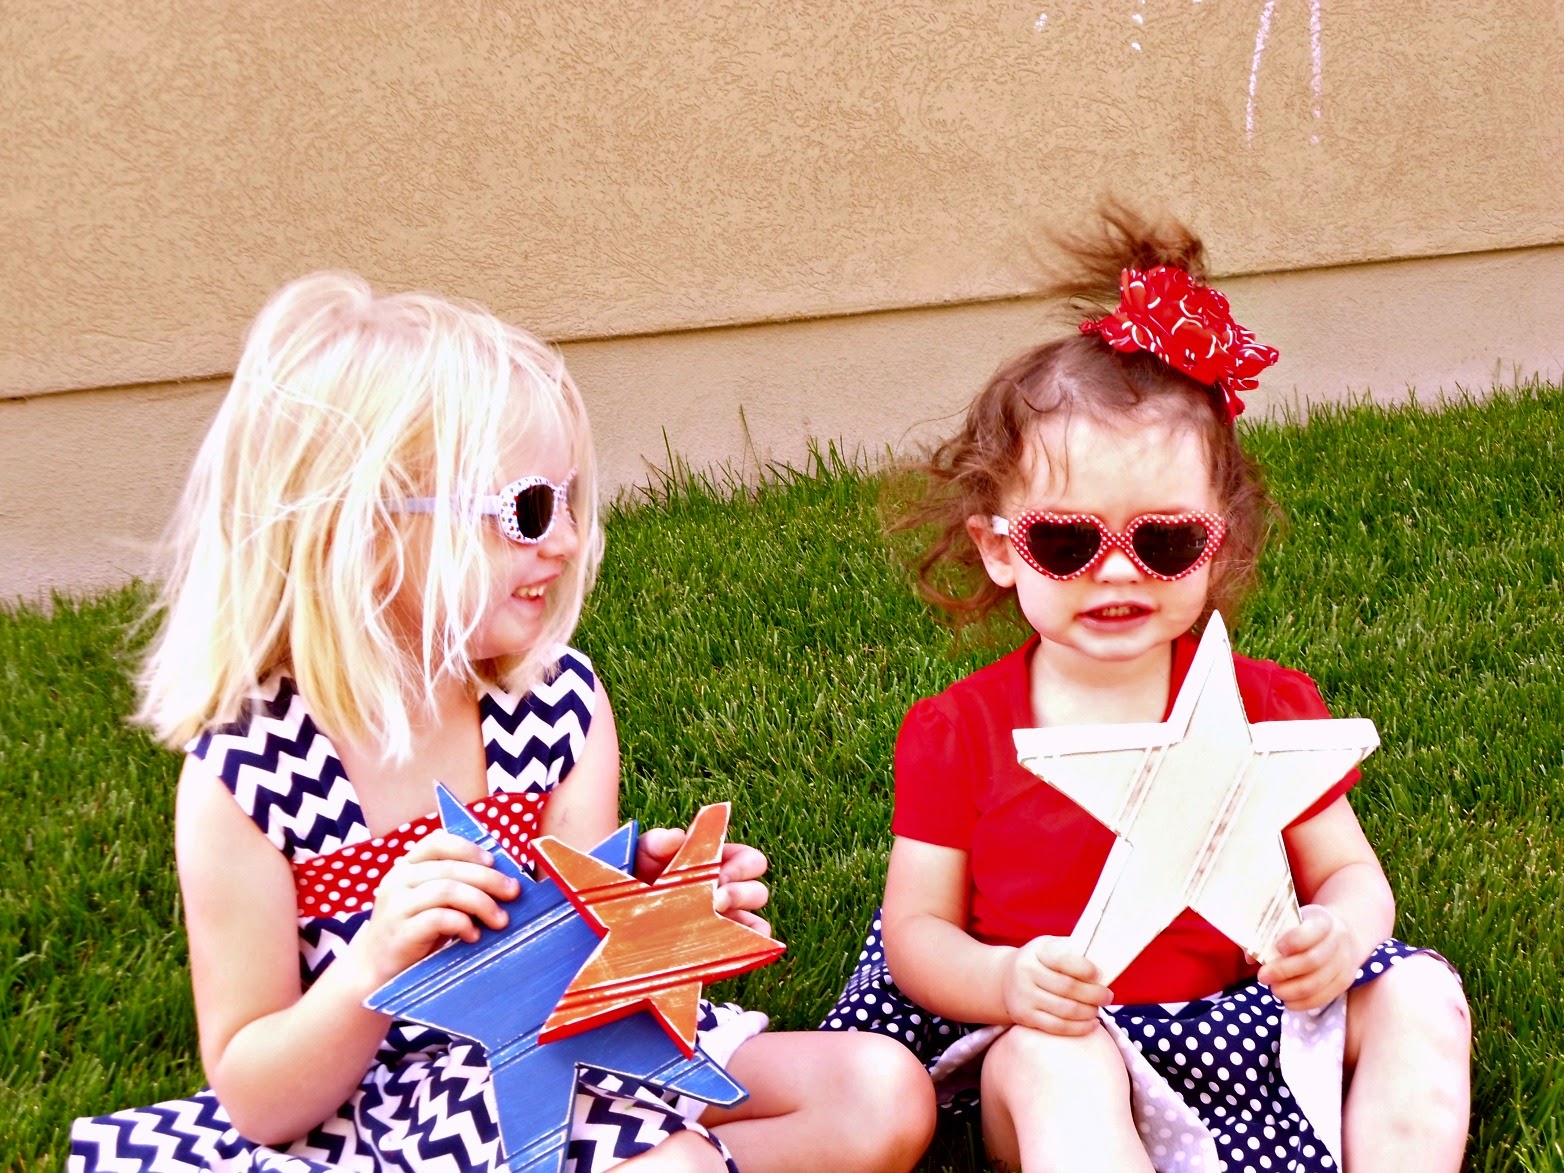
Now you’re ready for hanging out in the sun,
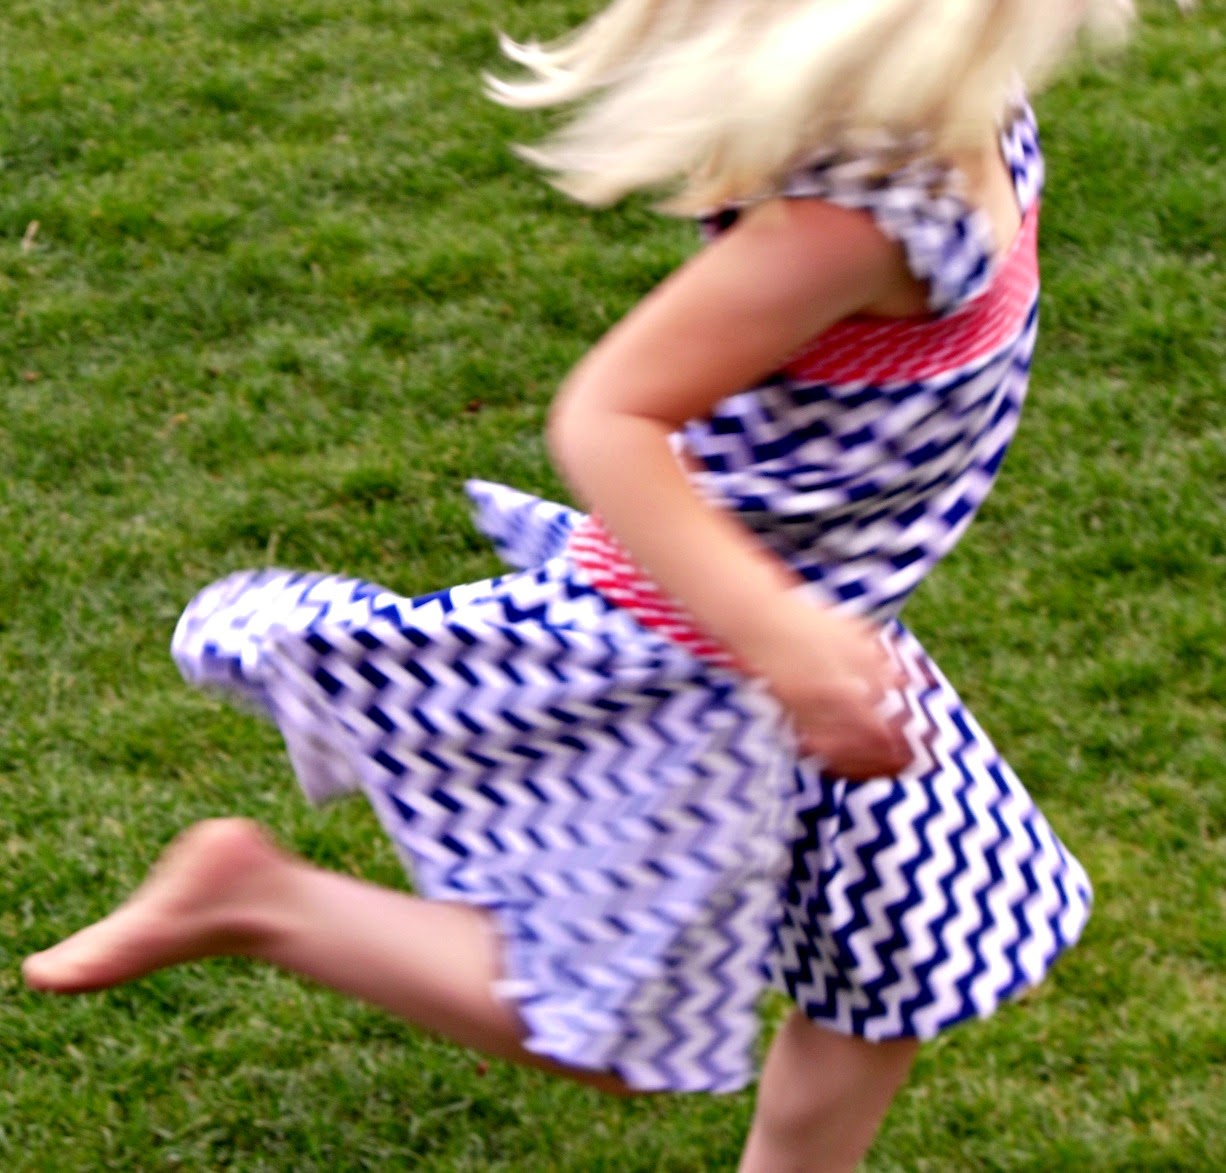
or twirling around,

Or running crying through the yard to avoid having your picture taken one more time!
What will you do when you have a cute skirt too?
xoxo,
Amy


Gwen @ Gwenny Penny
July 12, 2014 at 3:07 amSo cute! These look relatively easy to make, too… my kind of project 🙂 And the girls look super happy!
kittyj
July 23, 2014 at 9:32 pmI tried to email but it wouldn't go thru. Love your tutorials and patterns. Thank you for sharing. If you could send me your email address I would be most happy. 🙂