This post originally appeared as a guest post for The Ribbon Retreat. I was provided the materials but the project and opinions are my own.
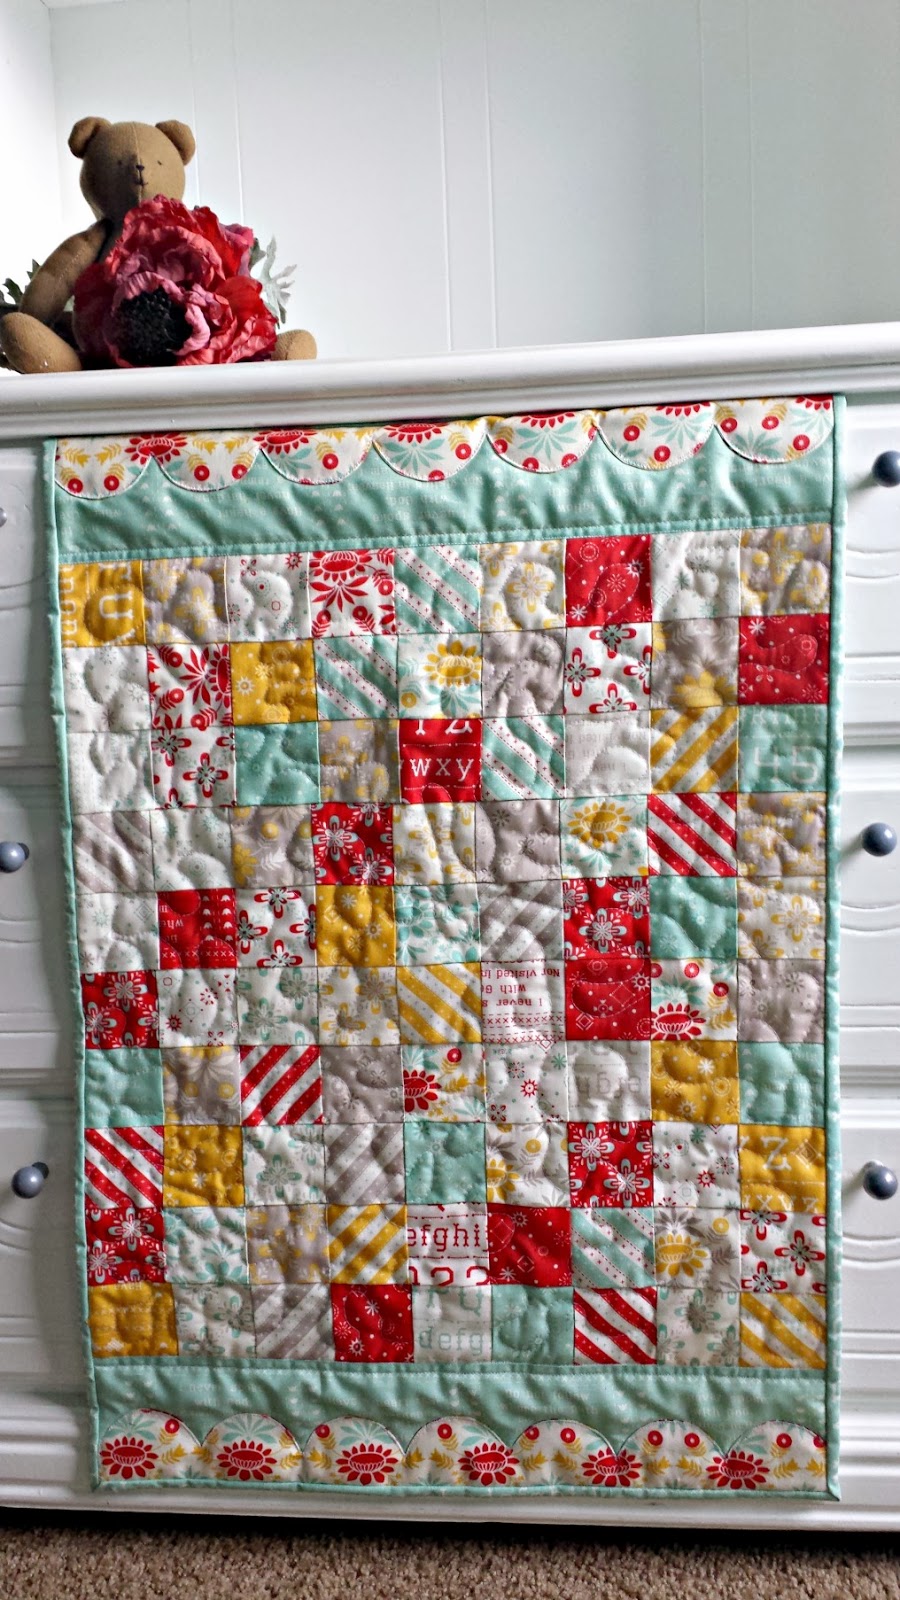
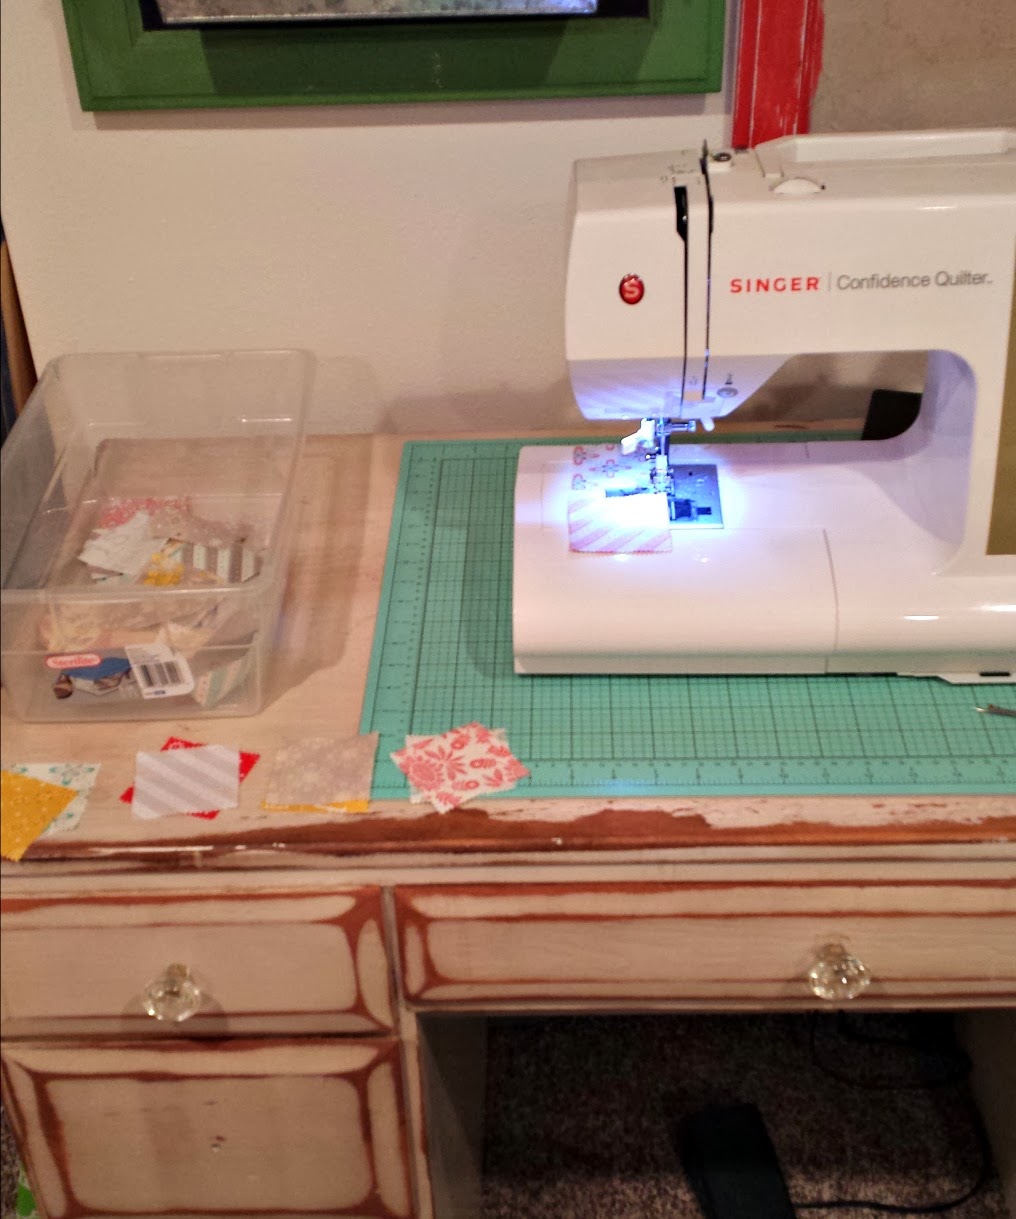
To create the body of the quilt you will start by making 10 rows of 9 squares each. I wanted mine to be a scrappy patchwork so I just put all the squares in the clear plastic box and then pulled them out one at a time. If they were the exact same fabric, I put it back and drew again, but I really tried to just go with what came up.
I waited to press all the seams until all the rows were completed. Then, I took them all to my ironing board. Again, I was just trying to let it be scrappy, but I did flip some rows over to make sure there weren’t three of the same prints in a row. Once I was happy with the arrangement I started pressing my seams. I alternated the direction of the seams with each row, the first row to the left, the next to the right and so on. This will help tremendously with the next step.
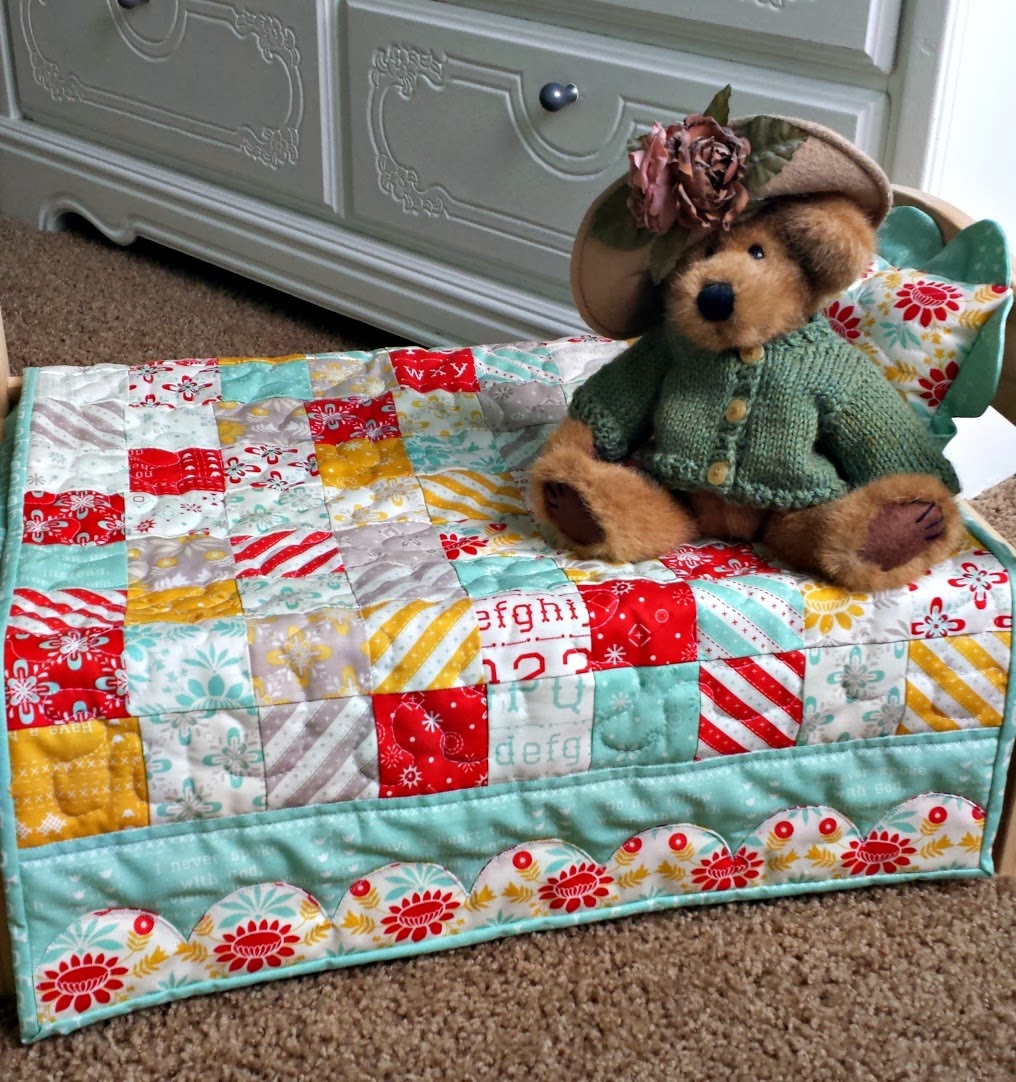
The next step is to sew all the rows together. With seams pressed in opposite directions, they will “nest” together as shown in the picture. This helps keep everything lined up and sort of locks the squares together. I lined up each seam and pinned. Now, I’m not going to lie and tell you mine were all perfect. Here’s where you learn two things about me. First, I’m not a highly experienced quilter. I spend more of my sewing time on accessories and home decor; but I LOVE the look of quilts, so I’m slowly gaining steam as a quilter; which is why I was so happy to do a doll quilt, some much needed experience without a huge investment of time or money. The second thing you need to know is that I am NOT a perfectionist. I am a huge believer in sanity over everything, and that sometimes getting something done well enough is better than getting so caught up in the details that nothing ever gets accomplished. That being said, the more time you take in the first step- sewing all the squares together- lining them up well, pinning, and checking your seam allowance, the better things will come out in the end. So enjoy the process and slow down just a bit.
Back to sewing.
Once all your rows are sewn together, press the seams. It doesn’t matter which direction. And your main body of the quilt is done.
Now we’re going to add the fun scalloped border to the sides/ends of the quilt.
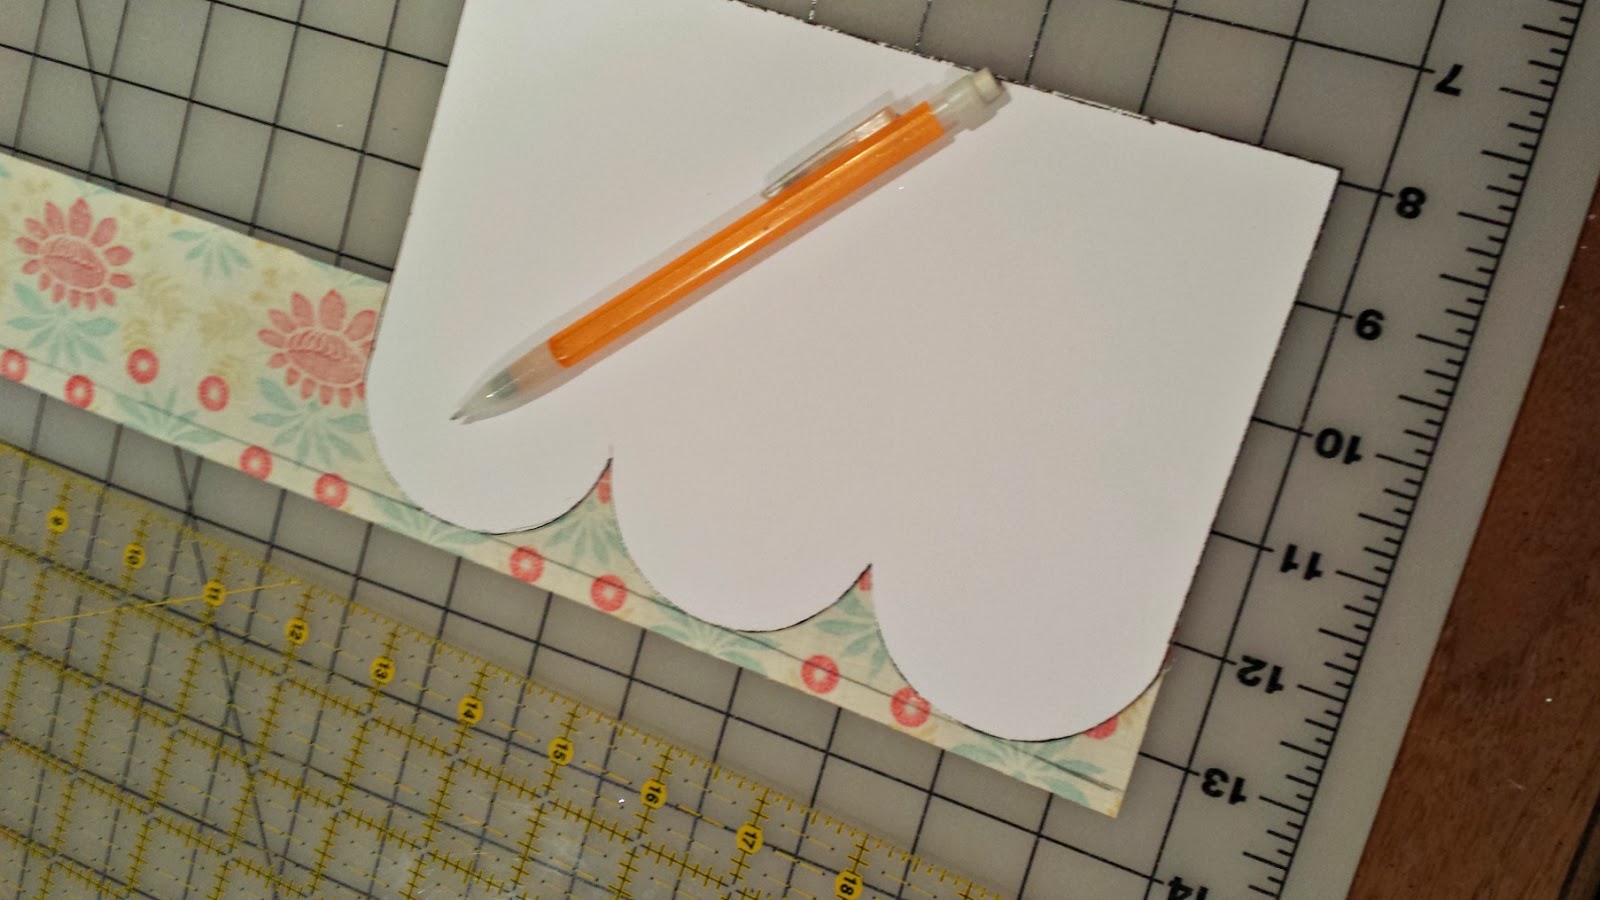
Take one of your 2 1/4″ strips and mark a line 1/4″ away from the long edge as shown. Line up your scallop template so the curves of the scallops are lined up with your marked line. Trace your scallops.

Continue marking your scallops along the length of the piece. I find it’s easiest to overlap the template to make sure they are lining up correctly. When you get one piece marked, repeat on one more piece.
Take one marked piece and one unmarked piece and line them up right sides together. Pin along the side opposite the scallops. Sew along the marked line. This is another place where going slow will yield much better results. Take the time to pivot your piece every few stitches so your curve is nice and smooth.
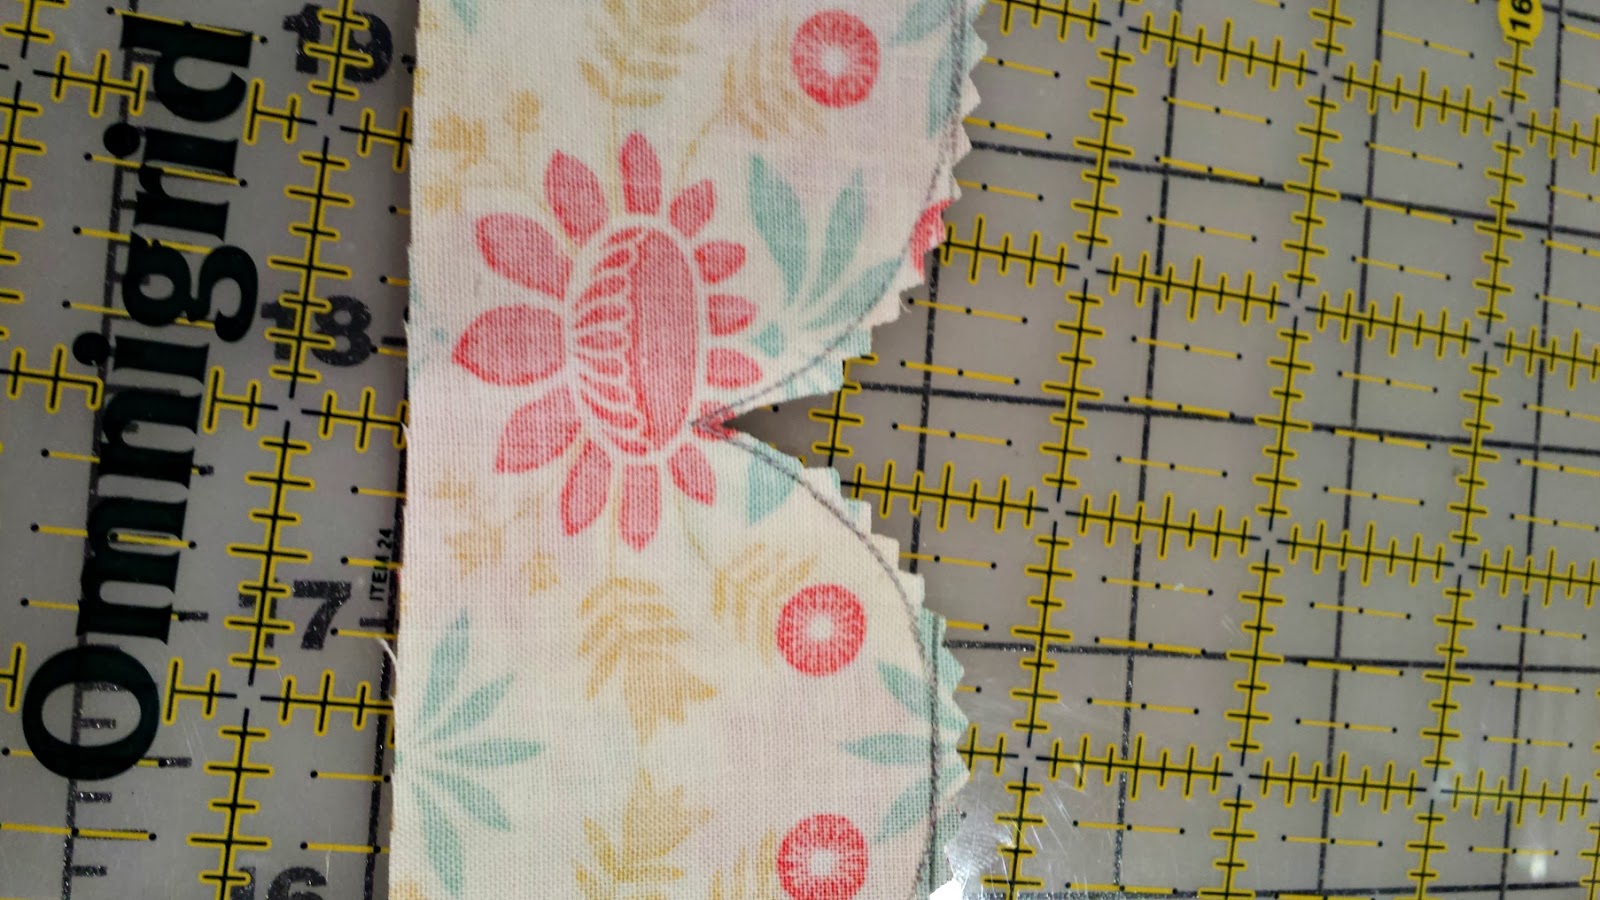
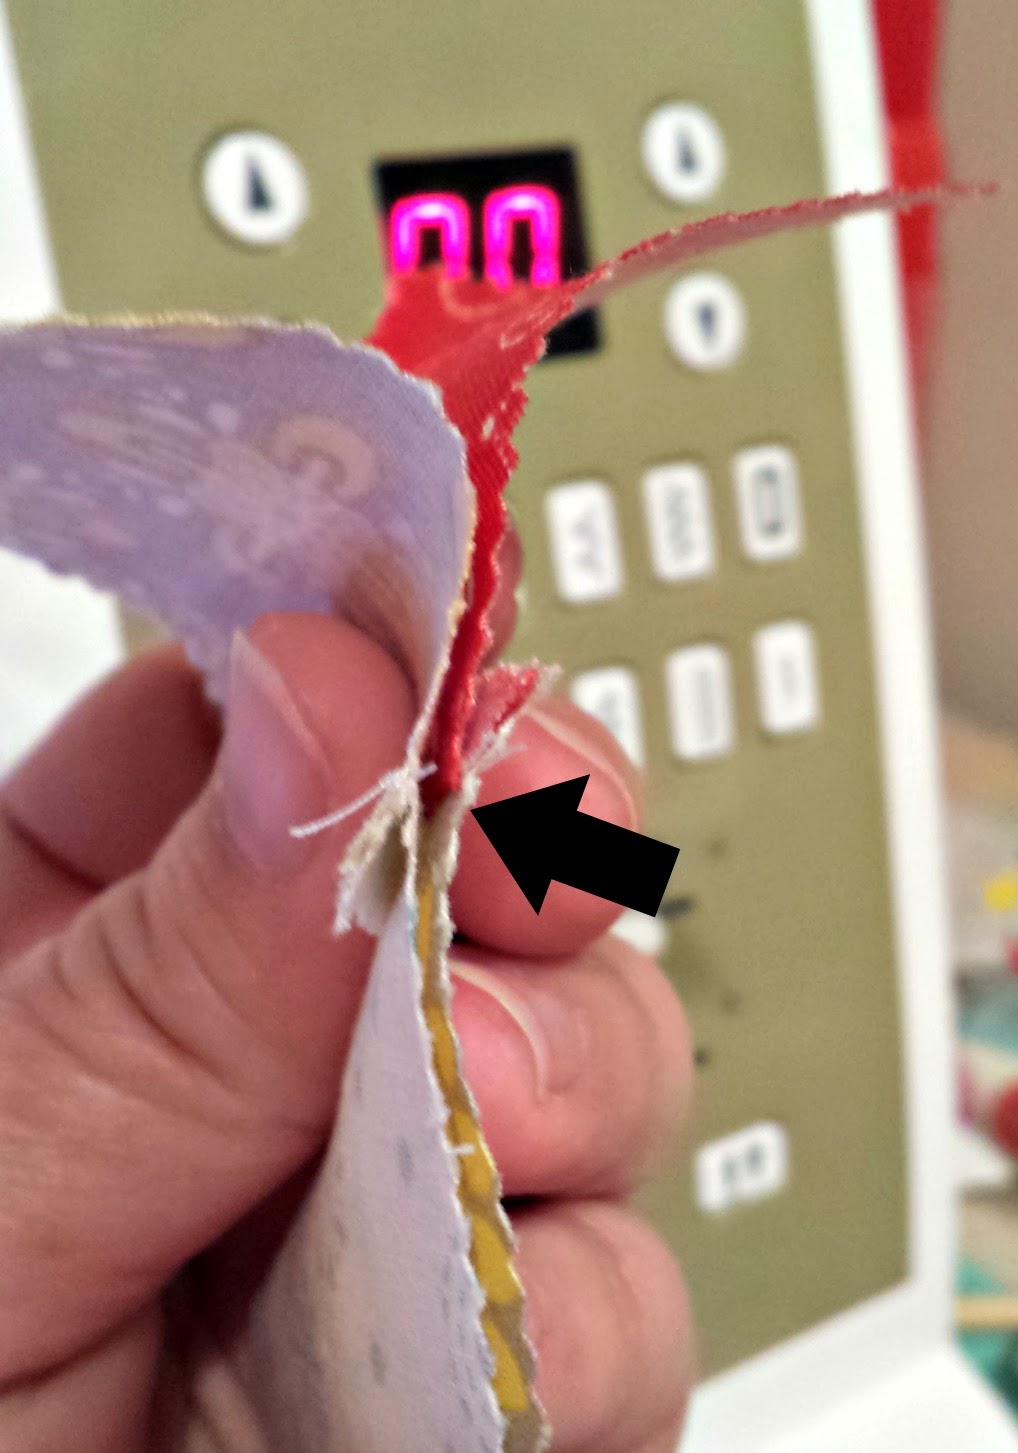
Now we’re going to clip our curves. You can use your scissors to notch into the seam allowance on all of your curves, but, if you have pinking shears- I find it’s faster to use them to do the bulk of your trimming. Be very careful to NOT clip your stitch lines. One last thing before we turn our scallops out, the valleys between the scallops are very steep. You will want to go in with some sharp scissors and remove as much of the bulk as you can- get as close as you can to your stitch line without clipping it. Now turn and press your scallops. Use a flat blunt tool to carefully push the seams out and press as you move around the curve. A craft stick is great for this. Repeat for the second scallop piece.
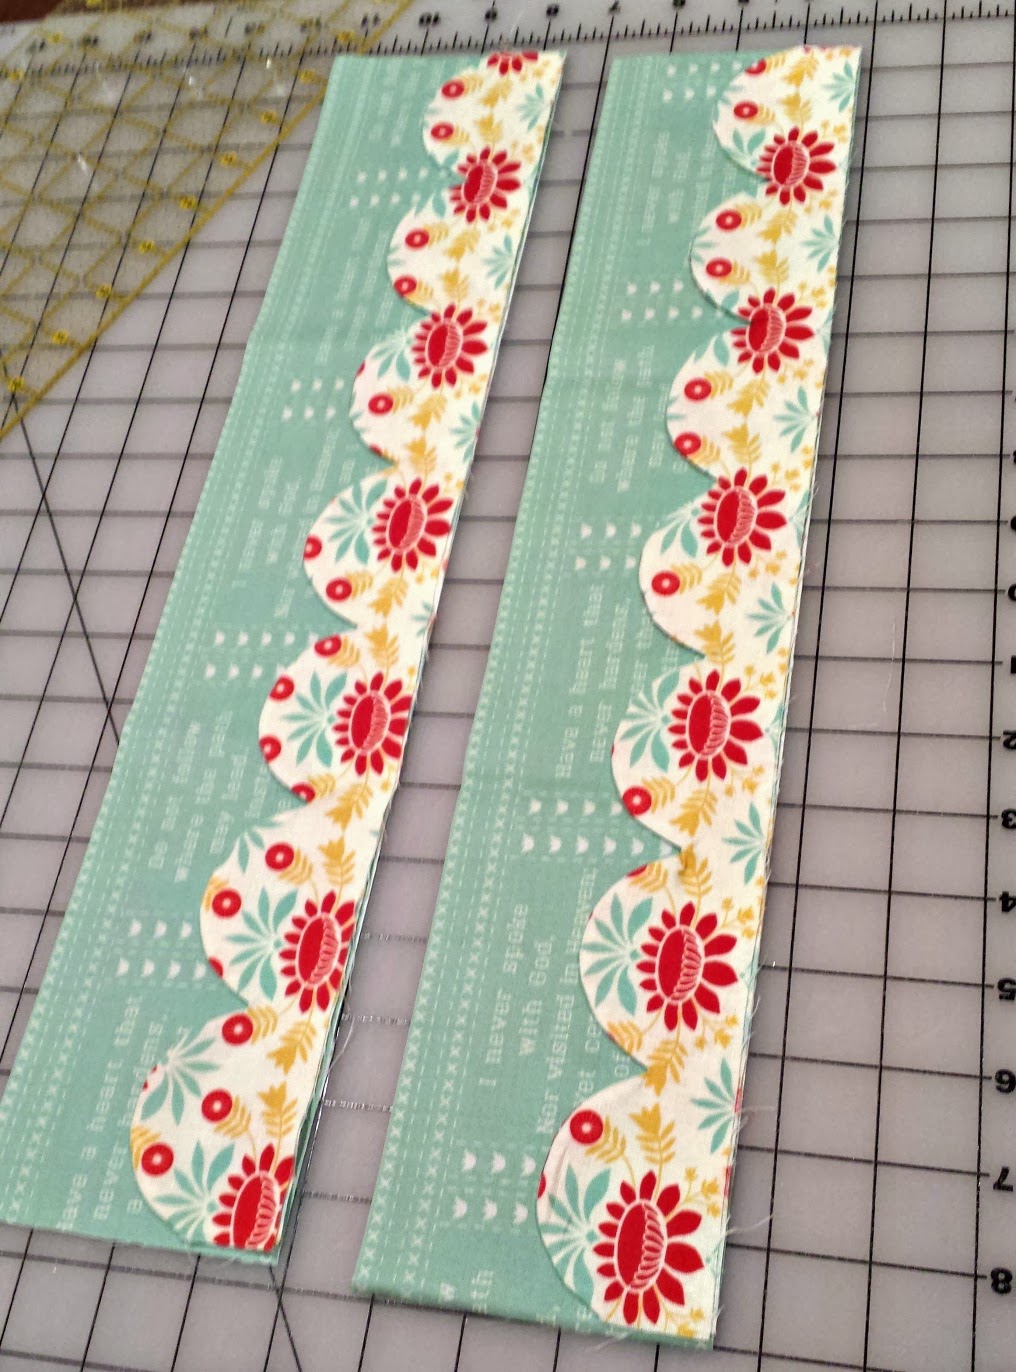
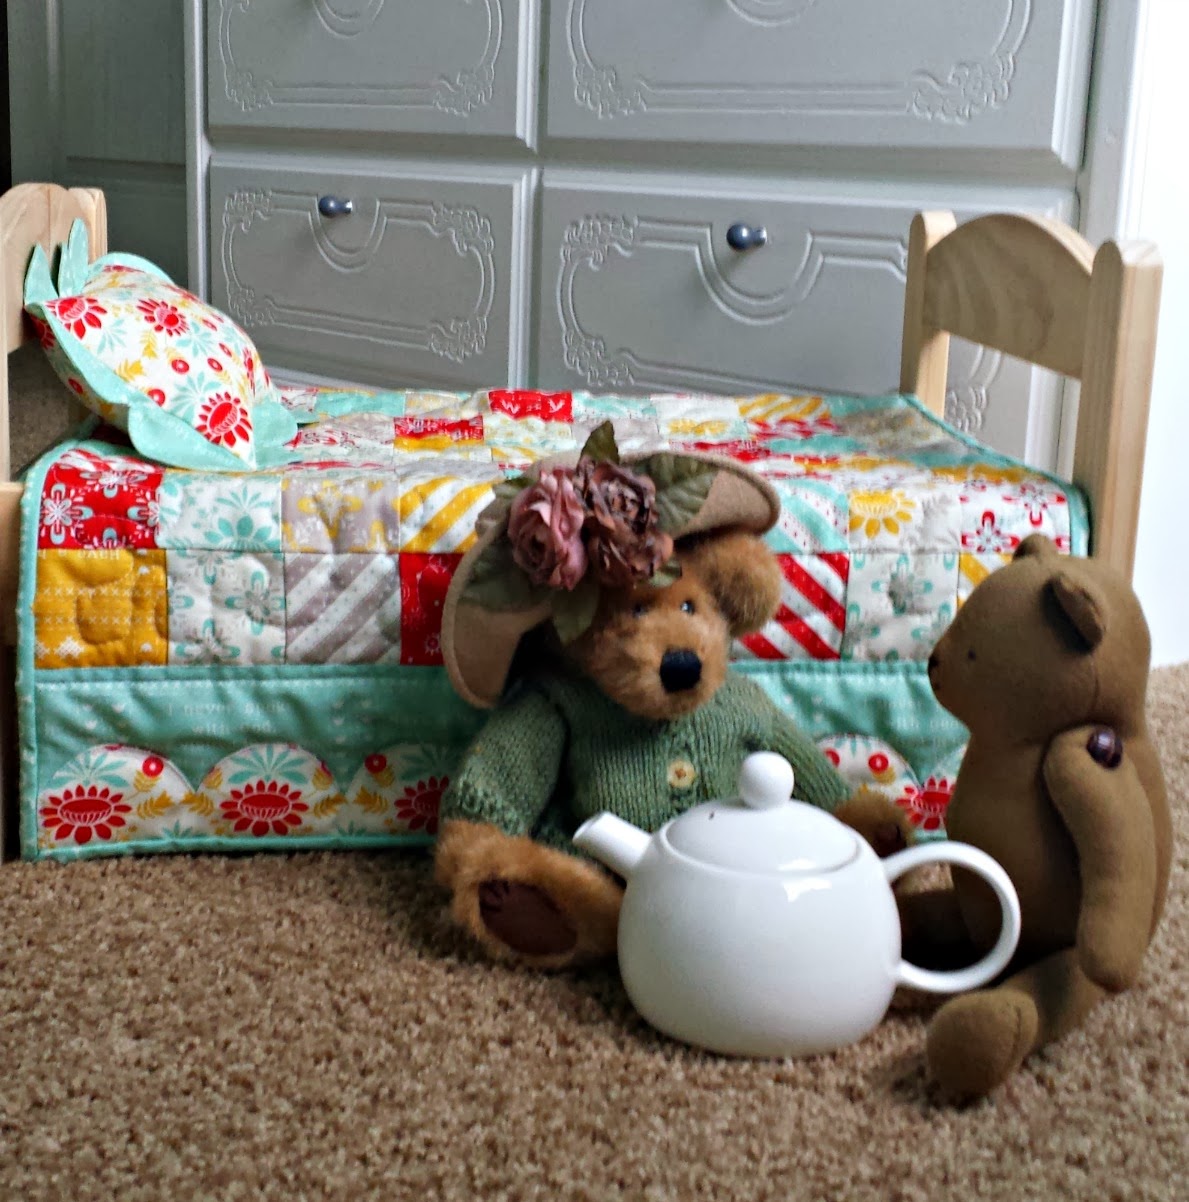
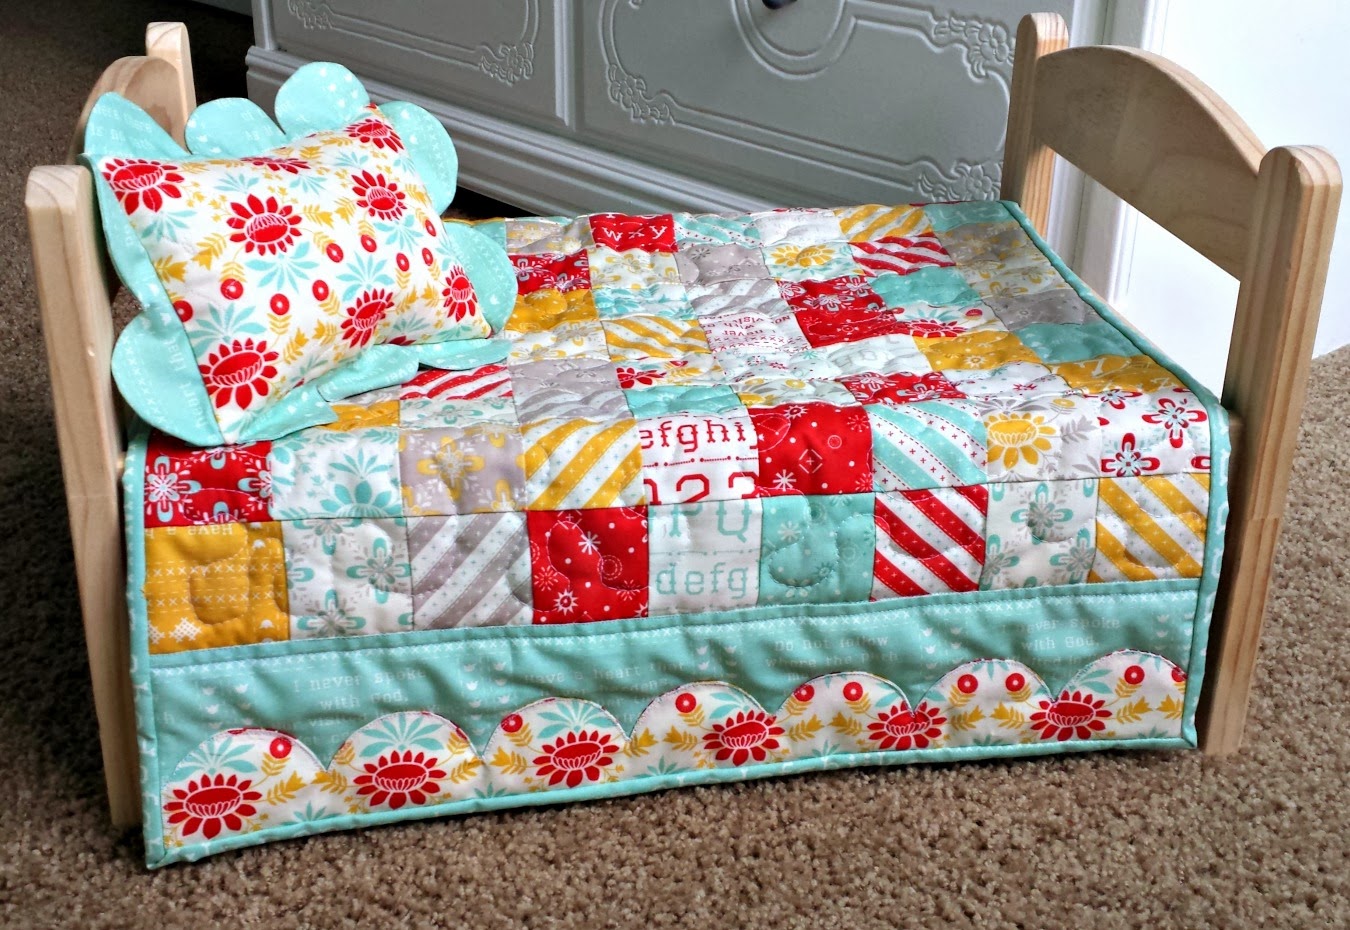
Place your scallop pieces on the remaining border pieces. Pin well and top stitch along the scallops. The last step to complete our quilt top is to attach the border pieces to each end. Quilt and bind using your favorite method. I decided it was a great time to work on my free motion quilting skills. You can use your scraps of fabric to make a pillow as well.


Laura Silva
May 19, 2014 at 6:15 pmAmy – I love this! My daughter would love to have this for her dolls. I am new to quilting, so this might be good practice for me to get the hang of it on a smaller scale! Thanks for linking up to The Creative Exchange. I will be featuring this quilt and your fabric covered notebook.
Bobbie S
May 19, 2014 at 7:08 pmLove, Love, Love this doll quilt! It is gorgeous and I love the scallop design on the side!