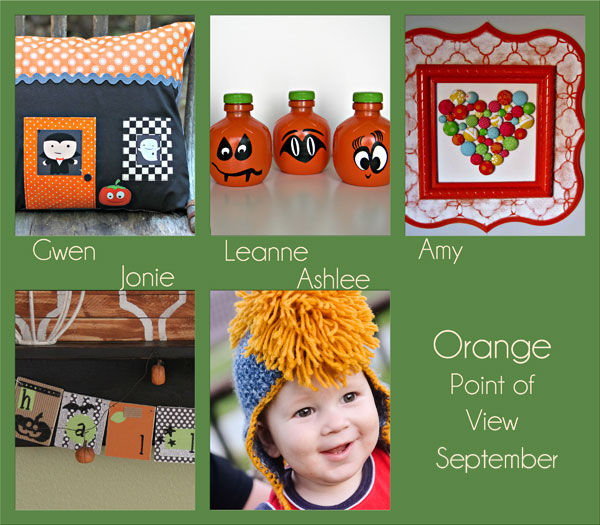
I love point of view, and I am so excited for this month’s reveal. The theme is Orange- so I hope you’ll pull out all your “orange” projects and link them up to our party. 🙂
Don’t these projects look awesome? I can’t wait to check them all out! If you feel the same, click the links below and see how each of these projects were made.
Gwen- Gwenny Penny
Leanne- Organize and Decorate Everything
Me- scroll down
Jonie- Just between Friends
Ashlee- I’m Topsy Turvy
I thought for sure I would be making a seasonal craft for this reveal. I mean, orange in September, just screams for a pillow, or holiday decoration or something, right? Well, right now my time is limited. Very little opportunities come my way to craft right this moment so things need to do double duty. In this case, I am working on an office/homework station and I’ve had some projects in mind to finish up the wall. This is one I’ve been thinking of for a while. Are you ready for a closer look?
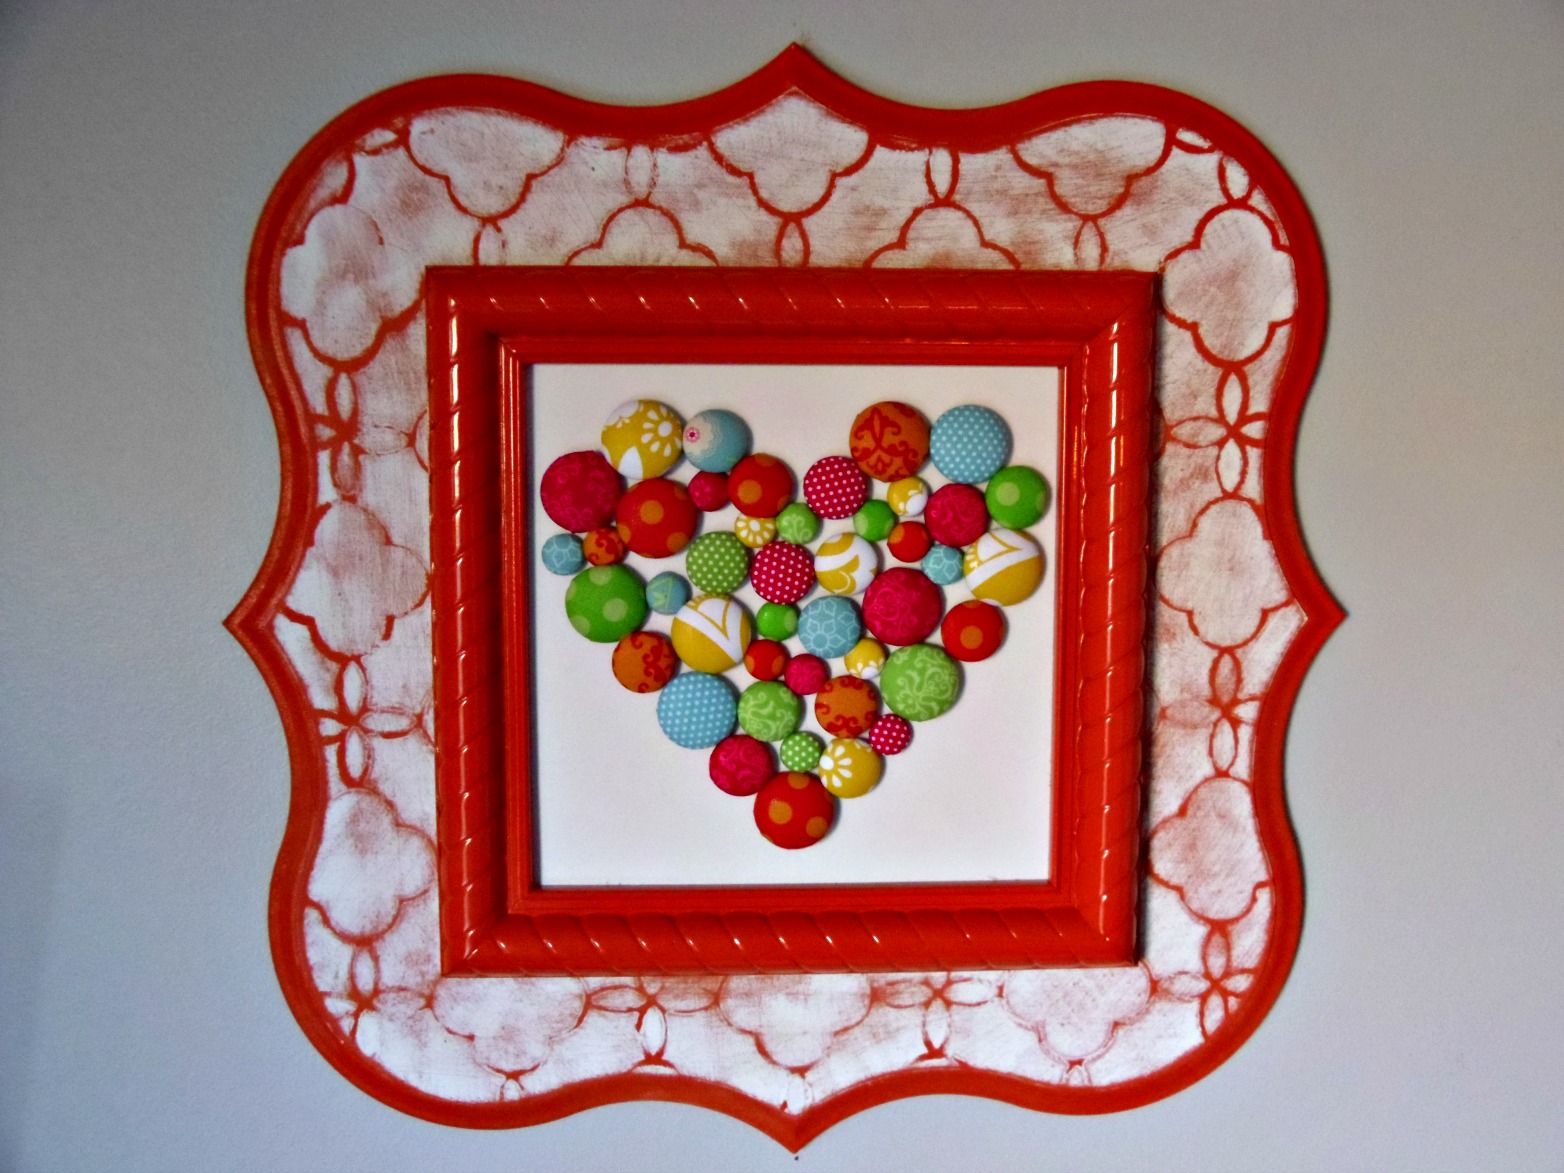
I adore it! I love the color and the buttons and the stenciling and well, just all of it! I have to apologize for the lack of process pictures, but there’s not really any magic to what I did so I’ll just tell you where I found all the fun products I used and you can make your own. 🙂

Let’s take a look at all these lovely covered buttons, shall we? I used the i-top tool from Imaginisce. This tool is amazing and simple to use. You can make magnets, buttons, brads and pins all with the same tool. You can also use paper or fabric. I know I sound like an advertisement, but I really do love this tool. This fabric is mostly Riley Blake fabric, except for the yellow, which is from Joann’s. All but the small blue buttons are from lines by Doodlebug Designs. I used scraps left over from the wallets I made a few months ago. I love the bright colors. I used three different sizes of buttons. I used hot glue to attach them to the cardboard from the frame.
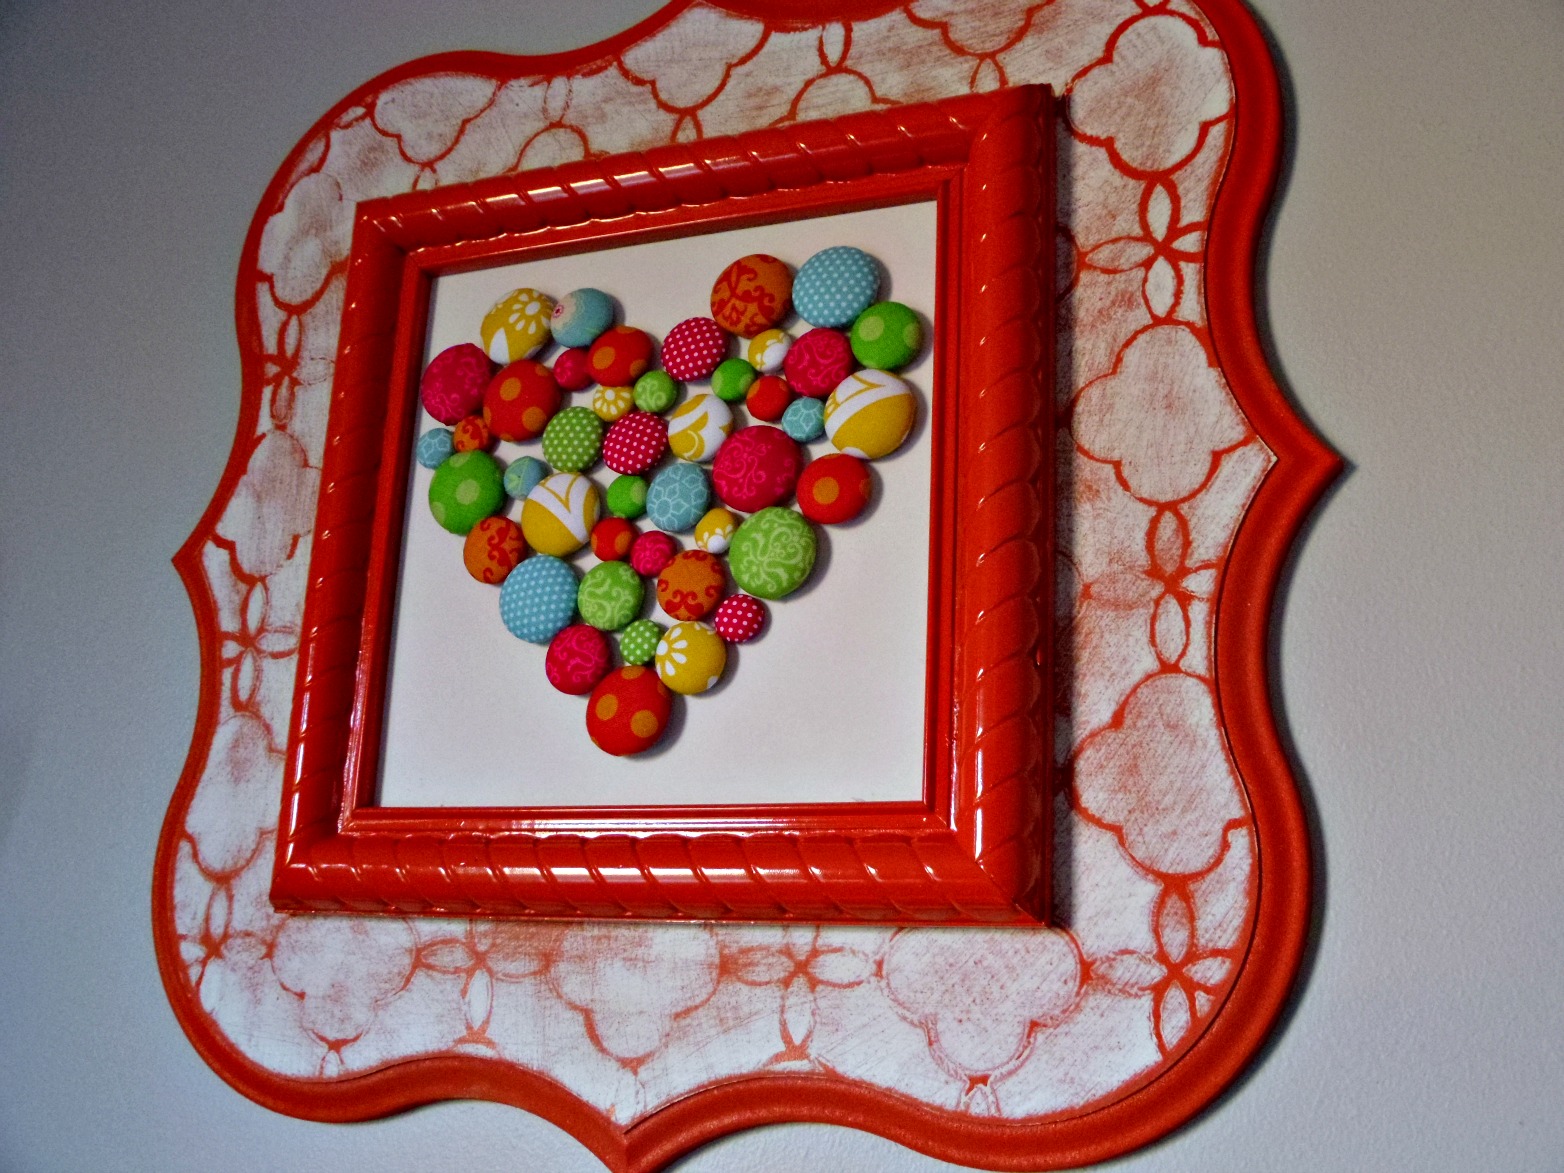
The large frame is from Poppy Seed Projects and I used a stencil from Royal Design studios. I have to admit that I am not the best at stenciling, hopefully I’ll get better next time. But for this project, the blurred lines worked to my favor because I wanted a softer look. The top frame is one I found in a thrift store and it happened to fit perfectly. I spray painted both frames orange with spray paint then stenciled with white paint over the top. I actually used command adhesive strips to put it all together, just in case I ever wanted to change it up.
I love the fun colors, and I can’t wait to reveal the entire wall with you in the [hopefully] near future. 🙂 Now, I’m ready to see what you’ve been up to- come link up your orange projects and lend some inspiration.


Leanne
September 28, 2012 at 2:21 pmI love it Amy. The fabric covered buttons are so cute. I love the colors too. I can't wait to see your finished wall.
Gwen @ Gwenny Penny
September 28, 2012 at 3:21 pmSo cute, Amy, and I love how you layered two frames. It looks awesome!
Ashlee @ I'm Topsy Turvy
September 30, 2012 at 4:32 pmI love the buttons into an image craft! I've seen a few and think this one turned out great!
Jonie Marie
October 2, 2012 at 5:29 amI am dying to see what the rest of your wall looks like. If this is any indicator, I know it is going to be darling. Love it.