
I promised this tutorial over a year ago. And well, better late than never, right? This personal progress packet is really a pretty simple project and requires only 1 1/2 fat quarters so if you catch them on sale, you can make them for pretty cheap too.

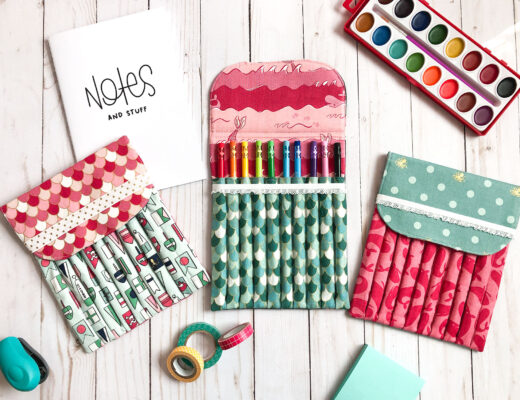
The personal progress packet holds all the booklets needed for Personal Progress, plus True to the Faith and For the Strength of Youth. There’s even room for a pen! Pretty handy, right?
Let’s get started then. Forgive all the pictures, but sometimes I think they do a better job explaining the steps than I do.
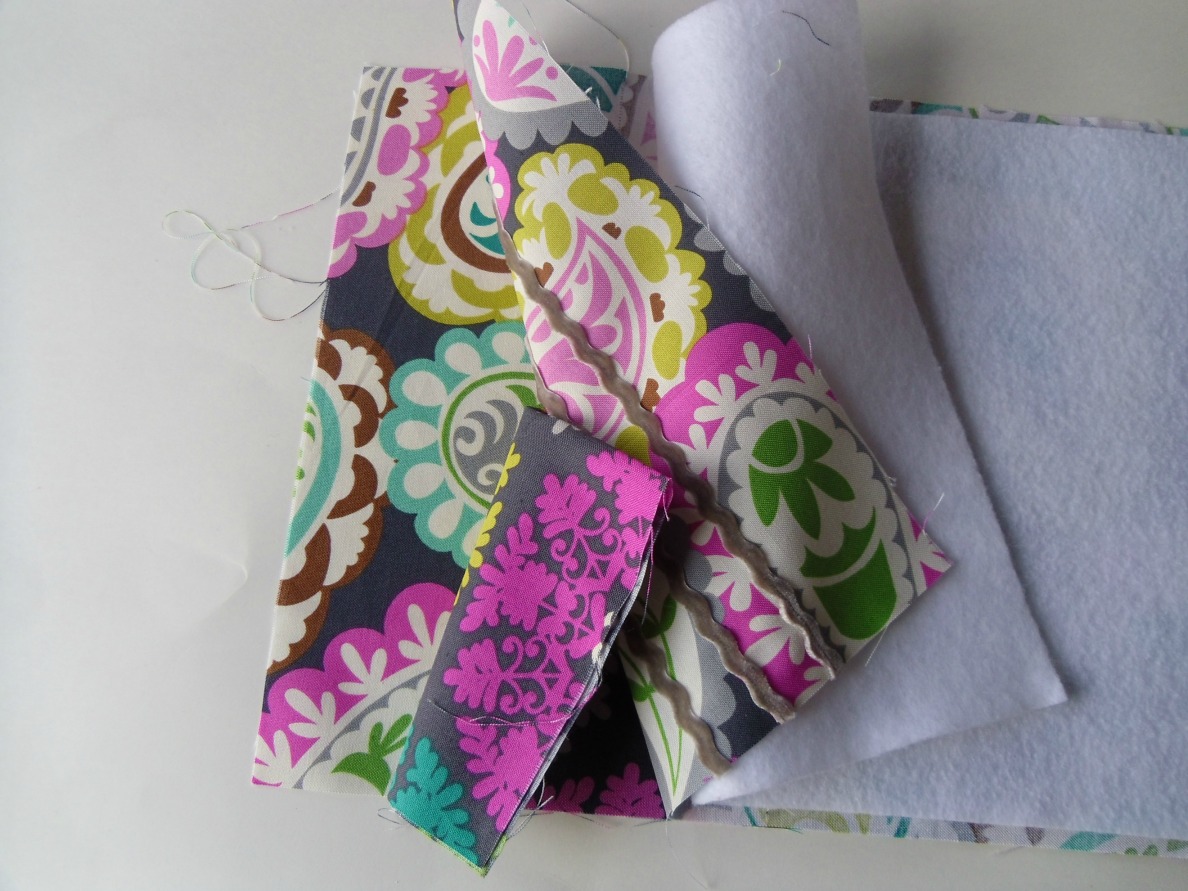
Supplies Needed for your Personal Progress Packet:
 |
| Ribbon not shown |
Fabrics- 3 pieces cut to 9″ X 19″ (outside, inside and pocket) They can be all the same or all different. For this example I did two of the paisley and one of the medallion
Felt- 1 piece cut 8″X 18″ (you can cut this slightly larger, it’s a bit easier, but will have a little more bulk in the seams
Ribbon- 2 pieces cut approx. 13″
Any embellishments for the front
Assembling your Personal Progress Packet:

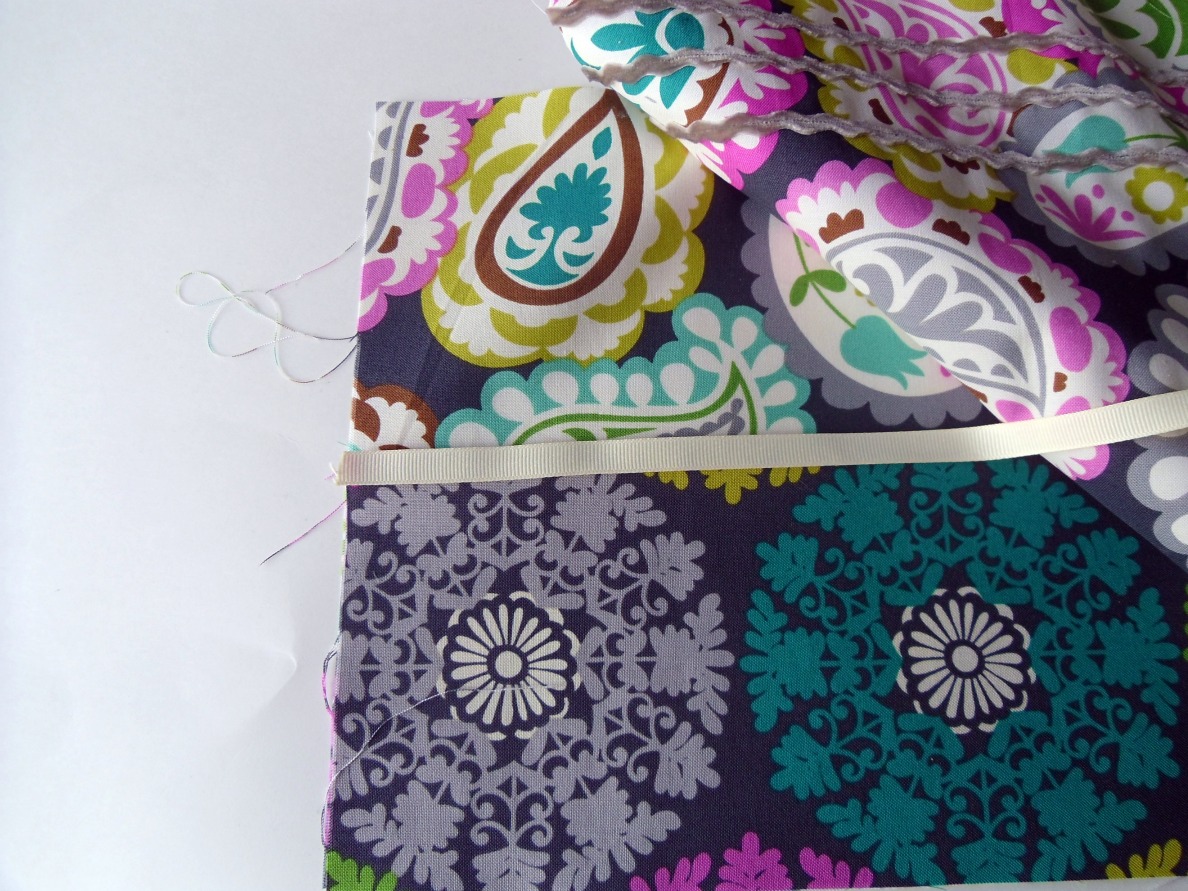
Take the piece for your pocket and press in half, wrong sides together on the 9″ length. Your finished piece should be 4 1/2″ X 19″
Add any embellishments to the front of the packet. In this example I used velvet ric rac from American Crafts- yummy stuff!

Now we’re going to build the sandwich for our packet. First lay down the inside lining of the packet, right side up. Line up the raw edges of the pocket piece with the bottom of the lining.
Place the exterior of the personal progress packet, right side down on top of the pocket piece. Pay attention to where the embellishments are- they should be on the left side of the packet. Finally, lay the felt piece on top of everything. Pin around the edges.
The final step before we get ready to sew, is to place one of our ribbons between the layers. Line it up with the top of the pocket, make sure it’s tucked inside and won’t get caught in any of the seams.
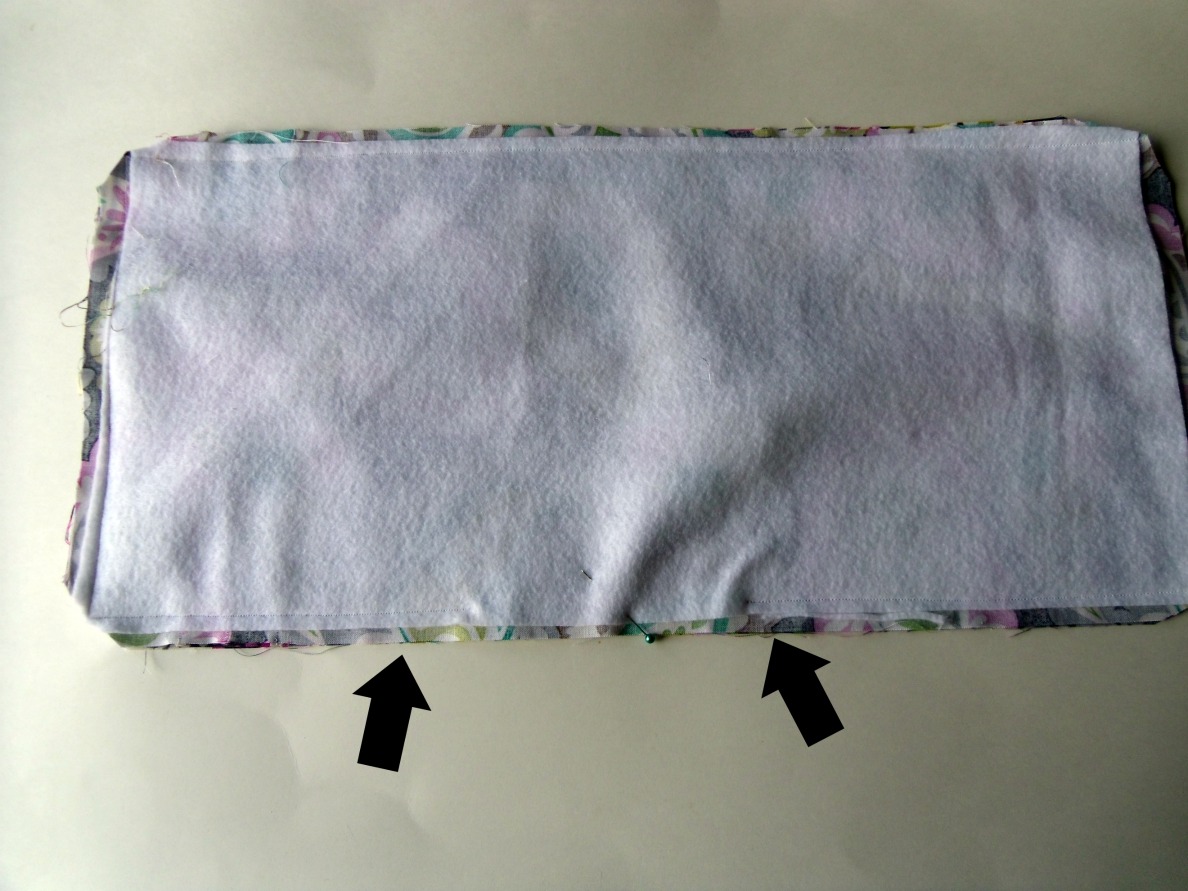
Sew around the entire personal progress packet, using a 1/2″ seam allowance. Try to catch the felt along at least one short side and one long side to help hold it in place (it will be a scant amount that gets caught, but it makes turning easier.) Leave an opening along the bottom for turning (marked by the arrows). Clip all the corners and turn.
Press all the seams flat, turn under the opening so the edges are even and top stitch around the entire packet, closing the hole.
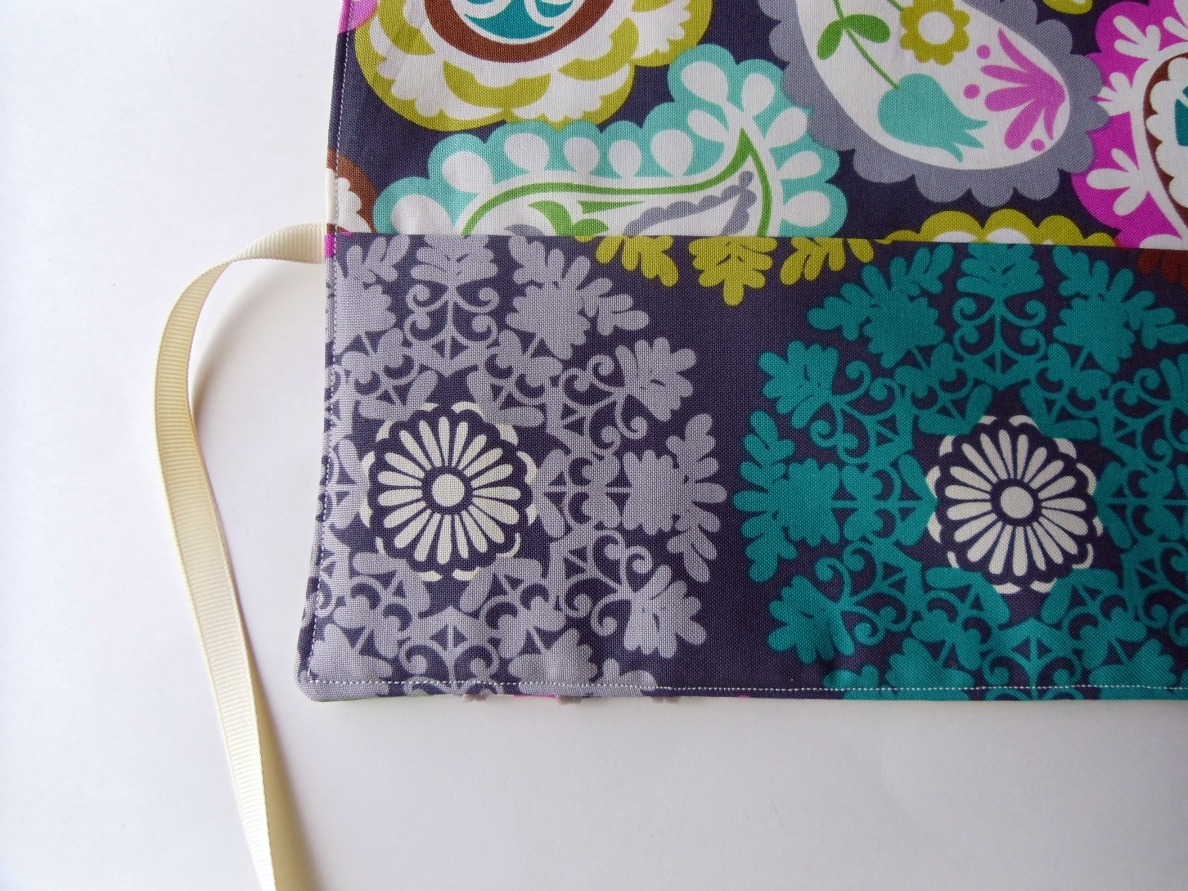
Now we’re going to stitch in the pockets. From the left side measure over 5 1/2″ and again 1″. Sew down these seams, backstitching at the top, 2-3 times to reinforce the pocket so it doesn’t pull out with use. From the right side measure 5 1/2″, this will leave an opening in the middle just shy of 5 1/2″. Sew down this seam, again reinforcing the top of the pocket.
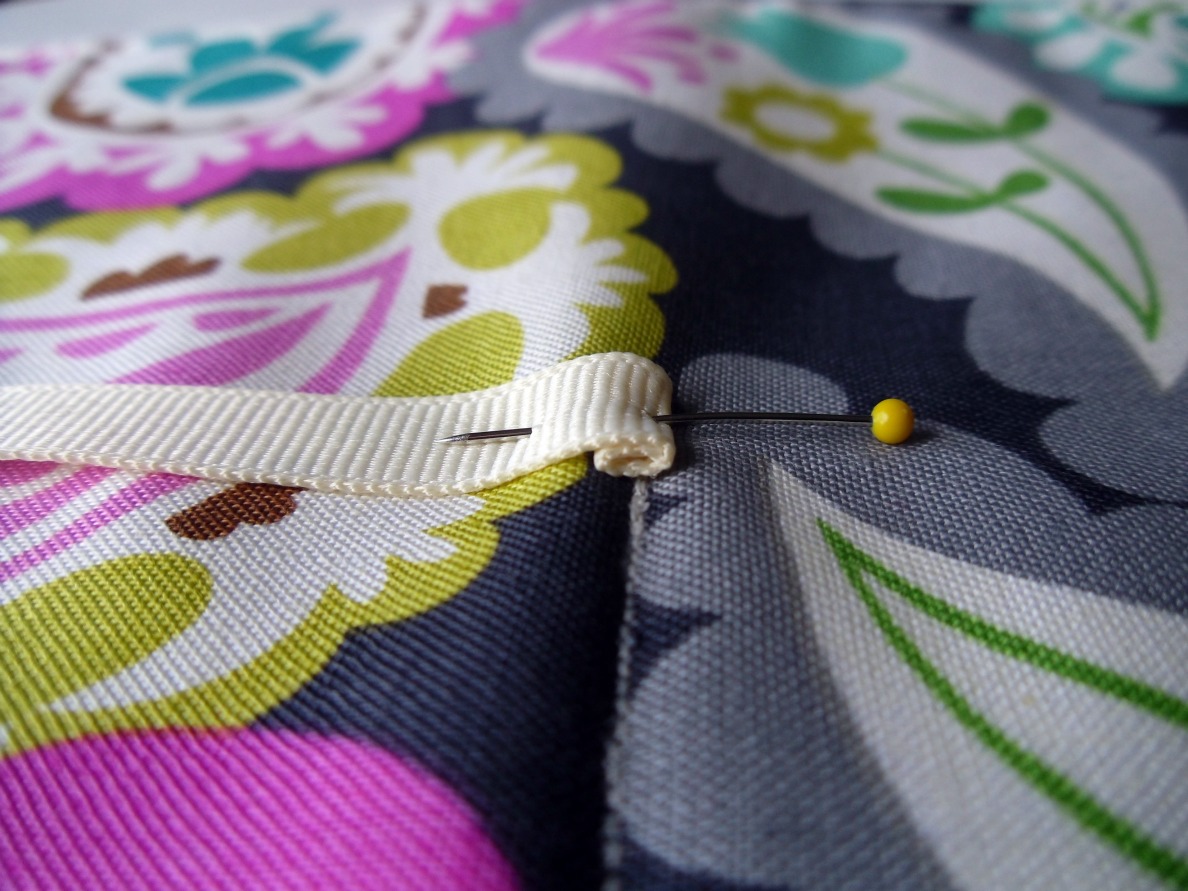
The last step for your personal progress packet is to add the final ribbon piece. Turn the packet over. Take the ribbon and fold it over twice so no raw edges are exposed. Line it up with the pocket seam on the opposite side of the already placed ribbon. Lining up your seam with the existing pocket seam, sew down the ribbon 2-3 times to reinforce it.
Now fill your personal progress packet, fold it and enjoy!

Linked up to Tatertots and Jello Weekend Wrap Up party.


chris
April 11, 2012 at 2:43 pmCute and so practical. Thank you for posting this. 🙂
Lorene (just Lu)
April 11, 2012 at 4:04 pmLove it! Our YW Presidency took all the books a few years ago and had them all spiral-bound together, but then they updated the Personal Progress book… and the For Strength of Youth Book… This is a much cuter and easily update-able way to keep them all together!
Anonymous
April 11, 2012 at 4:16 pmThis is very cute and practical even for non LDSers like me!
Gwen @ Gwenny Penny
April 11, 2012 at 8:21 pmI agree with Samantha… this could be used as a great organizer for lots of different things. Love the fabrics.
amyg @ My 3 Monsters
April 14, 2012 at 5:48 amI love this! My Young Women may be getting these for their birthdays this year . . . Thanks for the awesome tutorial.
momto8
April 15, 2012 at 2:07 pmLove it!! so pretty and useful!! would be a great gift!
I am your newest follower..pls follow back if you can.
Larissaswelt
April 15, 2012 at 2:33 pmHi Amy,
I'm from Germany and I am leader of the Bielefeld young women. Together with our five young women, we also have such cases for the Personal Progress sewn. It was great, and these cases are extremely practical.
Thank you for your great post. I look forward to more great ideas…
love greetings,
larissa
amy smart
April 23, 2012 at 1:23 amI love this! I need to make one for my daughter – or better yet, help her make one for herself. She would love it. SO cute!
SO fun to meet you today!! And I was so glad that RB Chevron FQ set went to someone who would value it for what it is. 🙂
Debra
April 26, 2012 at 2:06 amOh my gosh! You are a genius! My girls are always forgetting one of the books on our monthly personal progress nights. I love that it would be easy to switch out to the new For Strength of Youth.
Arlene
April 30, 2012 at 2:51 amI made these for our YW for New Beginnings, but used pretty place mats. One of my girls is going to make the rest for the new BH for a PP Project – I'm going to show her how you did the ribbon. I like that better than the way I did it. Great tutorial!
Kristie
November 4, 2013 at 2:20 pmI just found this, thank you! We do a beehive swarm, where we take the new girl all this stuff, and a couple more things. And as a beehive group, they introduce everyone and everything. This is an awesome way to keep it all together, and easy to have them bring it to church each week. Thanks!
amy
June 27, 2014 at 3:29 pmI made these for my new Beehives coming in this year and the current Beehives made them for mutual one night. Thanks for the great tutorial with photos!
Haley Ridings
November 11, 2014 at 1:38 amThank you so much for this tutorial!! My daughter and I just made these as part of her Knowledge value experience. She had wanted to learn to sew and I thought this would be a great placed to start since she just turned 12 a couple weeks ago. Now she has a place to keep all of her YW books and a better understanding of how to use a sewing machine.
Unknown
January 28, 2015 at 10:54 pmDO the True to the Faith book and the FSOY booklet really both fit in the same pocket, like it looks like in your one photo. I am going to be making these with my MiaMaids. Thanks for the great tutorial.
Unknown
January 28, 2015 at 10:54 pmSo, from your picture it looks like the True to the Faith and FSOY booklet fit in the same pocket?
Cassidy Bean
January 7, 2016 at 3:35 amDoes interfacing work for felt? Must make for the new Beehives
Danielle Warren
August 4, 2018 at 4:52 pmI am seriously going to Joanns right now to go look for fabric to make these for New Beginnings! Thank you so much for the tutorial!